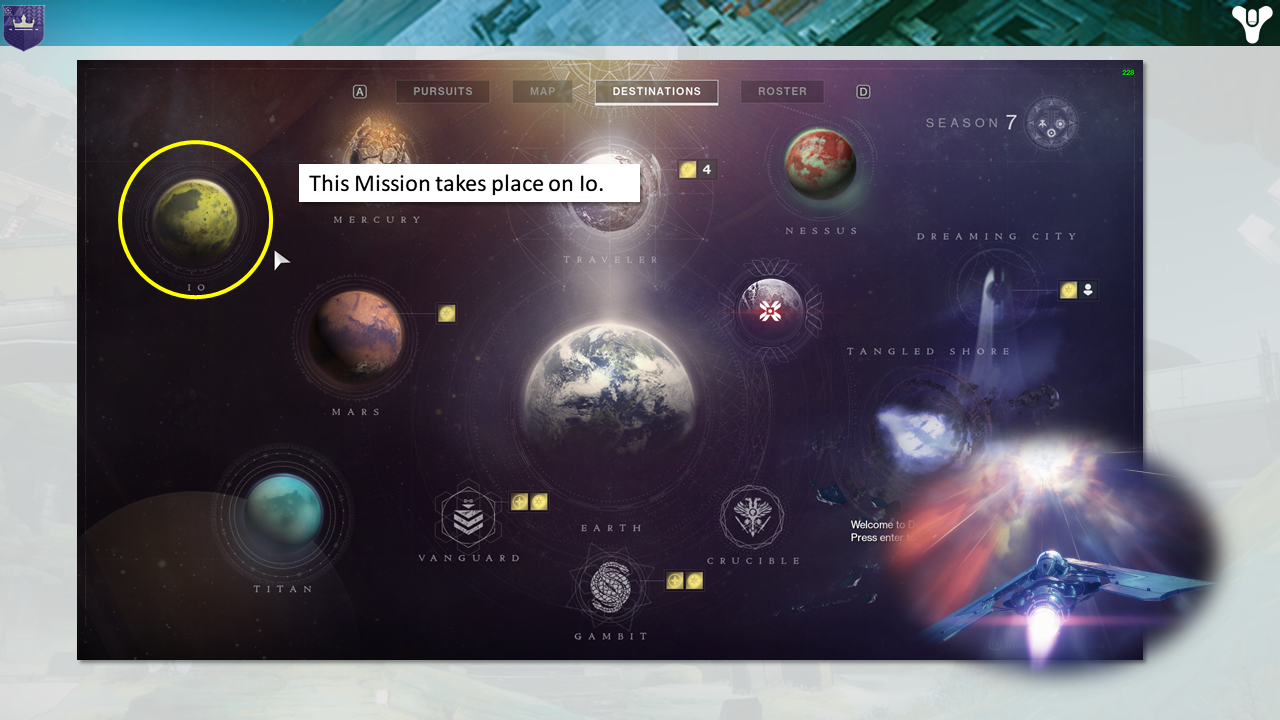
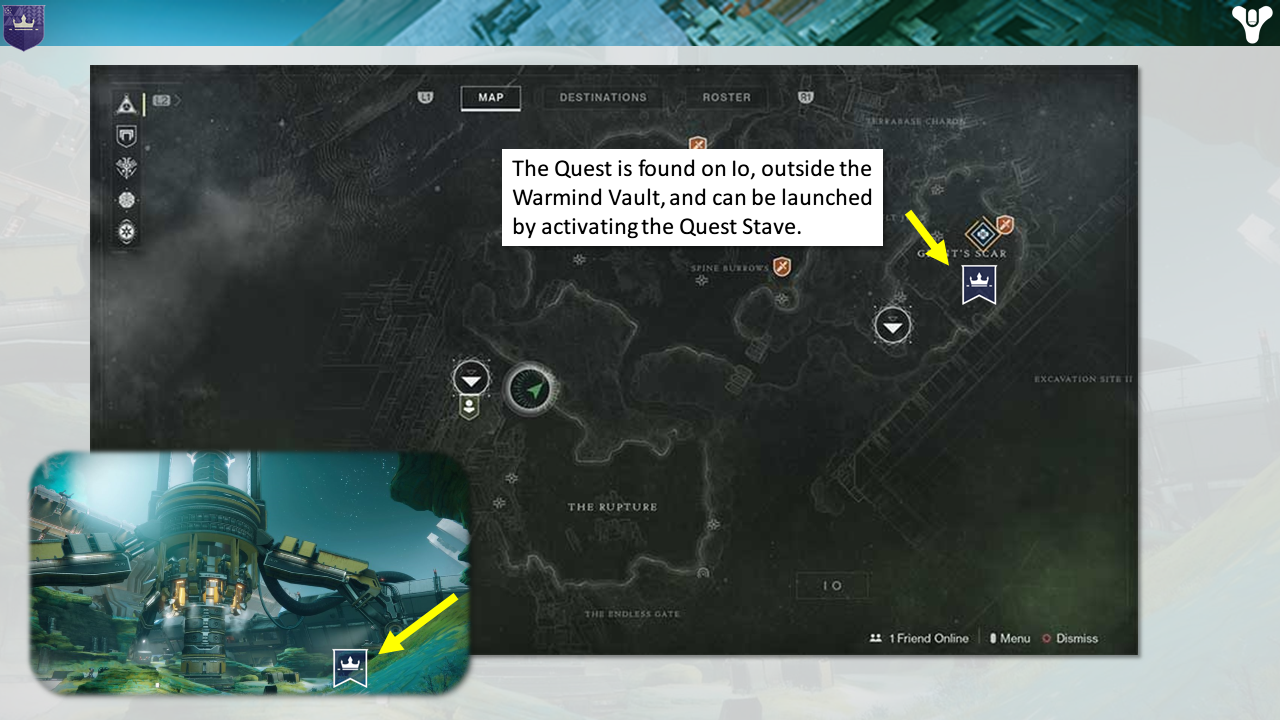
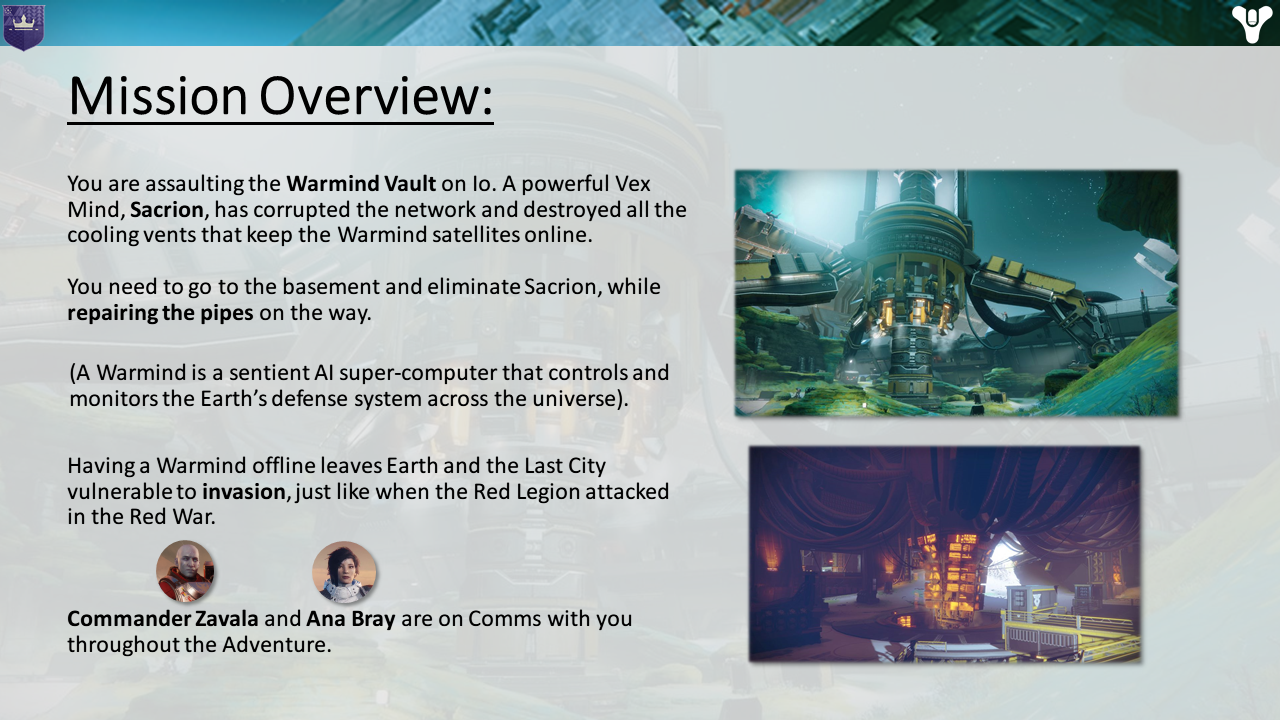
This outlines the context of the mission,
the overall story, and how it fits into the game.

Moment-to-Moment Gameplay Notes
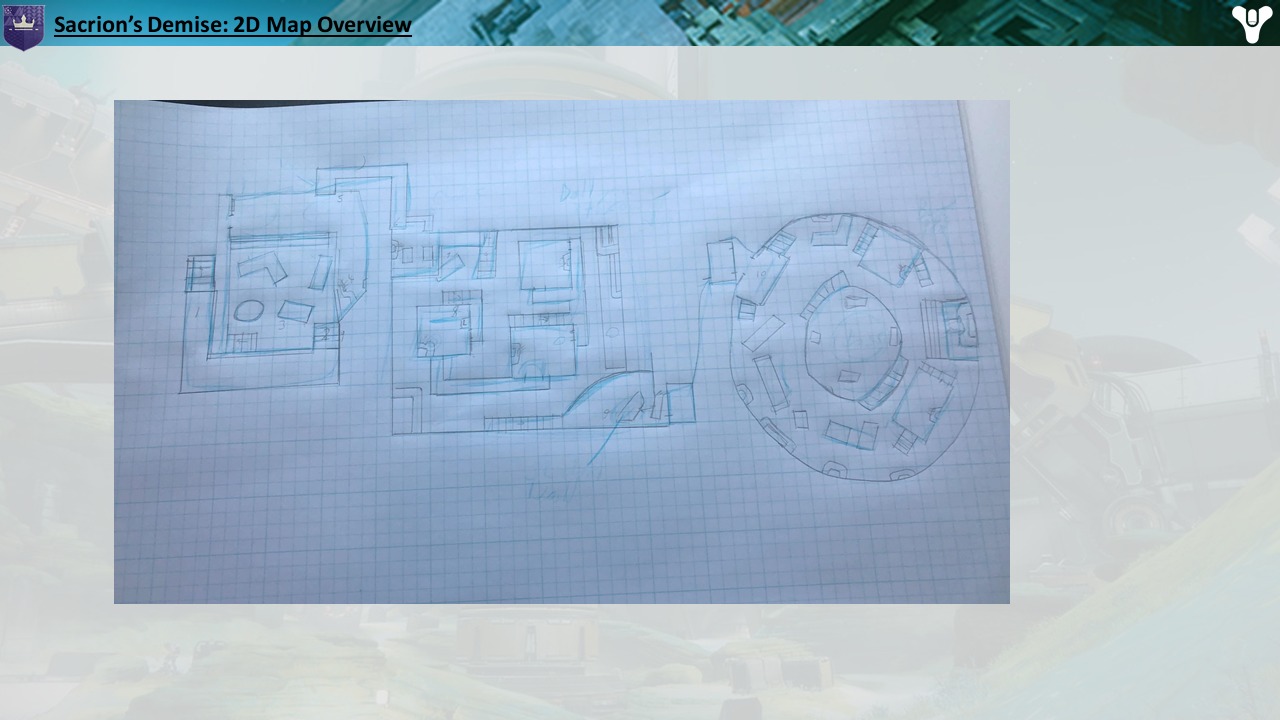
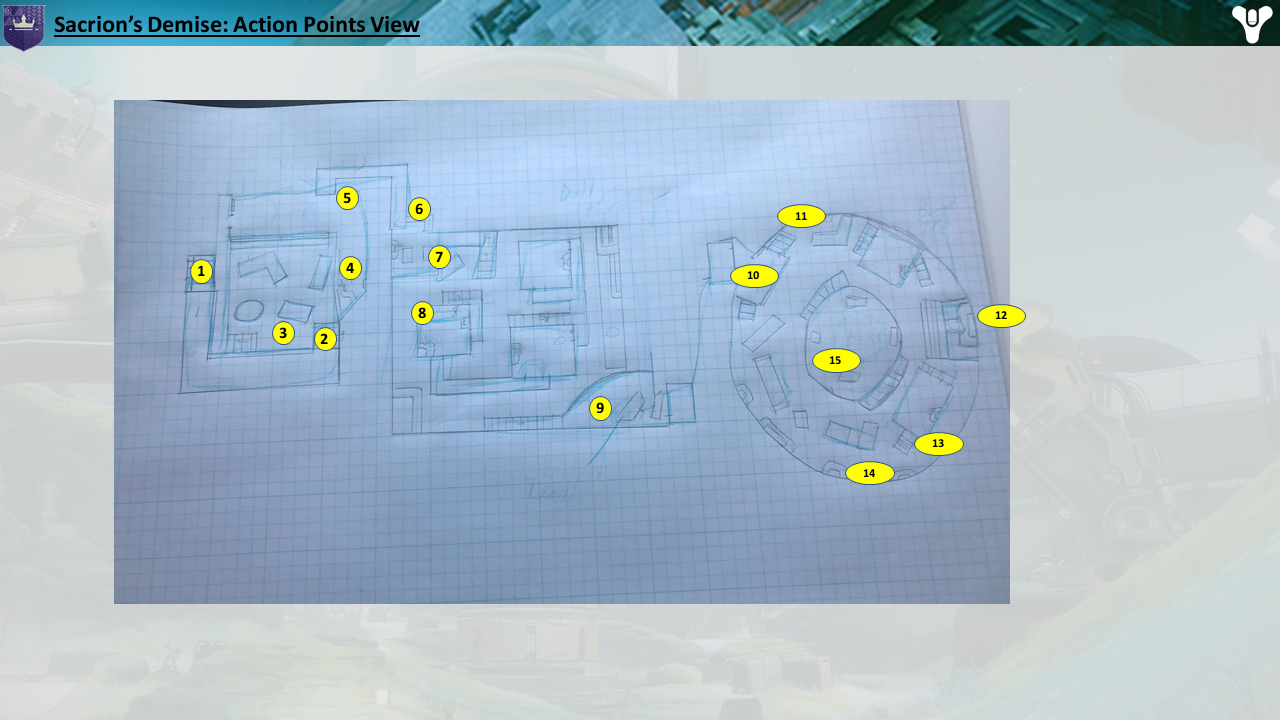
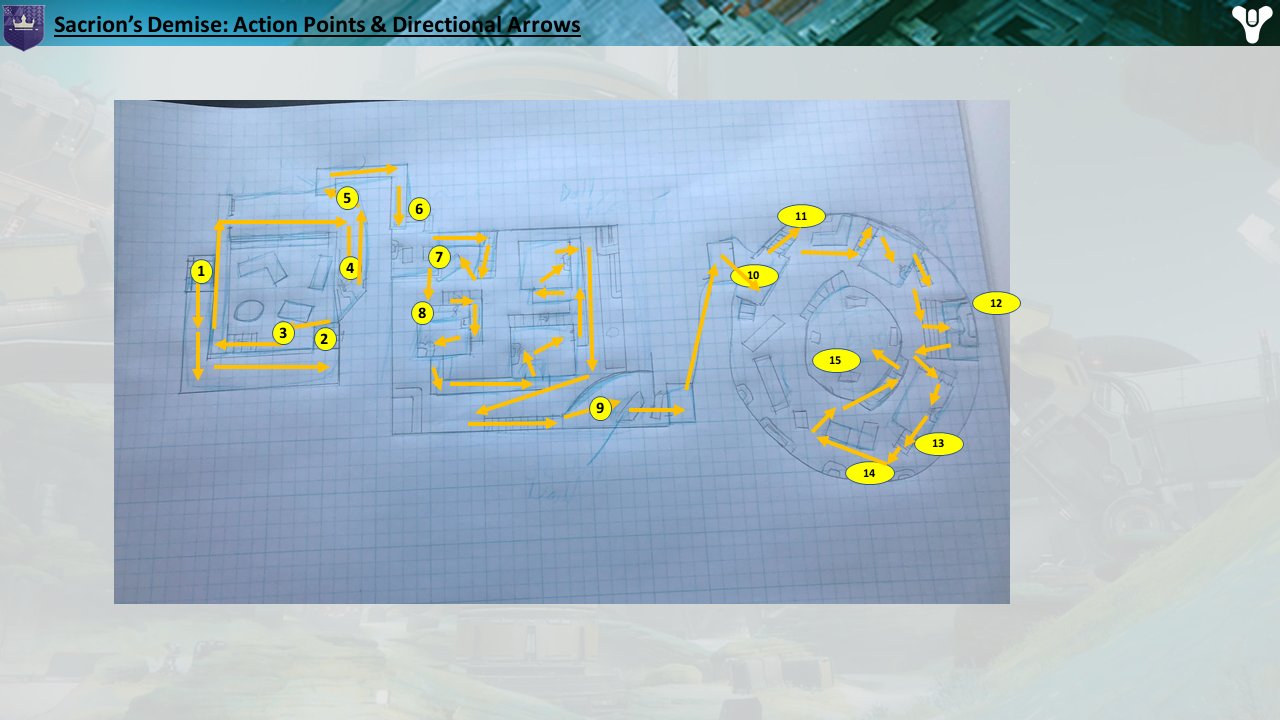
Here I'll do a moment-to-moment walkthrough of the level.
I'll break down the gameplay and the decisions you can make at each step.
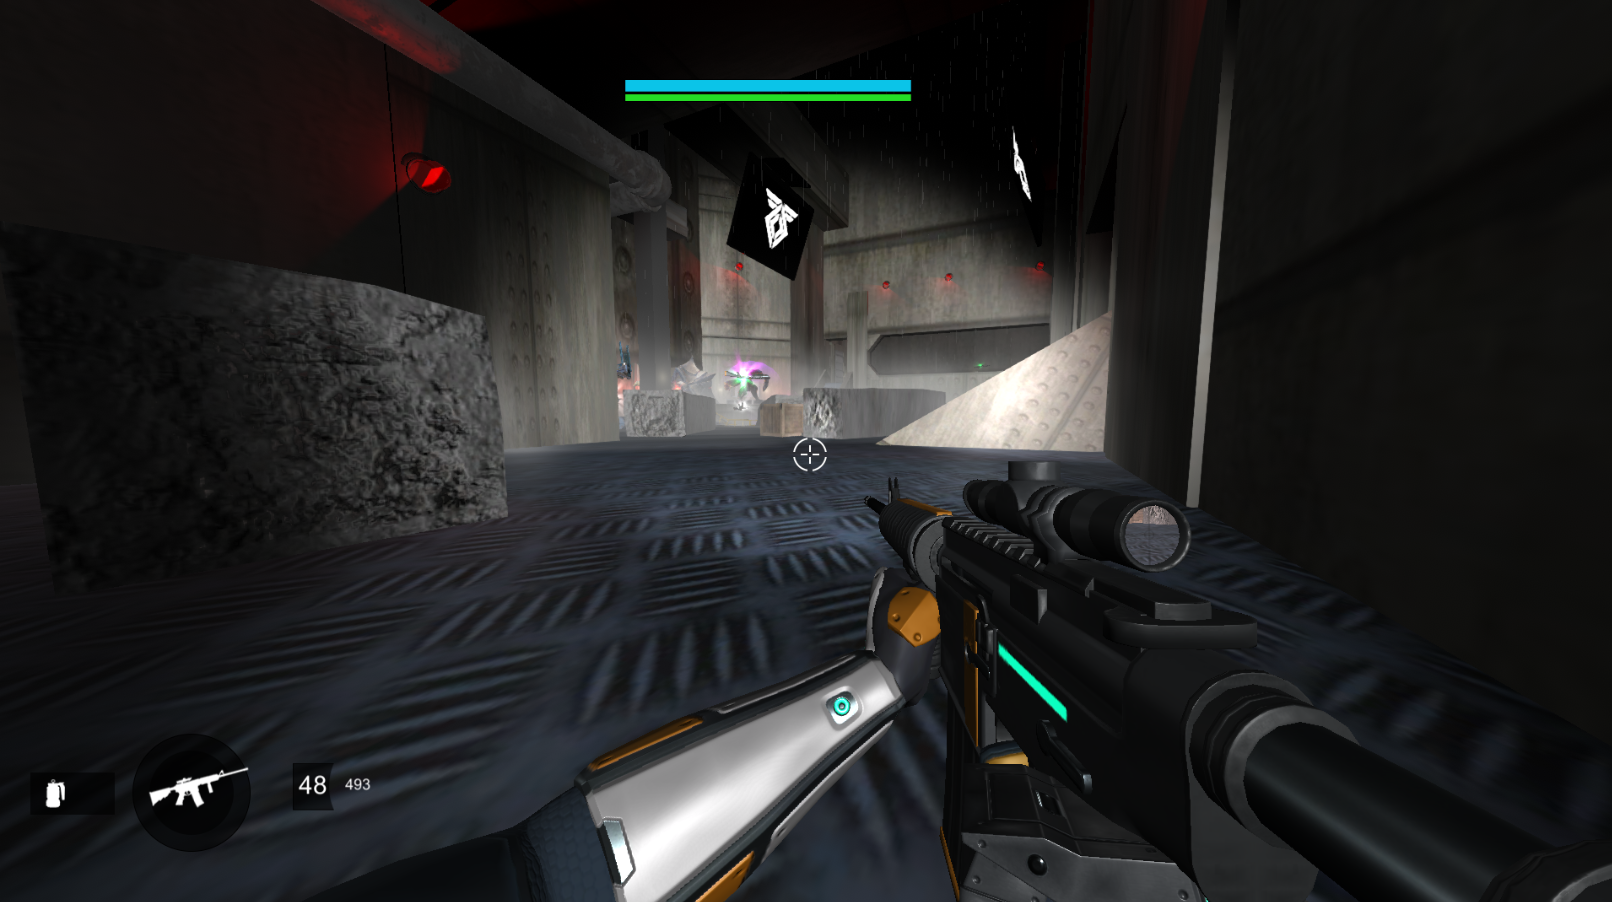
It's dark, and your flashlight attached to your gun gives you the most light to see.
Your Ghost also shines his light behind your back, making the area immediately around you easier to see.
On your HUD, you have your health and shields at the top.
Your health regens at around the same rate it does in Destiny 2.
You have 4 weapons to choose from.
An Auto Rifle: with the real sound FX of 'Origin Story', one of my favourite D2 autos.
A Shotgun: With SFX from the 'Retold Tale', my god tiered go-to PvP weapon.
A Rocket Launcher: With SFX of 'Truth'
A Sniper Rifle: With SFX of 'Tatara Gaze'.
Weapons have been tuned to feel as close as possible to those weapons,
and at some point I'll import their actual models for gameplay.
I've also tuned all the weapons to feel really good to shoot,
which is a staple of Destiny and one of the best parts of the game.
The character moves just like a Hunter.
You can triple jump, and movement and momentum is as close as I could get to the floaty jumps in Destiny 2.
You can throw Grenades with 'Q'.
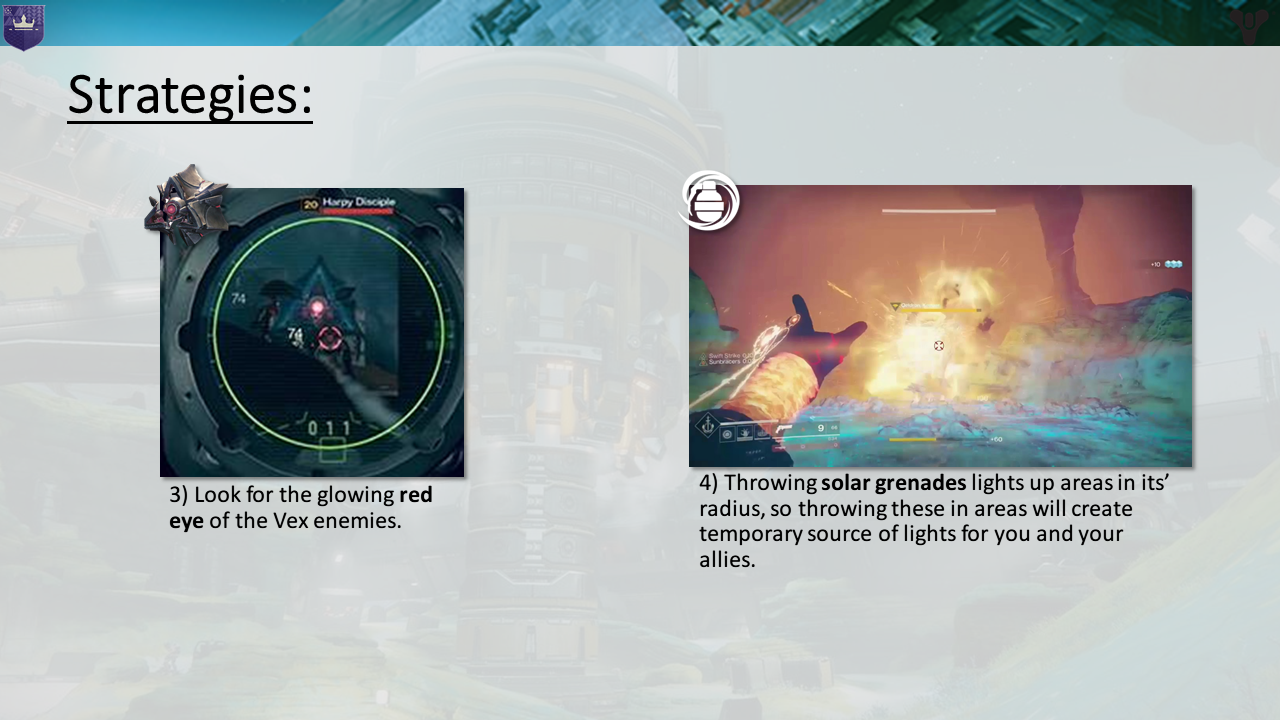
They behave most like Solar Grenades in Destiny, and provide a source of light in dark areas.
Currently grenades don't have a cooldown, so you can spam them if you want. :)
You can sprint and you can ADS, although the ADS sensitivity modifier isn't working properly yet.
Back to the Level:
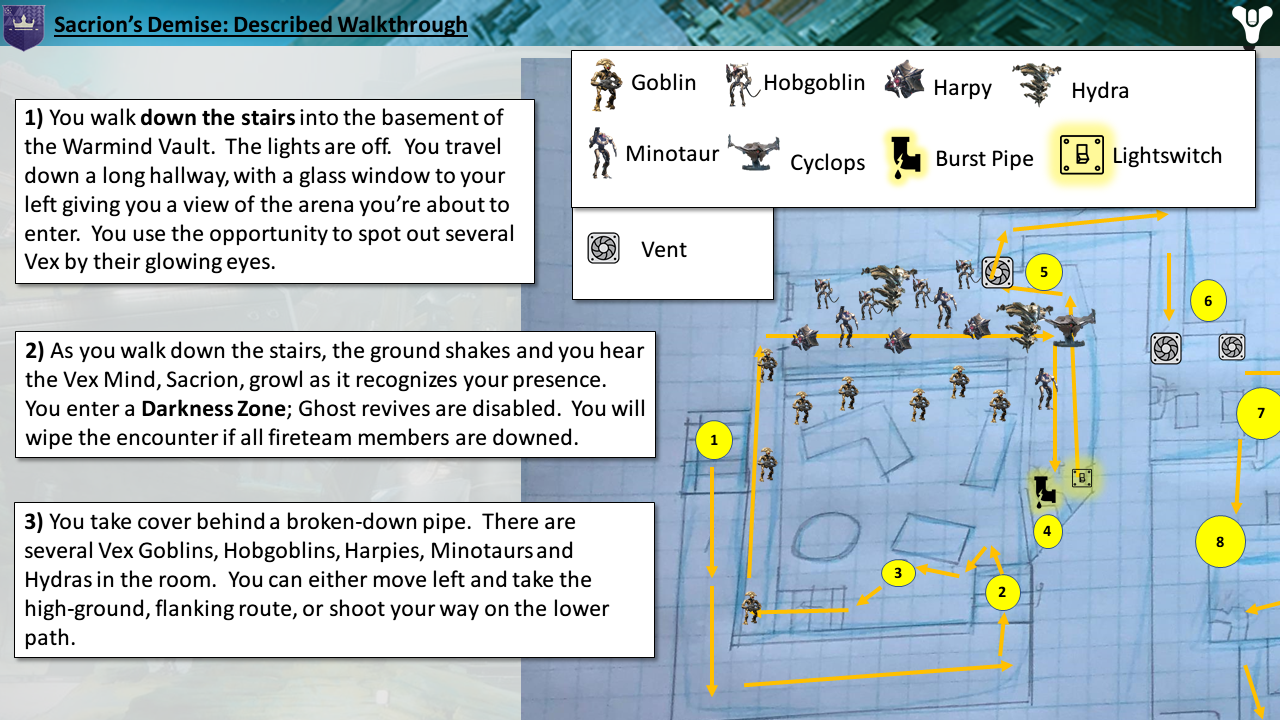
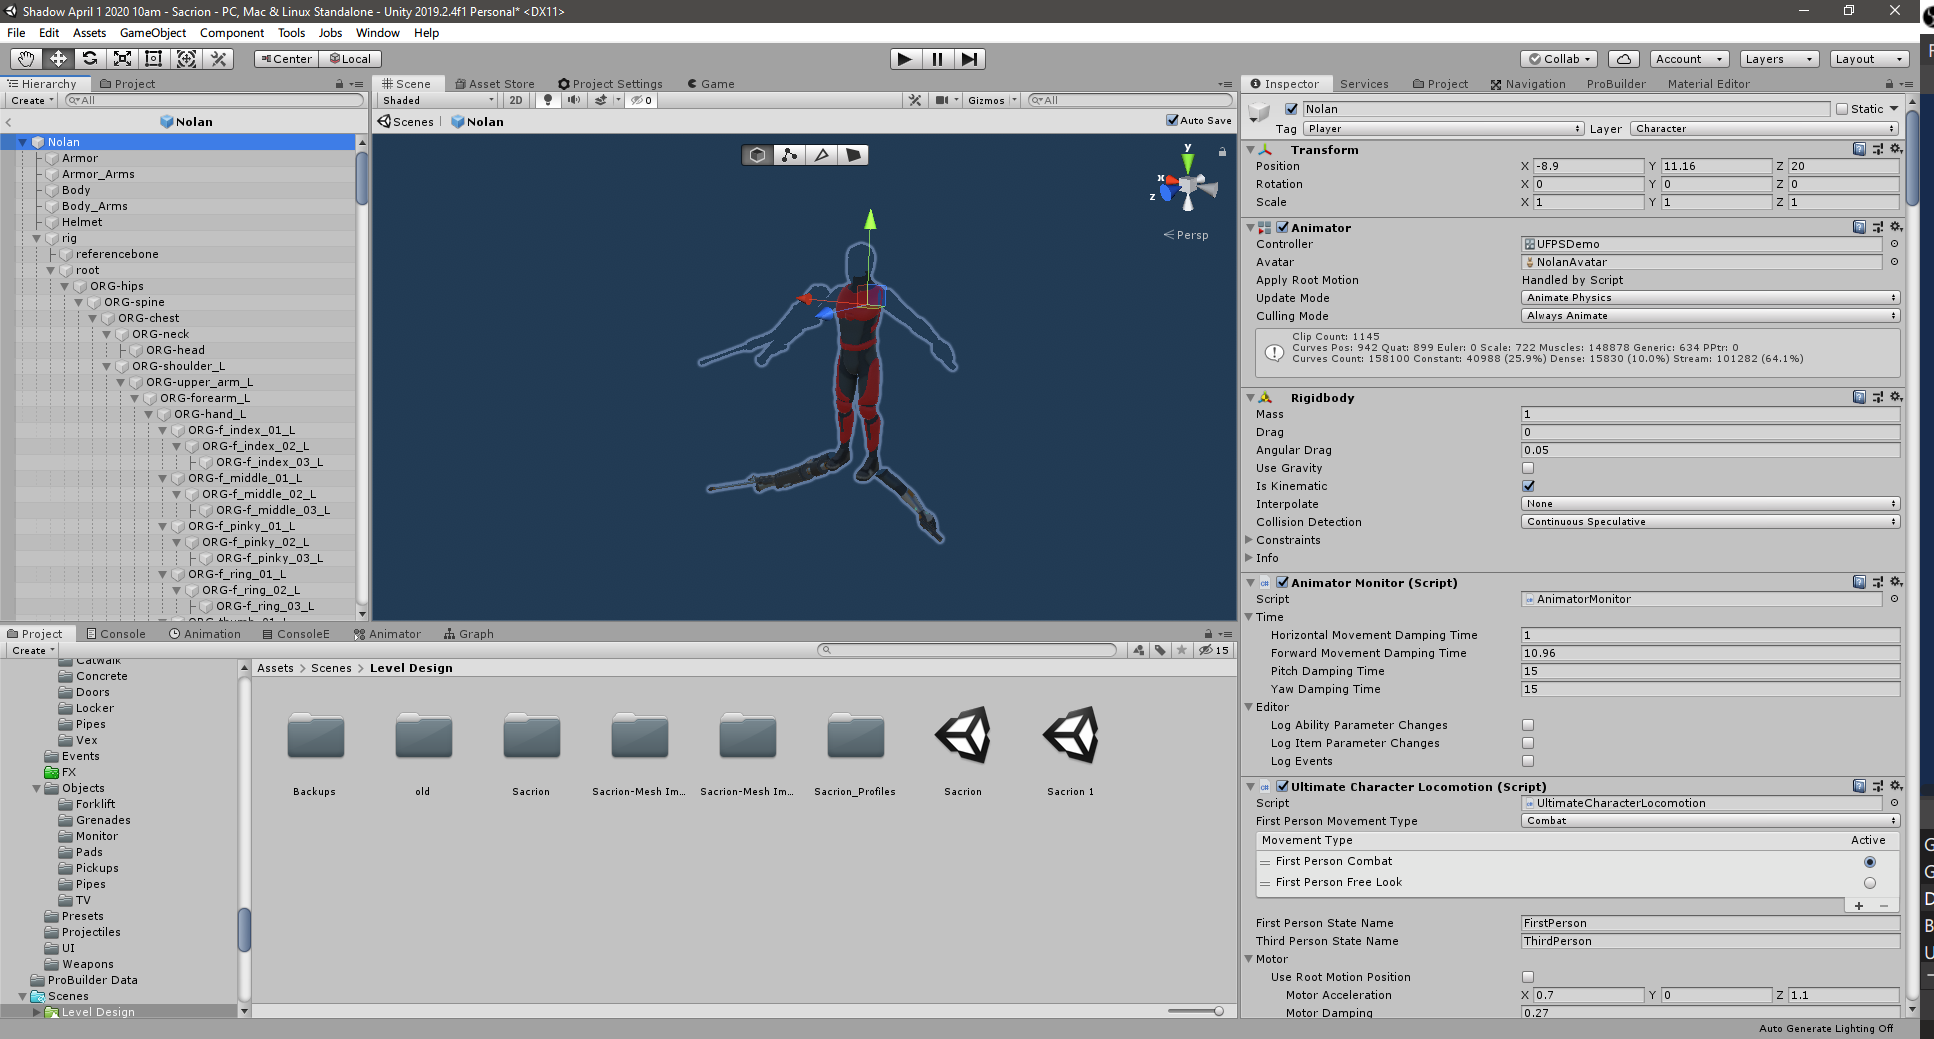
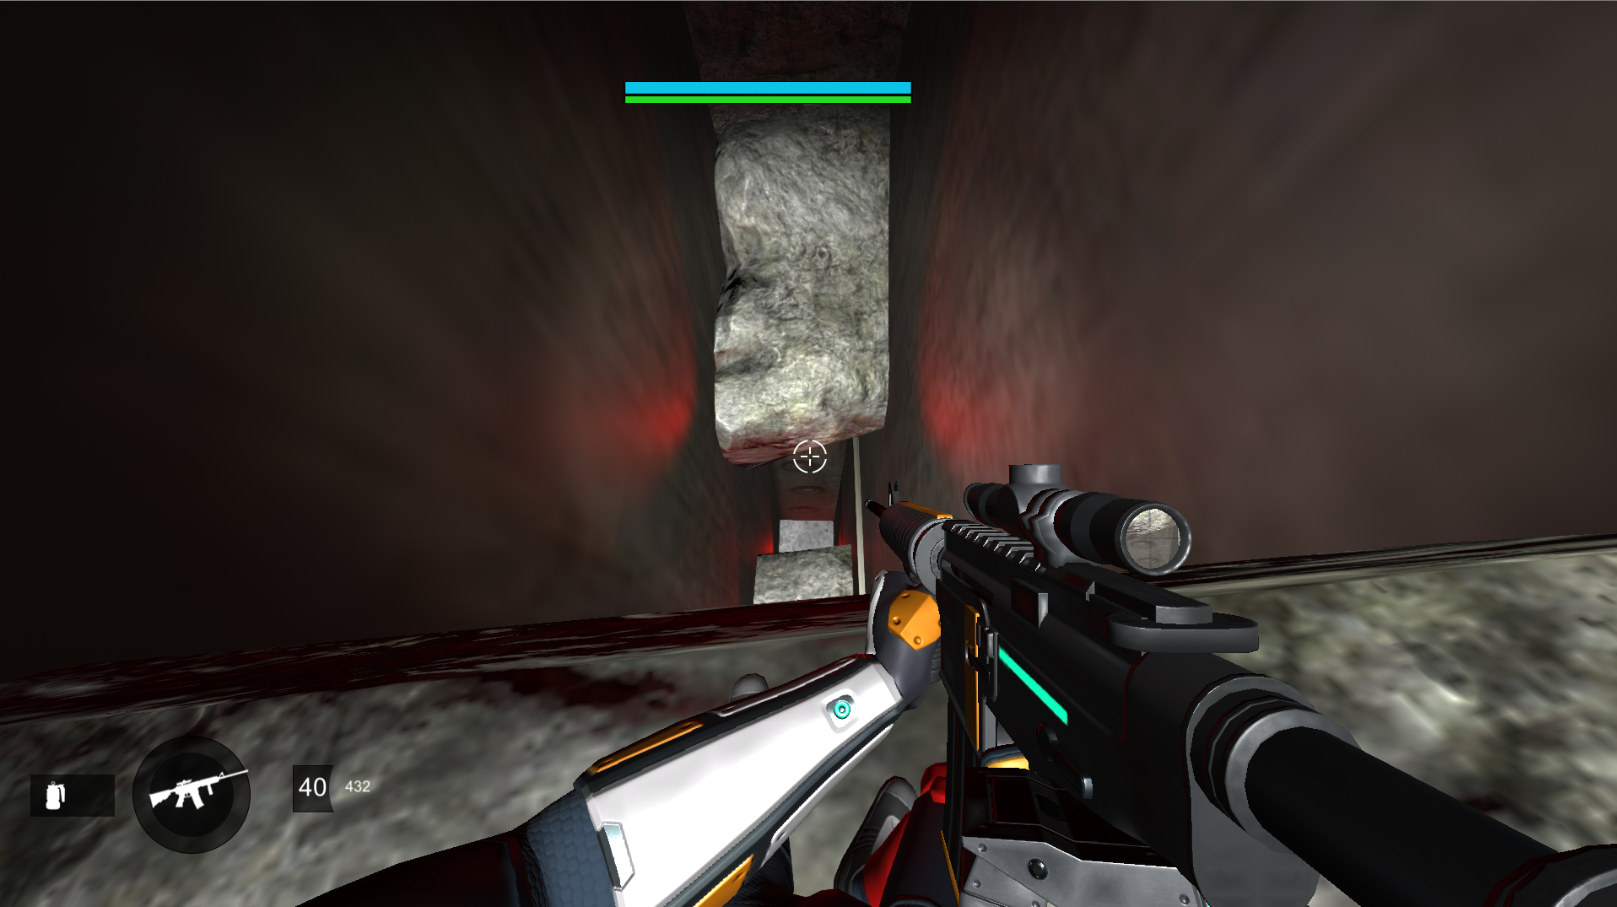
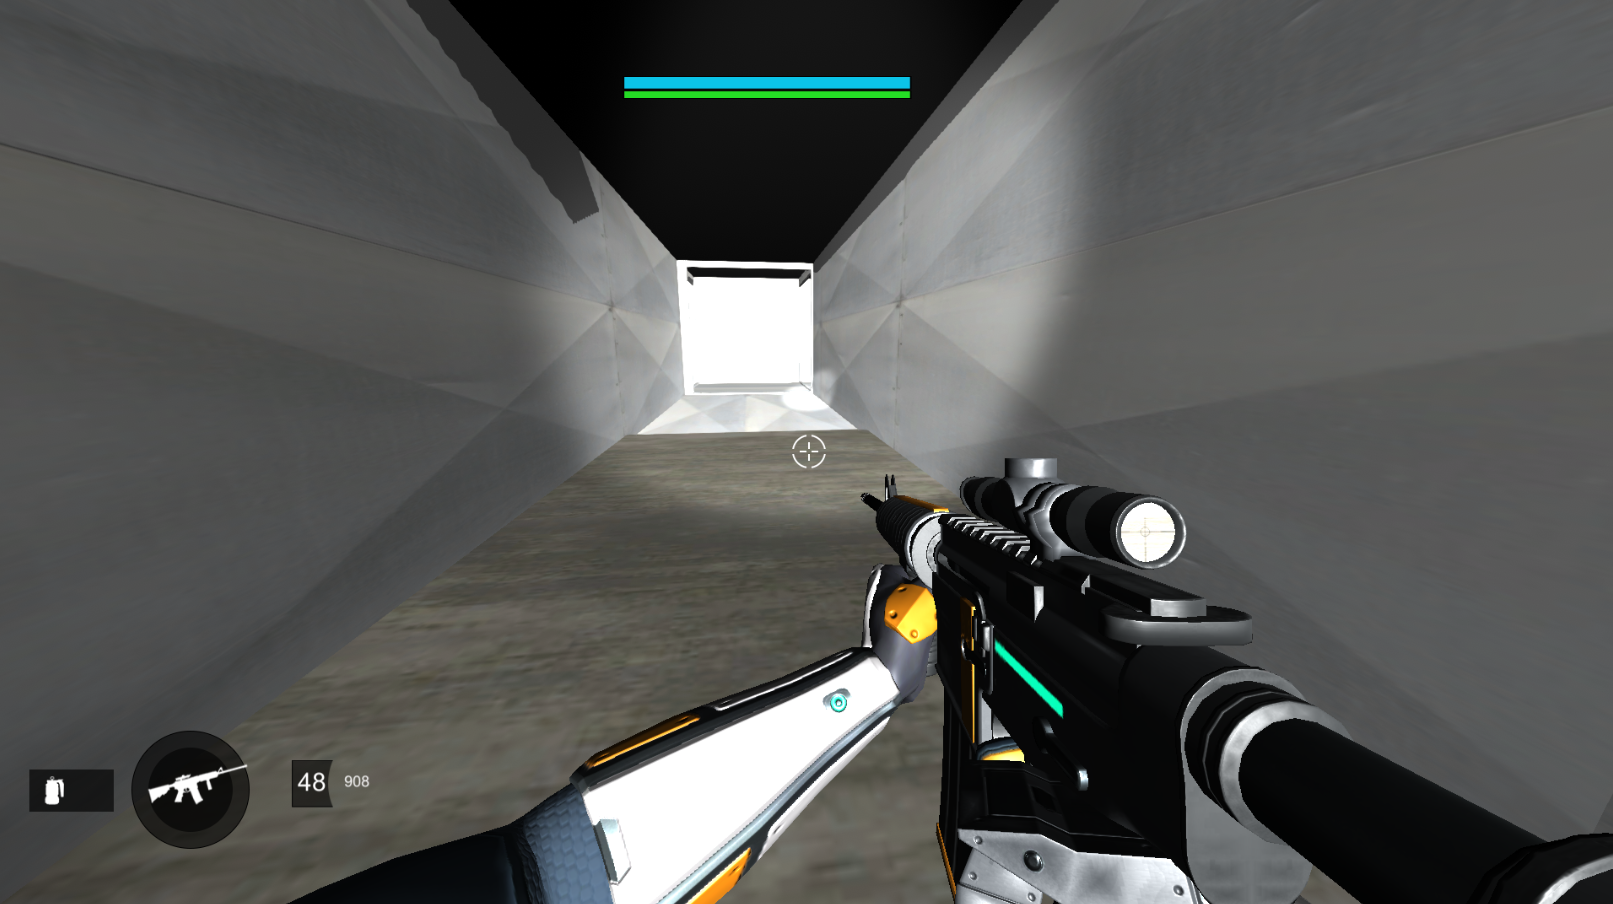
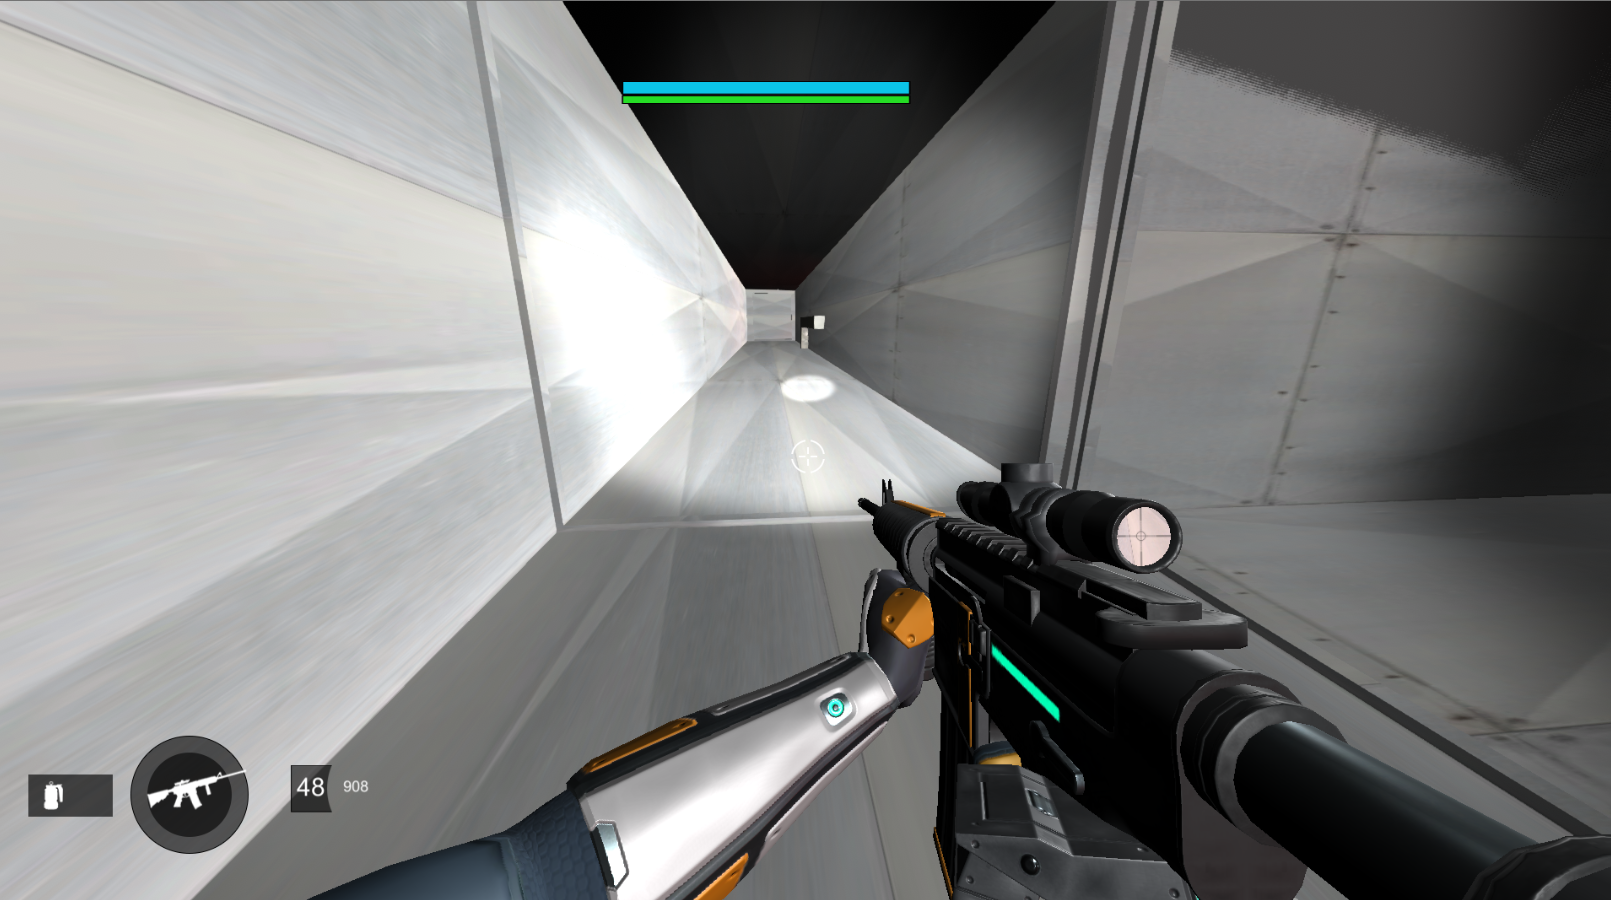
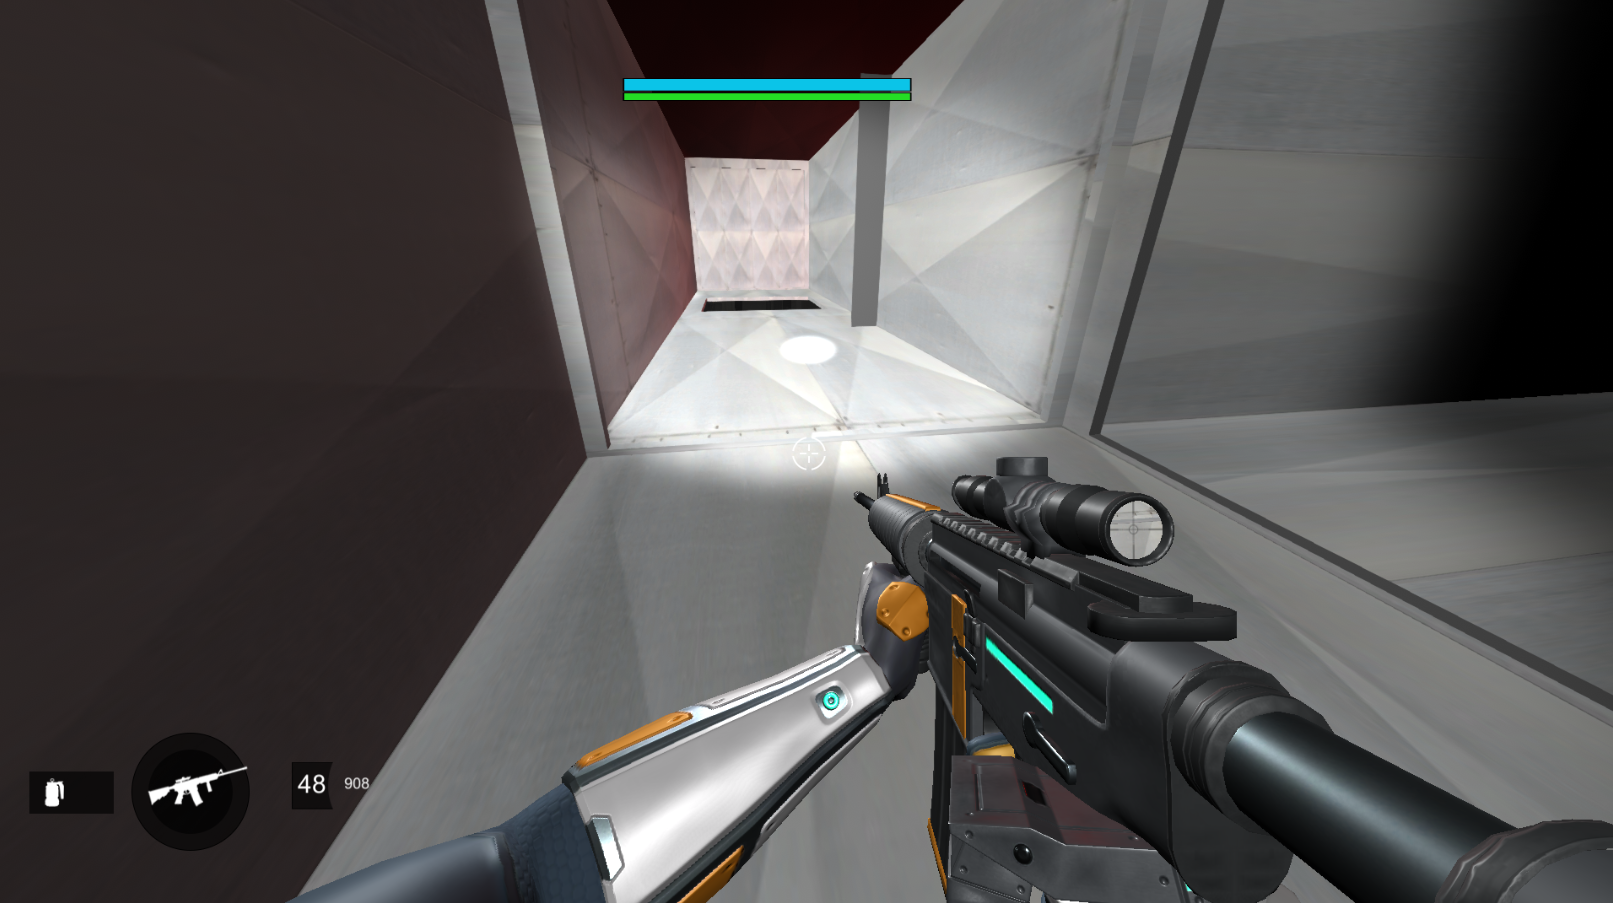
You begin in a dark tunnel. There is a light pointing towards the end.
Other openings have been closed off due to rubble falling from the drilling.
As you walk through the tunnel, the ground shakes and Rasputin begins talking to you in Russian.
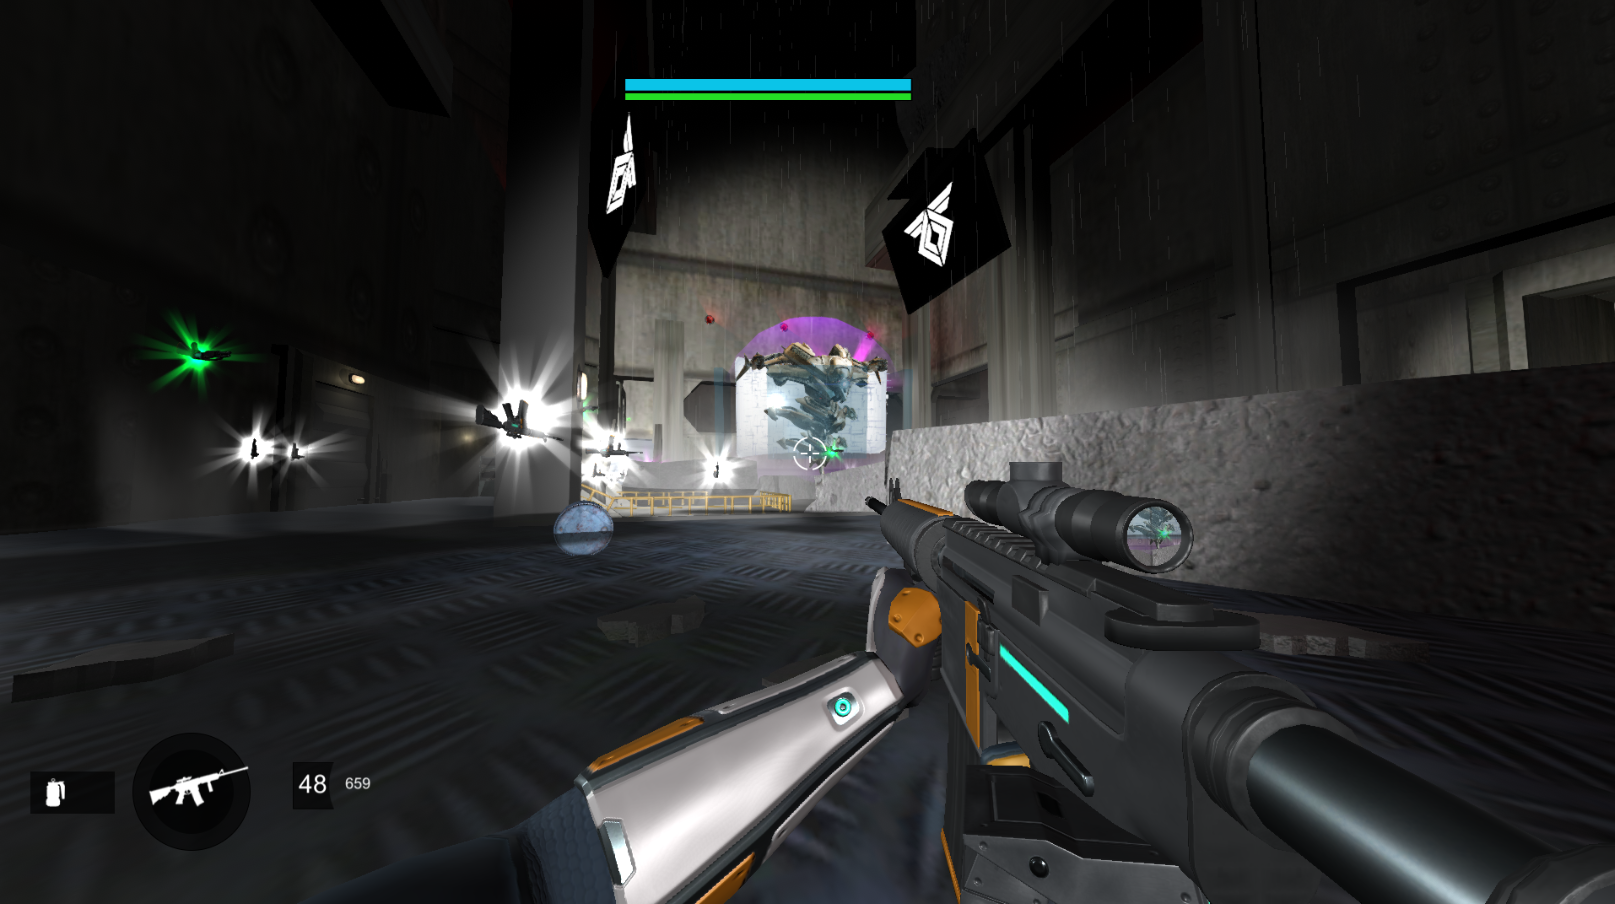
In the other room is a Taken Blight, which slows your movement if you get in proximity.
Shooting the blight will destroy it.
In the room is a tall wall with a Rasputin symbol on it.
It means we're close to Rasputin's bunker.
The ground has been broken open, and chunks of concrete are all over the place.
There's a strong red light shooting up from the hole.
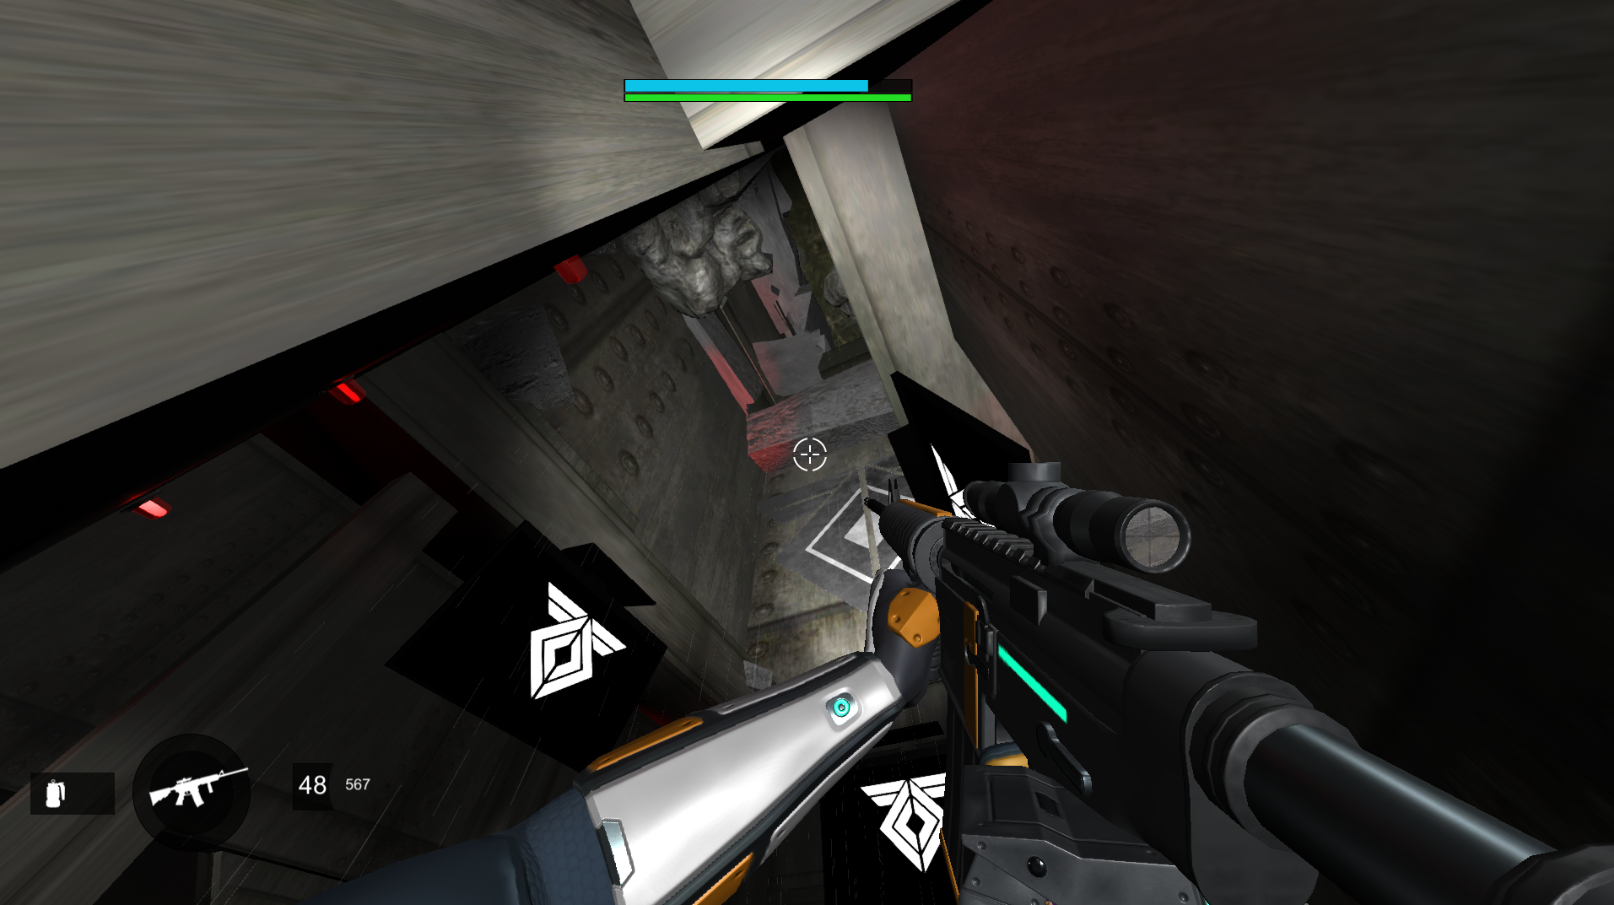
Looking down into the hole, there's a series of platforms you can climb down.
The red light continues down.
The red light continues down.
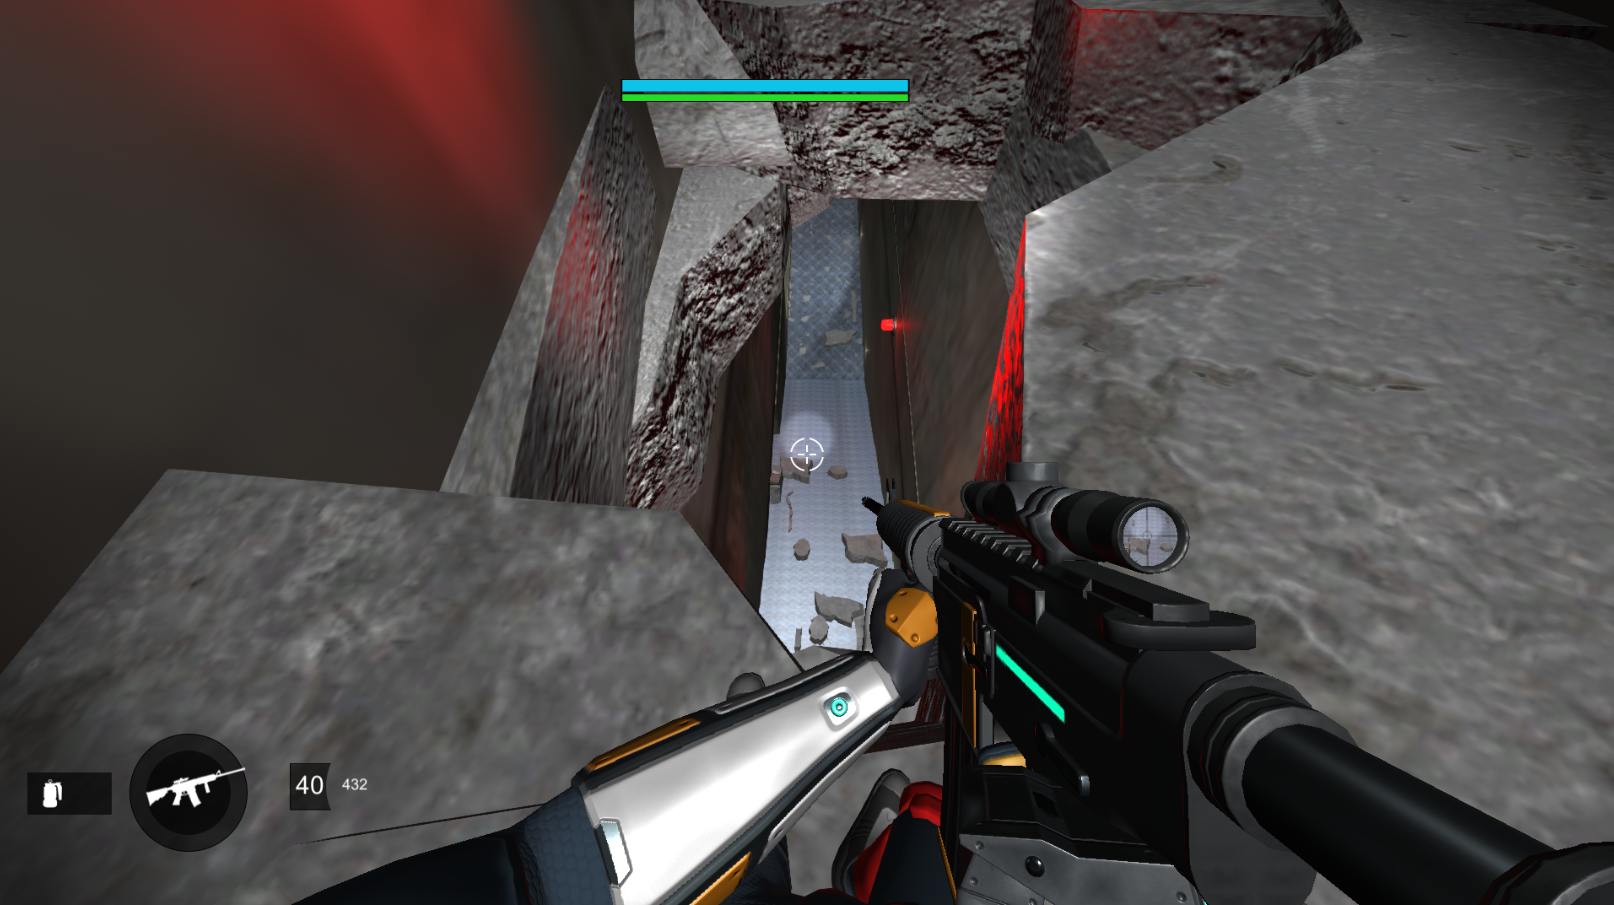
At the bottom of the hole is an entrance into the bunker.
More red lights.
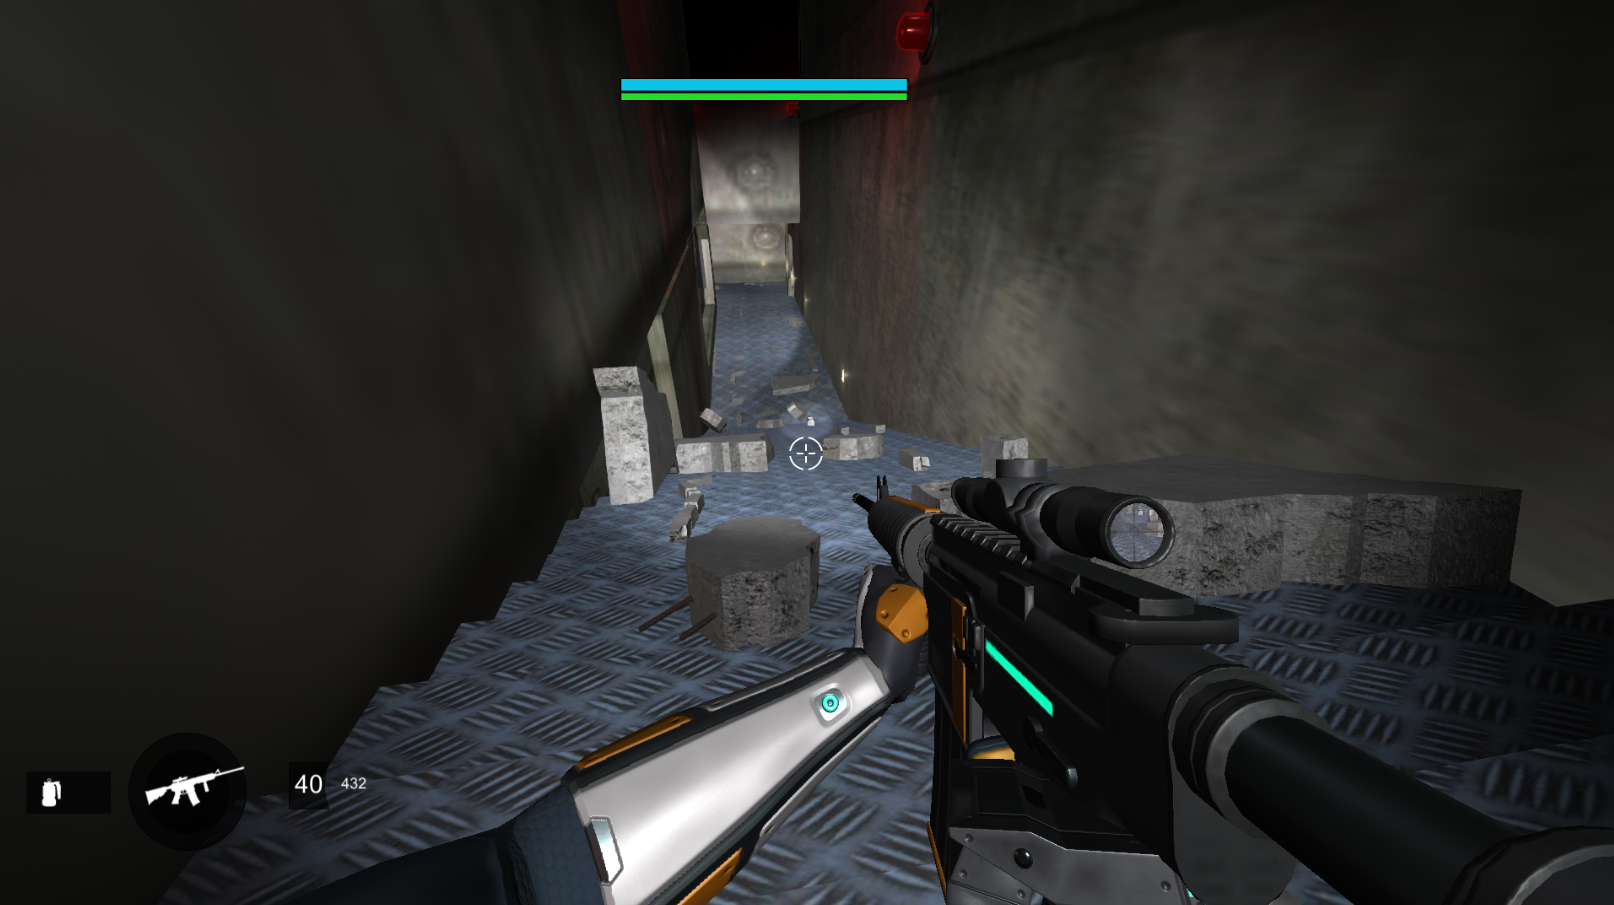
Jumping into the hole leads you into a stairway that leads down.
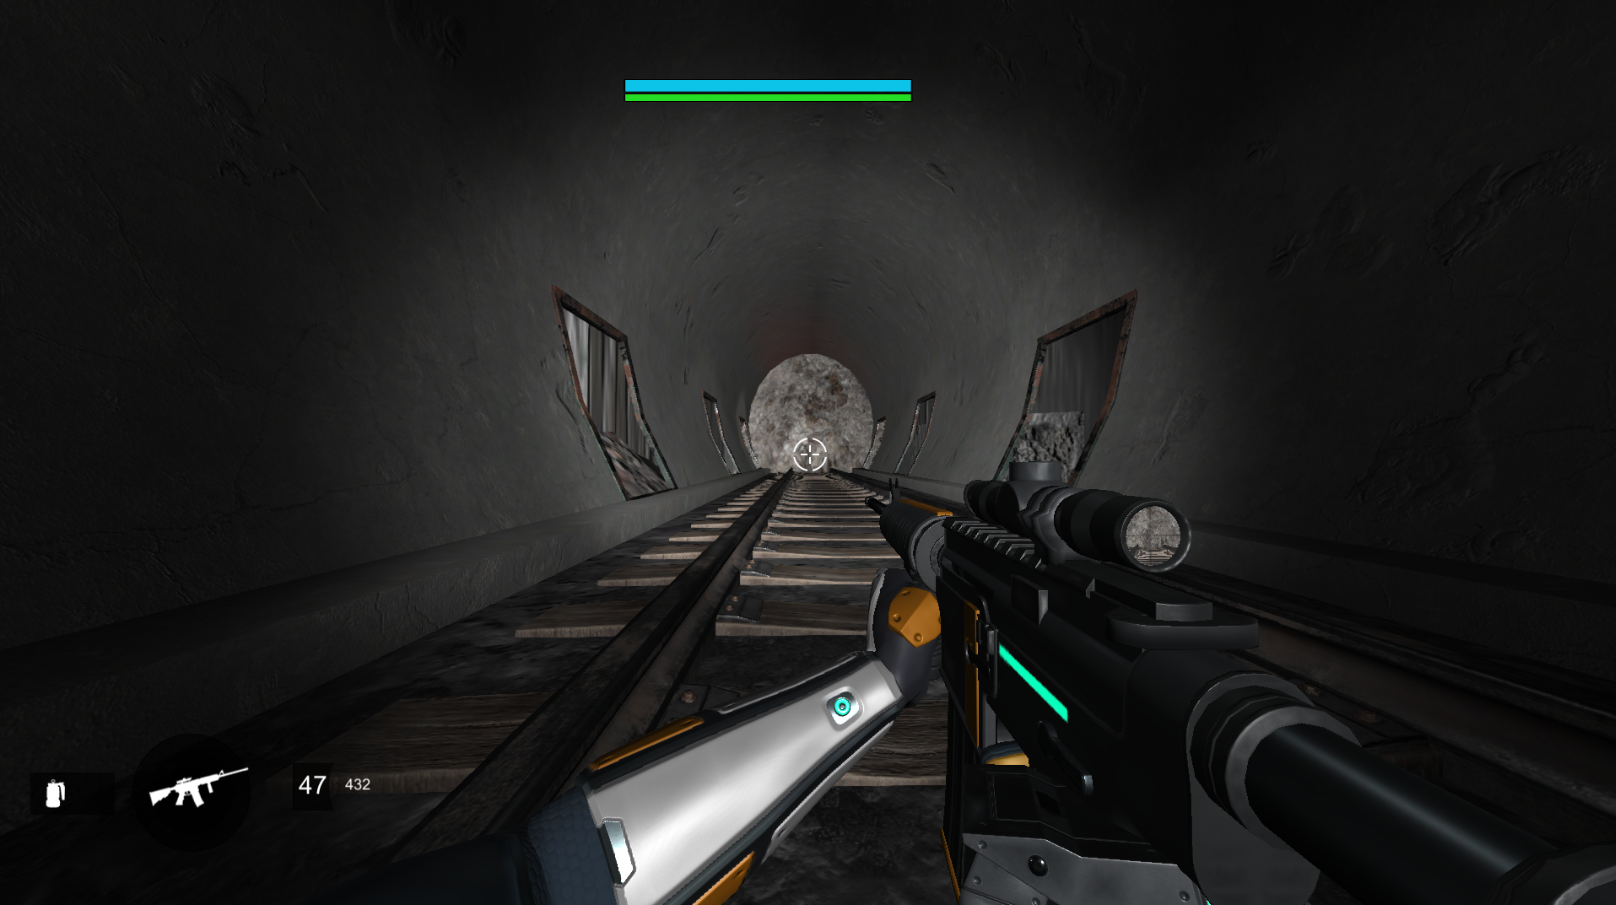
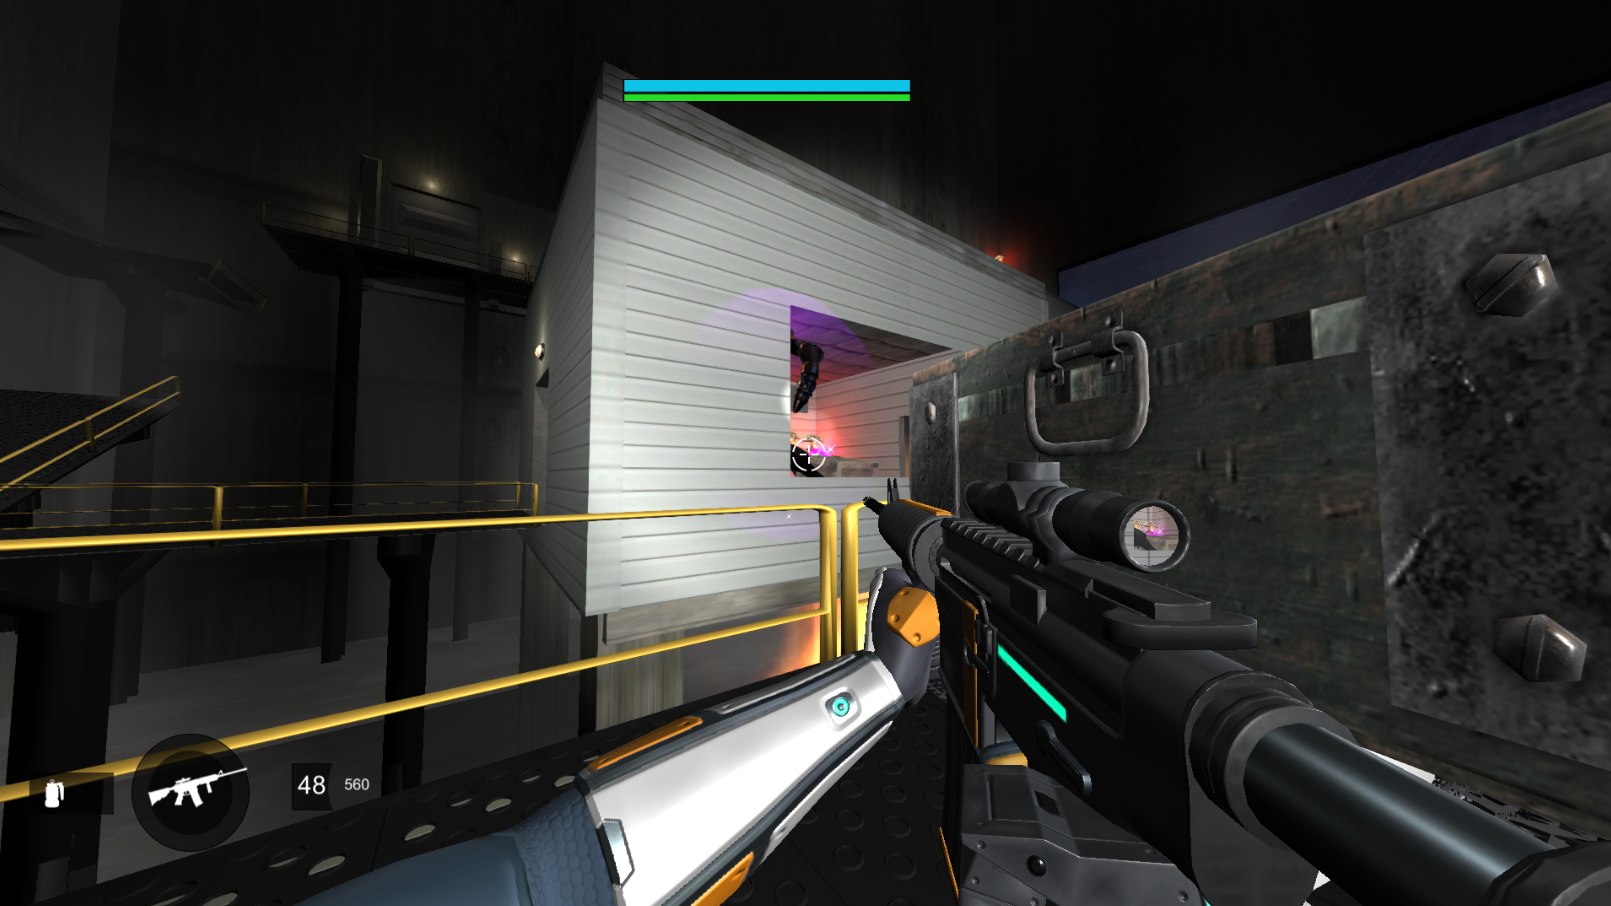
The window on the left lets you see into the room ahead.
This is a common thing in Destiny, where you get a chance to look into the room before you enter.
It gives you a few seconds to layout the area and think of your strategy.
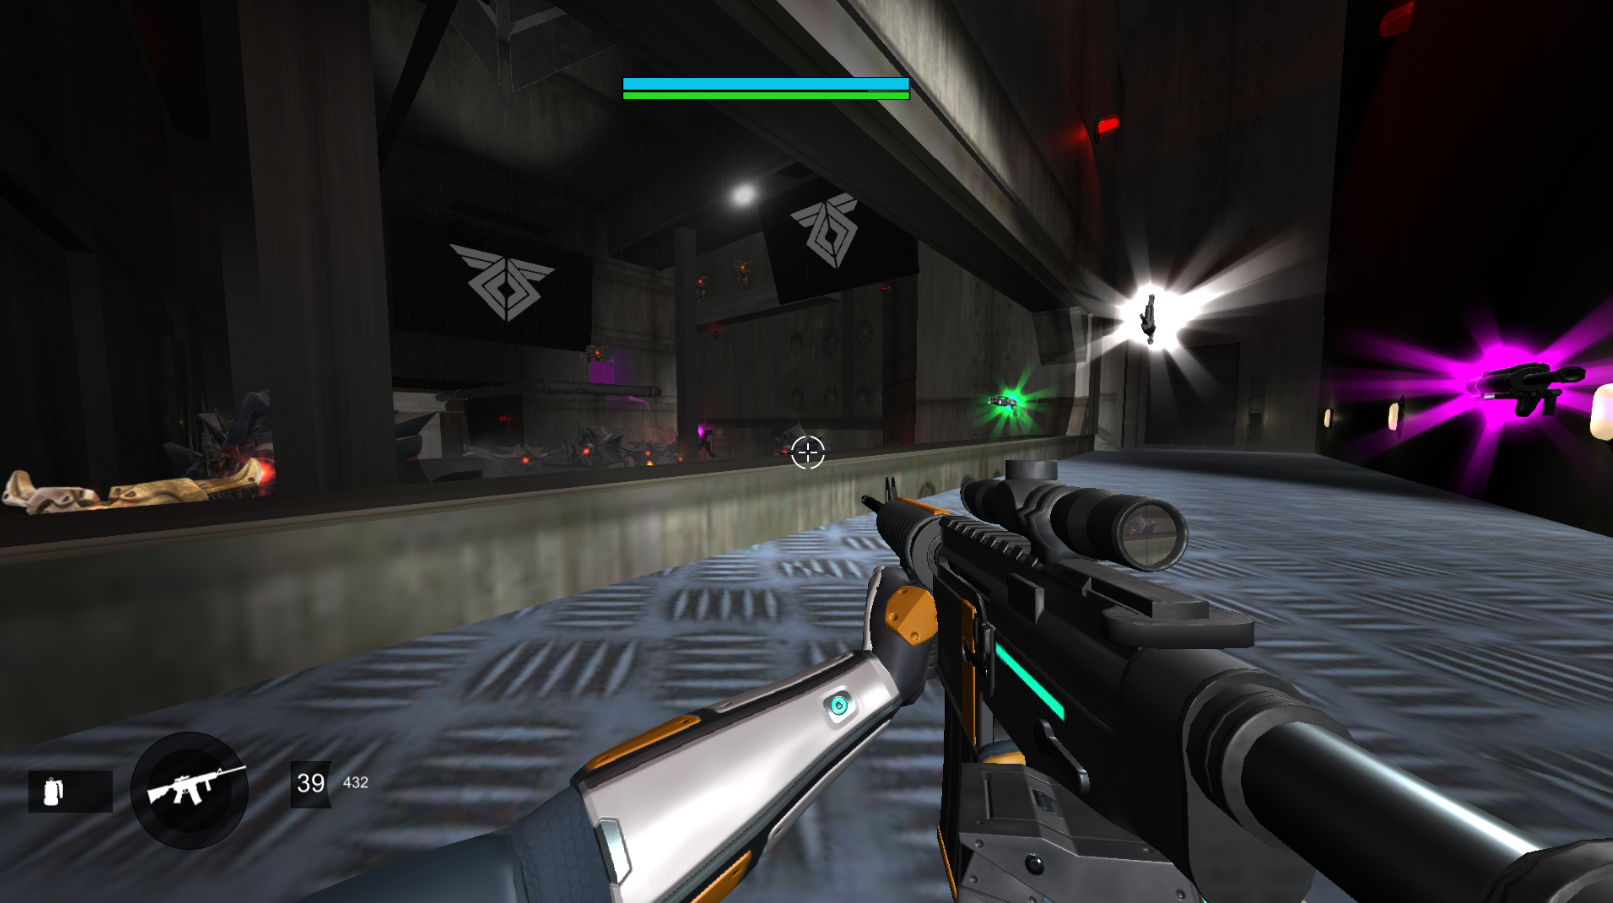
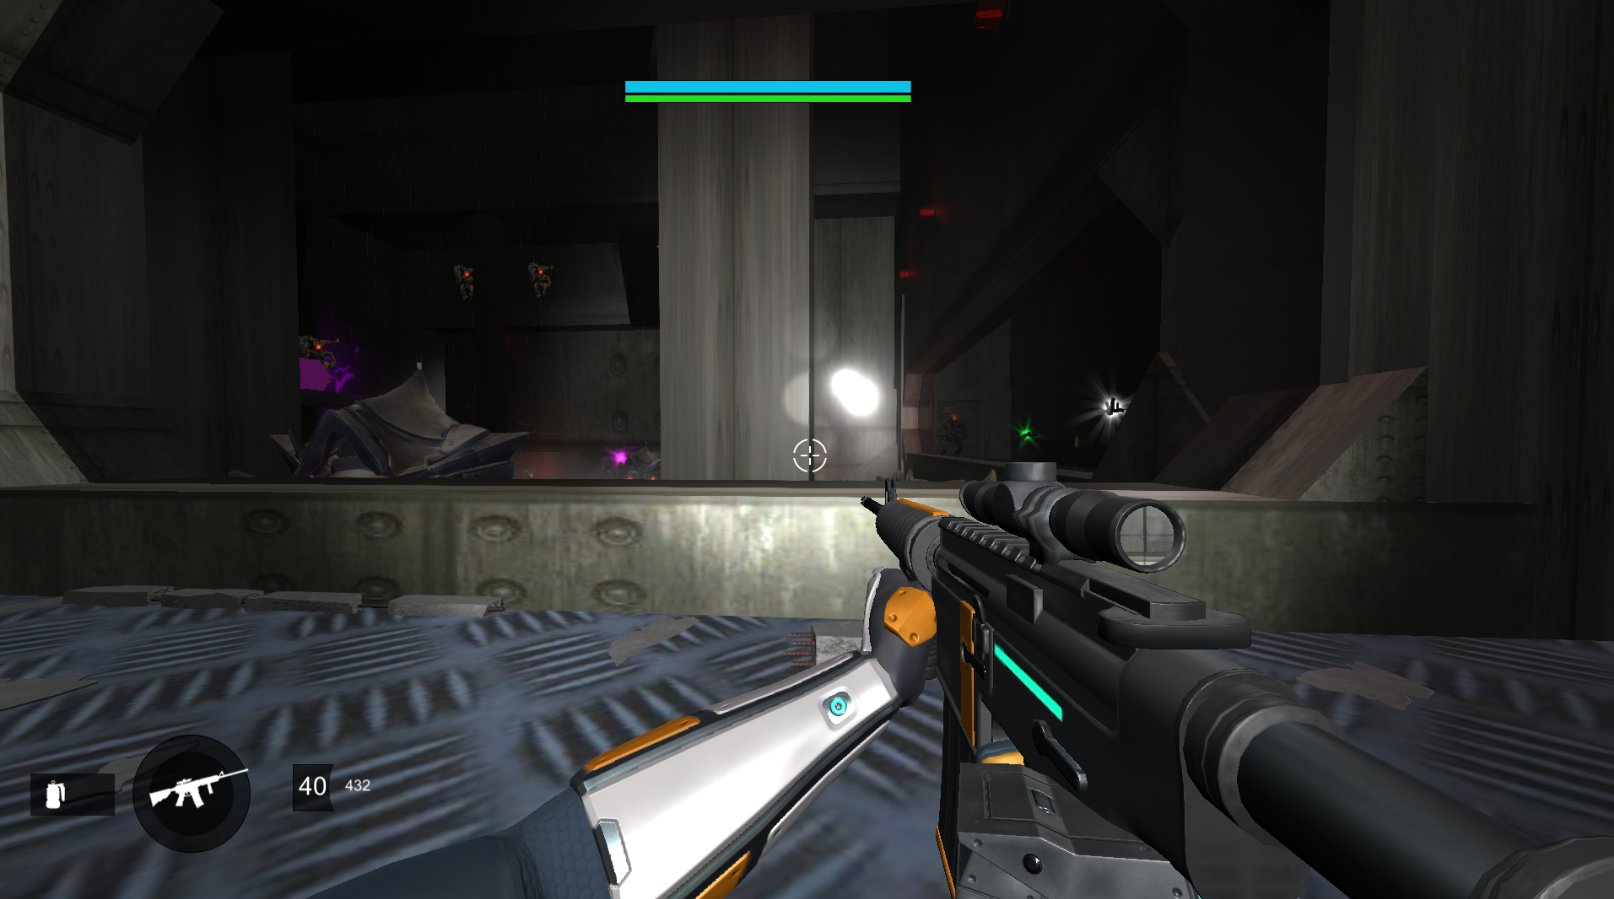
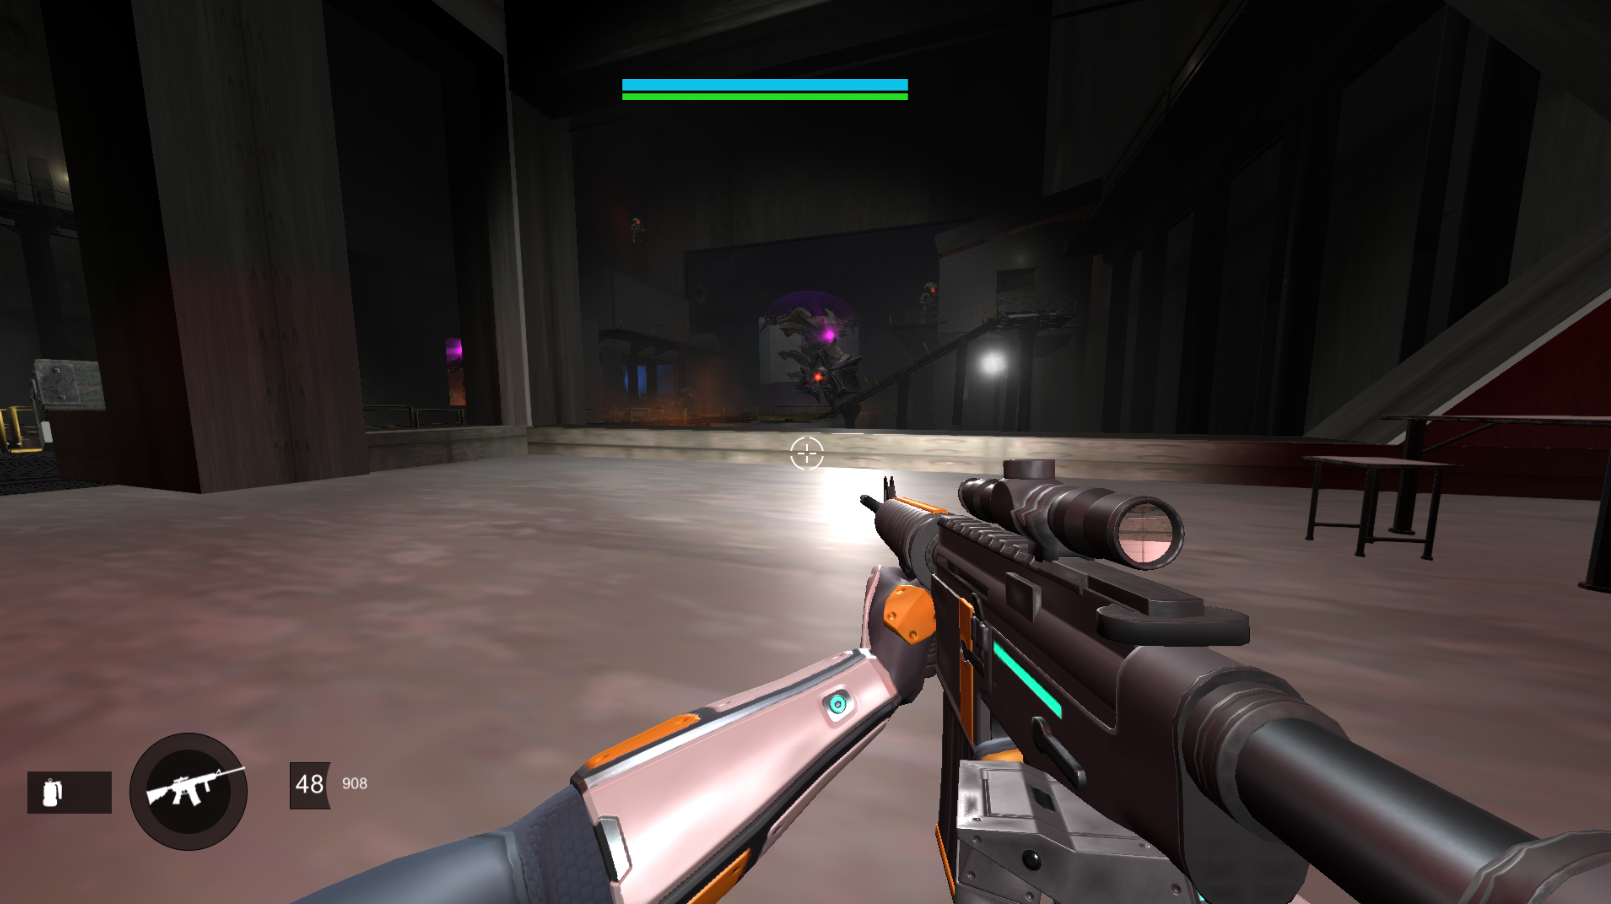
Another window in the hallway and you see further into the room.
The ground shakes again and Rasputin says something to you in Russian.
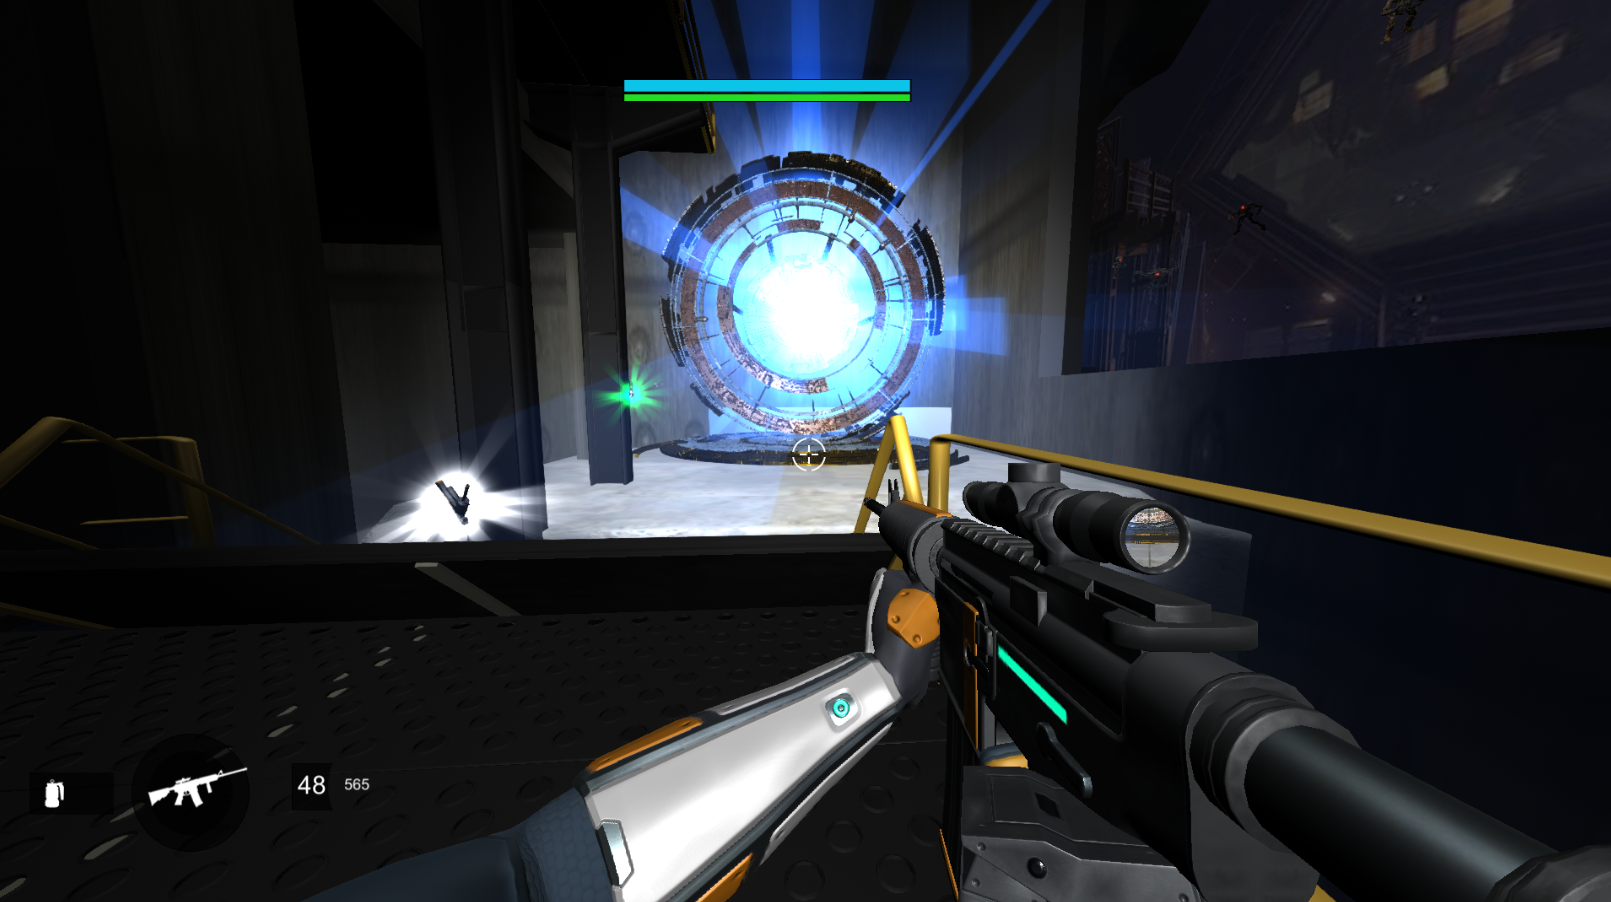
Your HUD updates: Defeat the purple glowing enemy.
I've left out a few weapon pickups, and they behave the same as the real game.
Although shotguns and sniper rifles have different ammo inventory.
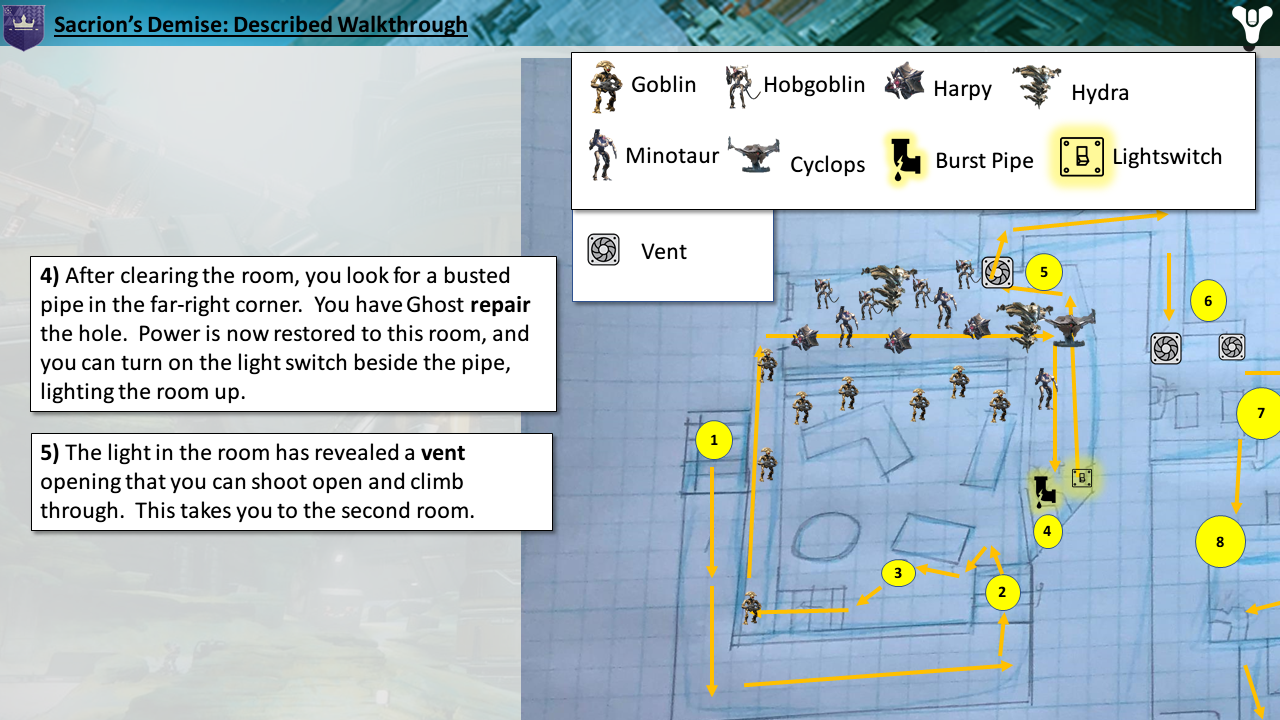
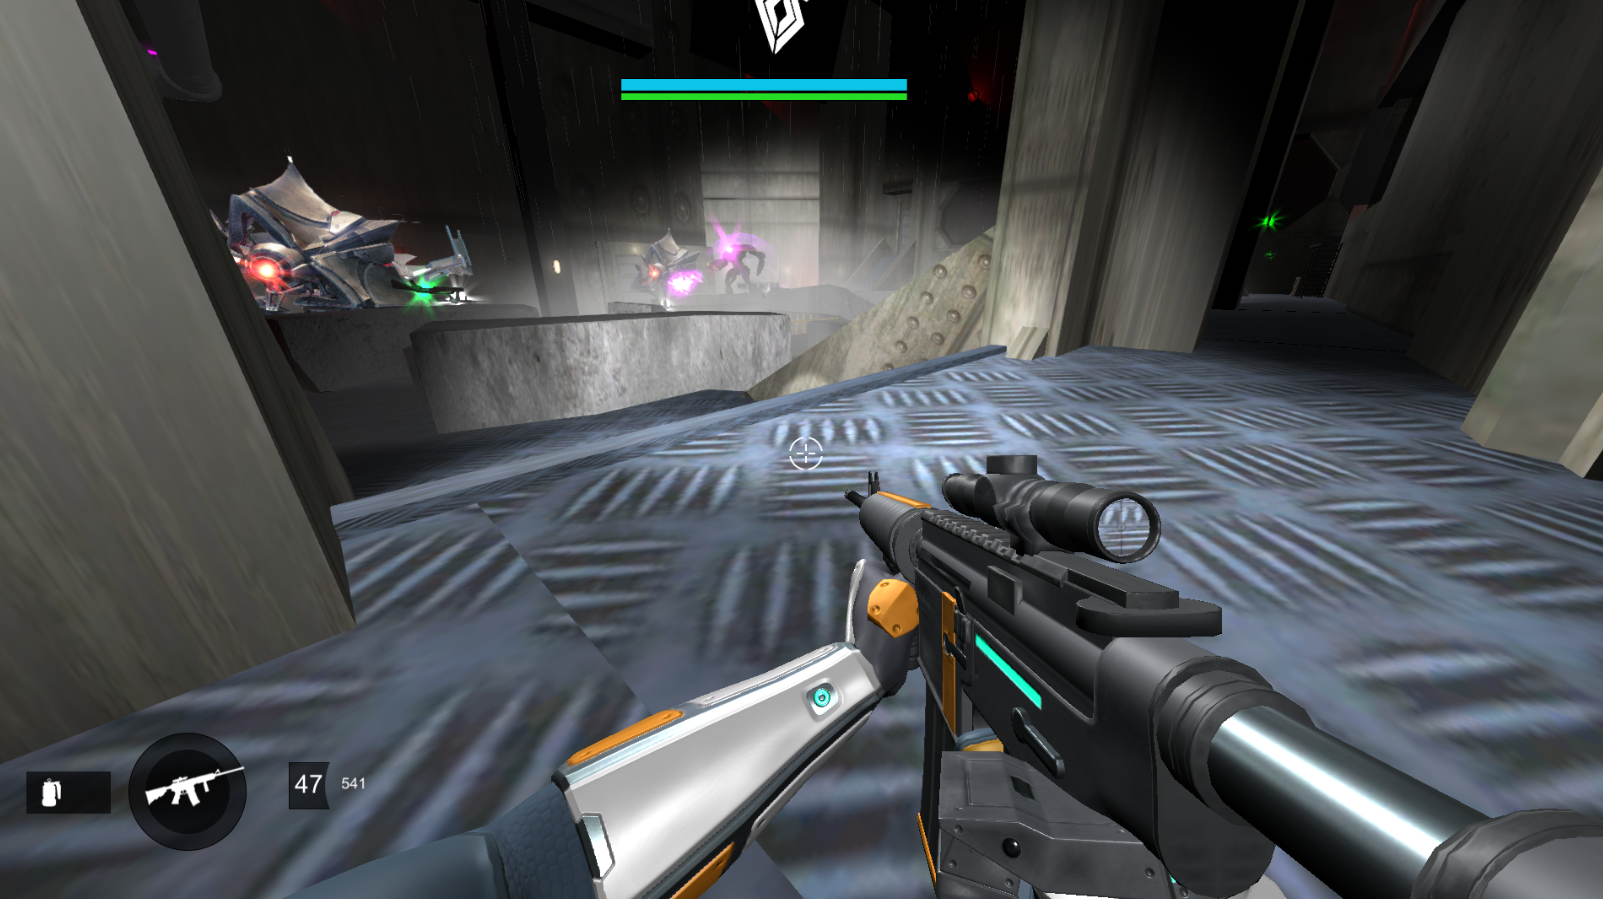
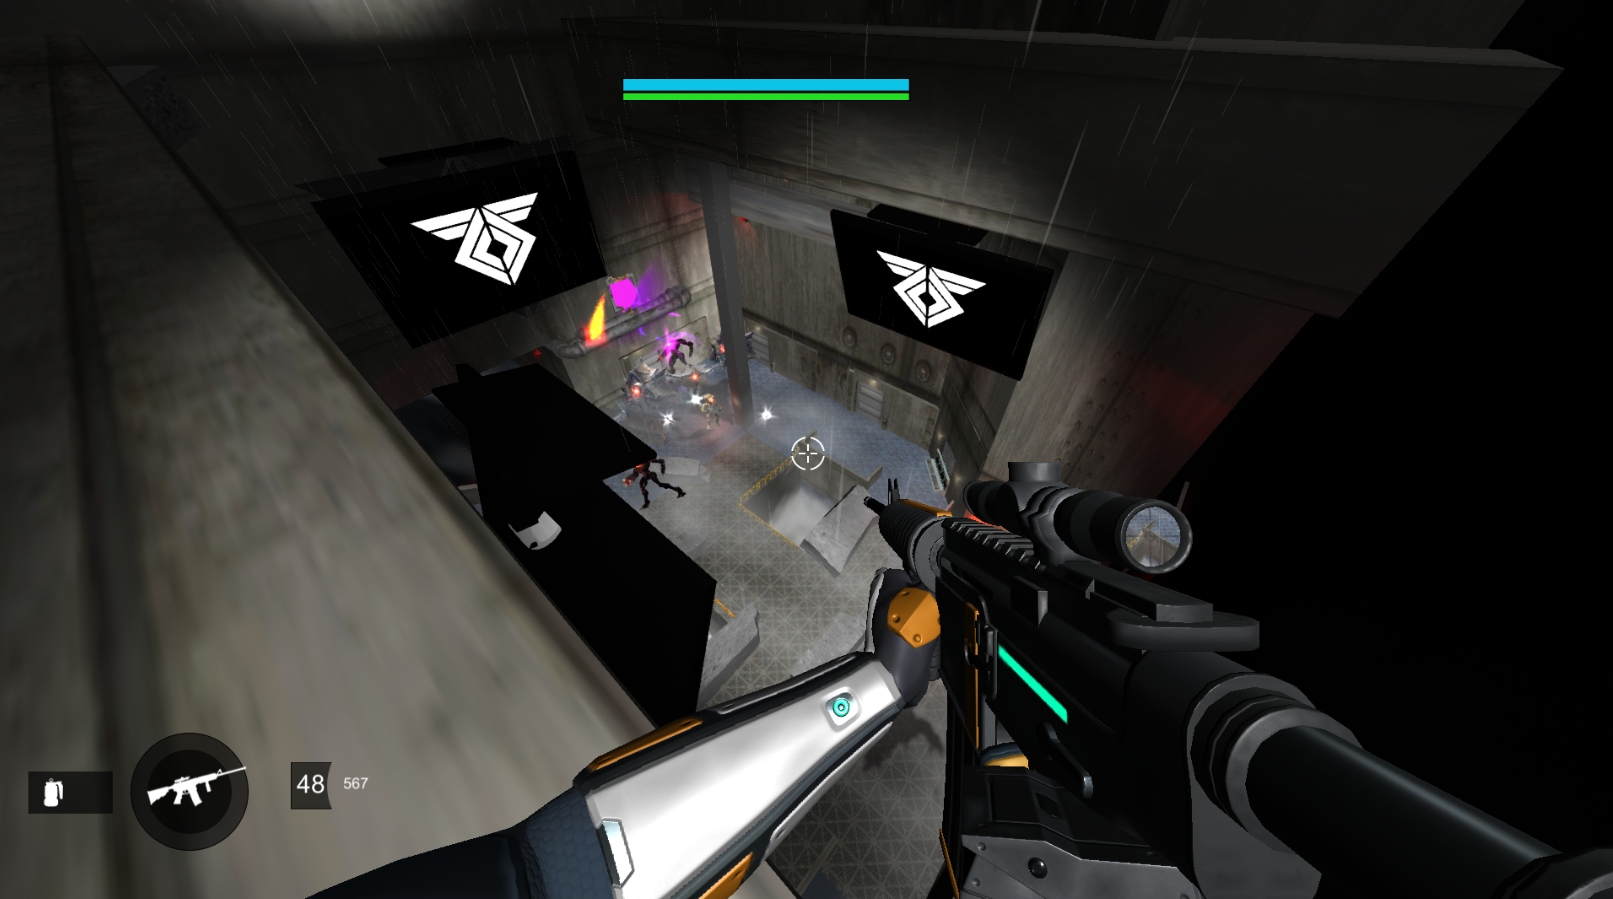
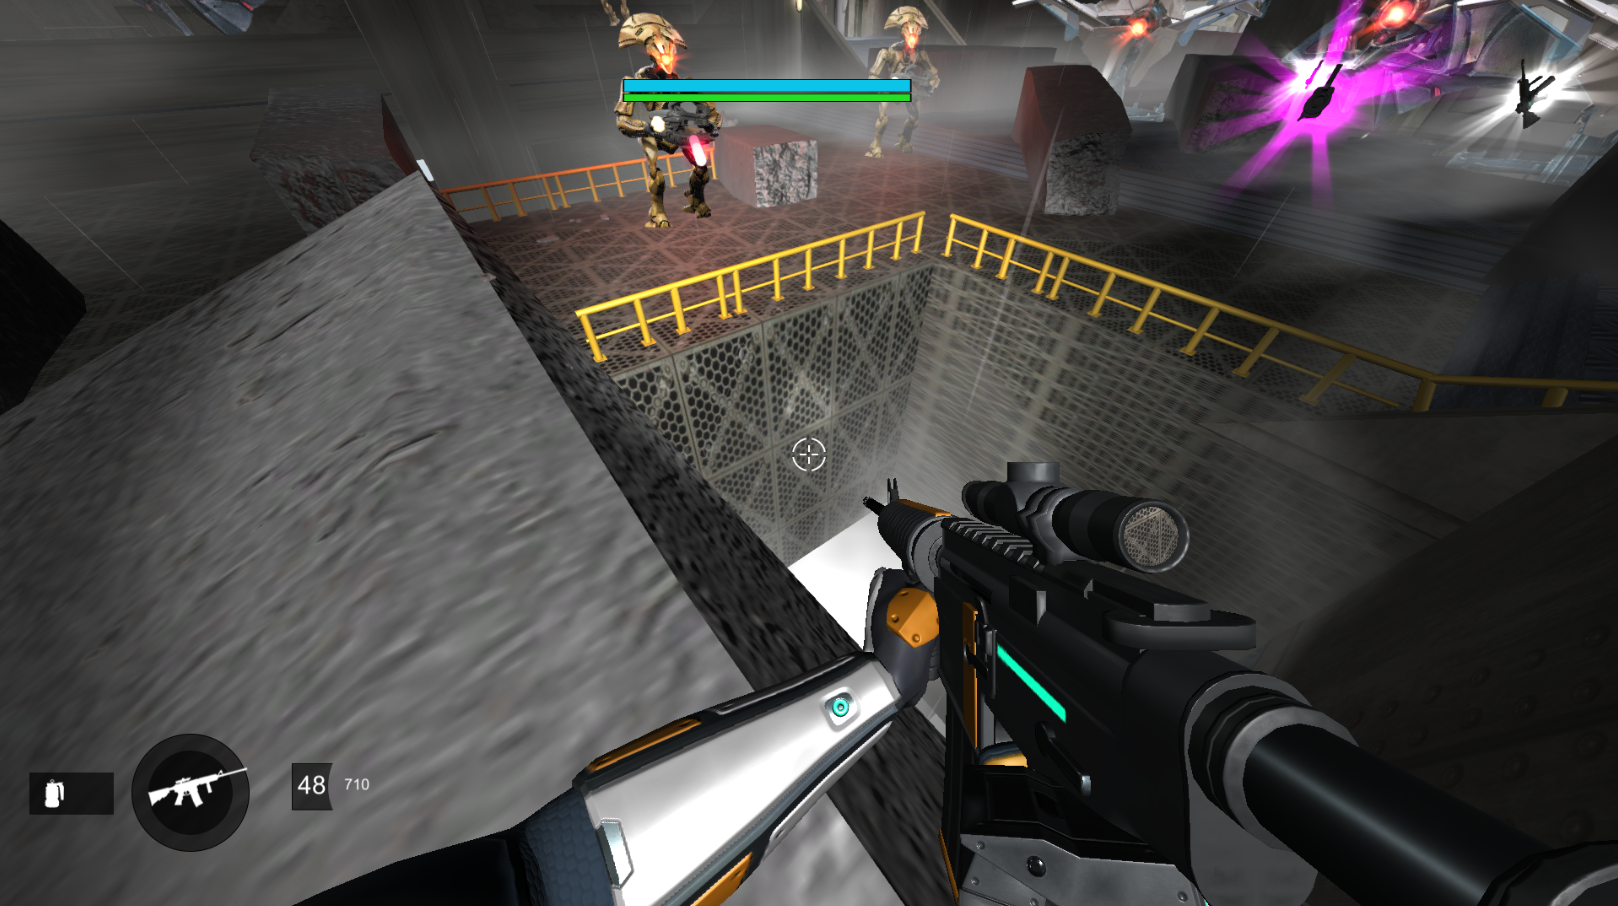
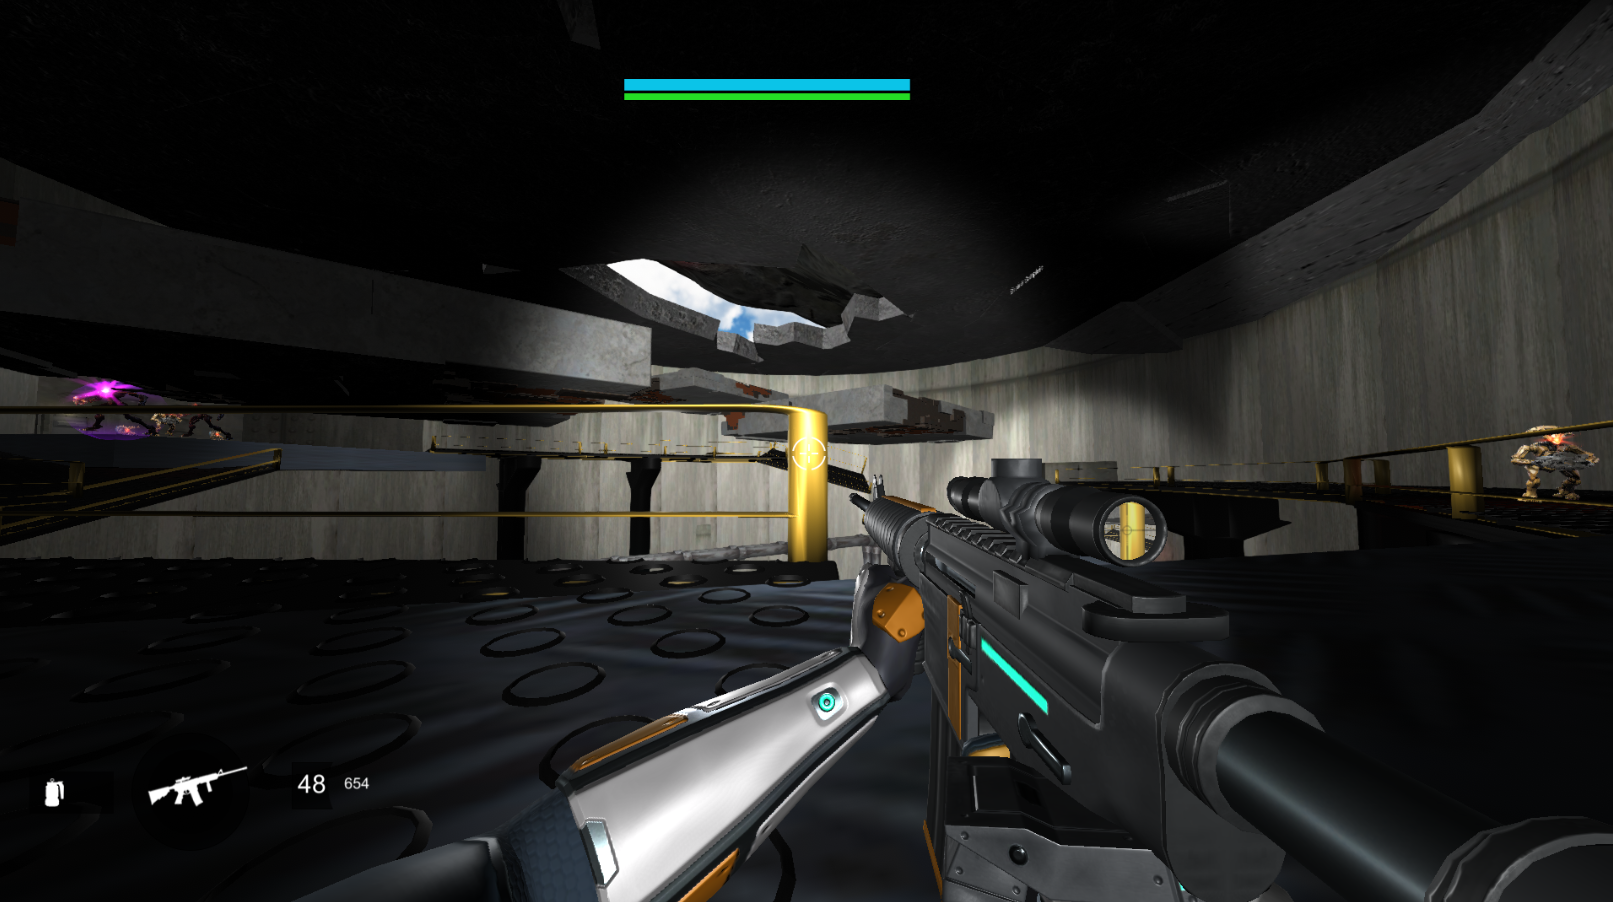
At the far end of the room, a vent is blocked with the same glowing purple energy that the Minotaur Boss has.
I've given stairs a specifically high railing, which provides cover and neat angles for shooting.
Moving to the bottom of the stairs, you are behind cover, and can move forward in the room and only need to shoot one Hobgoblin.
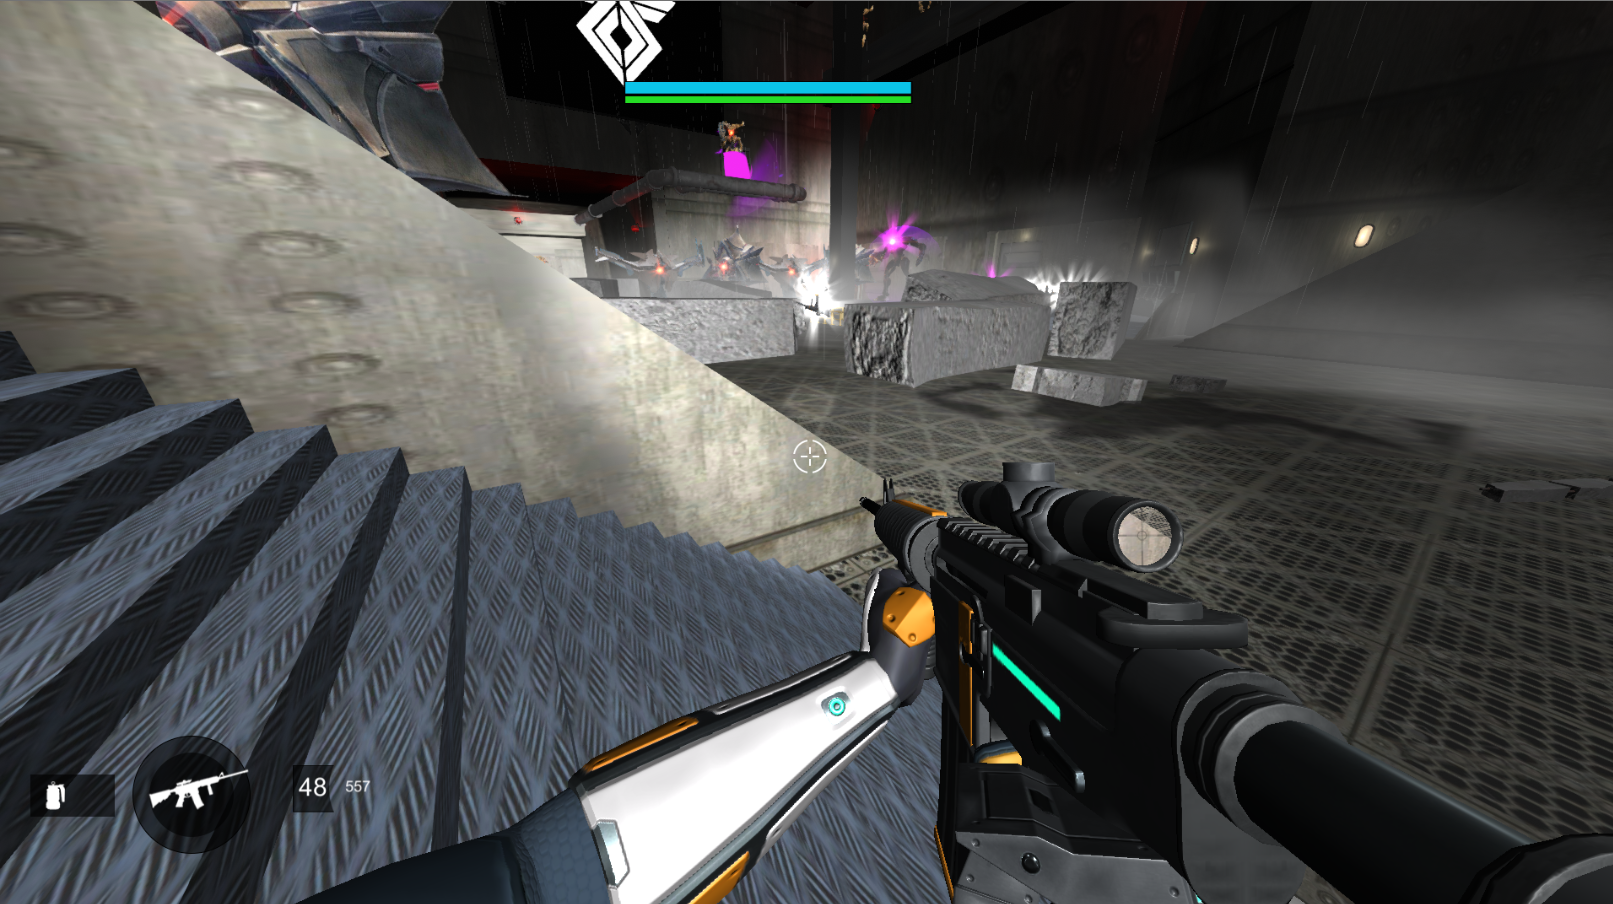
Moving across the room, fallen concrete from the collapsed roof provides cover.
You can fight in the middle, or move to the stairs for some high ground.
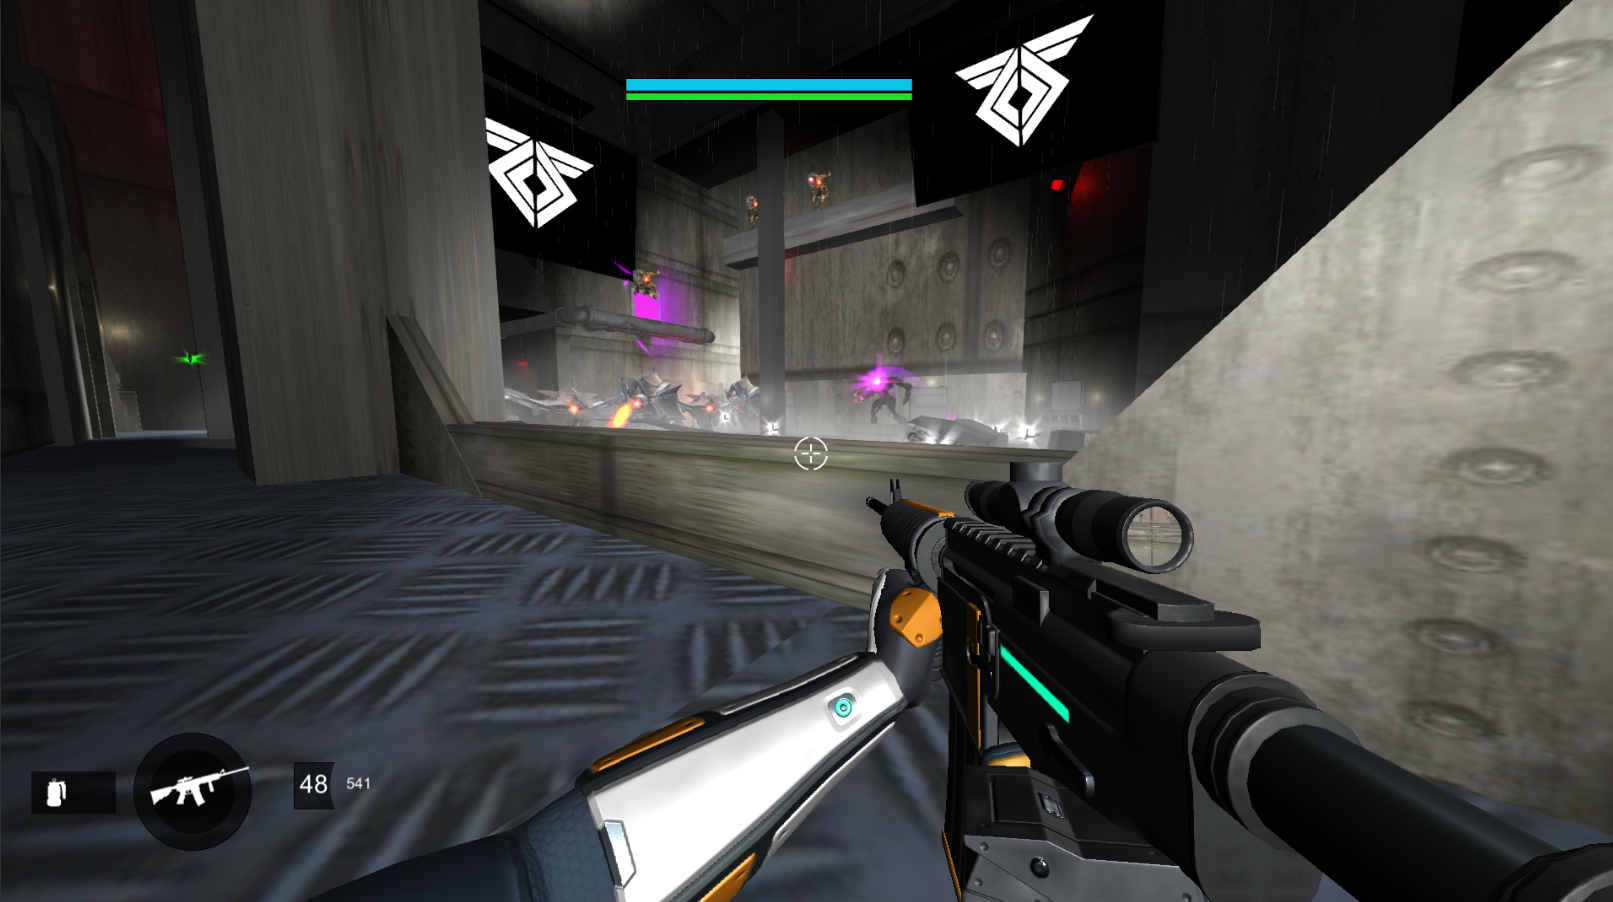
This side of the room is elevated and provides better sightlines.
Killing the purple Minotaur first will spawn a second wave of ads, but the rest of the ads won't despawn, so it's best to clear the room first.
Moving along the railing, I've made structural triangles around the pillars to create more spots to strafe in and out of cover.
Rasputin's Symbol shows on the monitors.
I almost forgot. All enemy types of the Vex are in this mission.
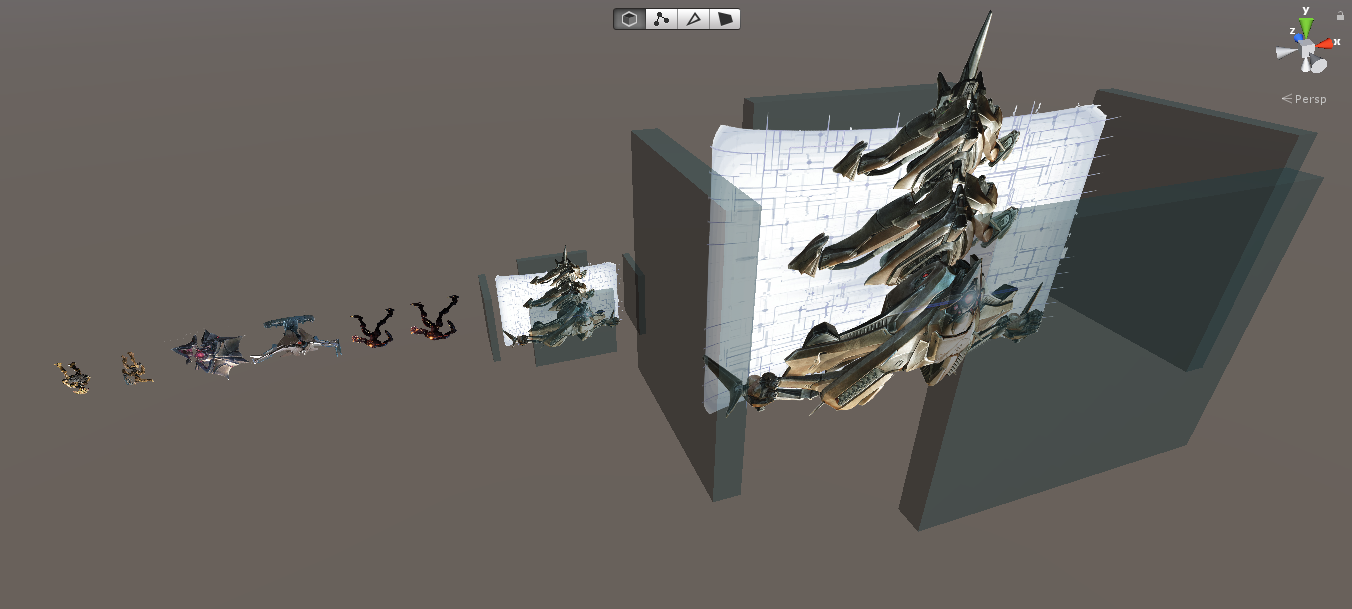 They all have health and behave similarly to the real-game versions.
If you shoot them, they let out the same cries they do in-game.
Goblins sound like Goblins, and Harpies sound like Harpies.
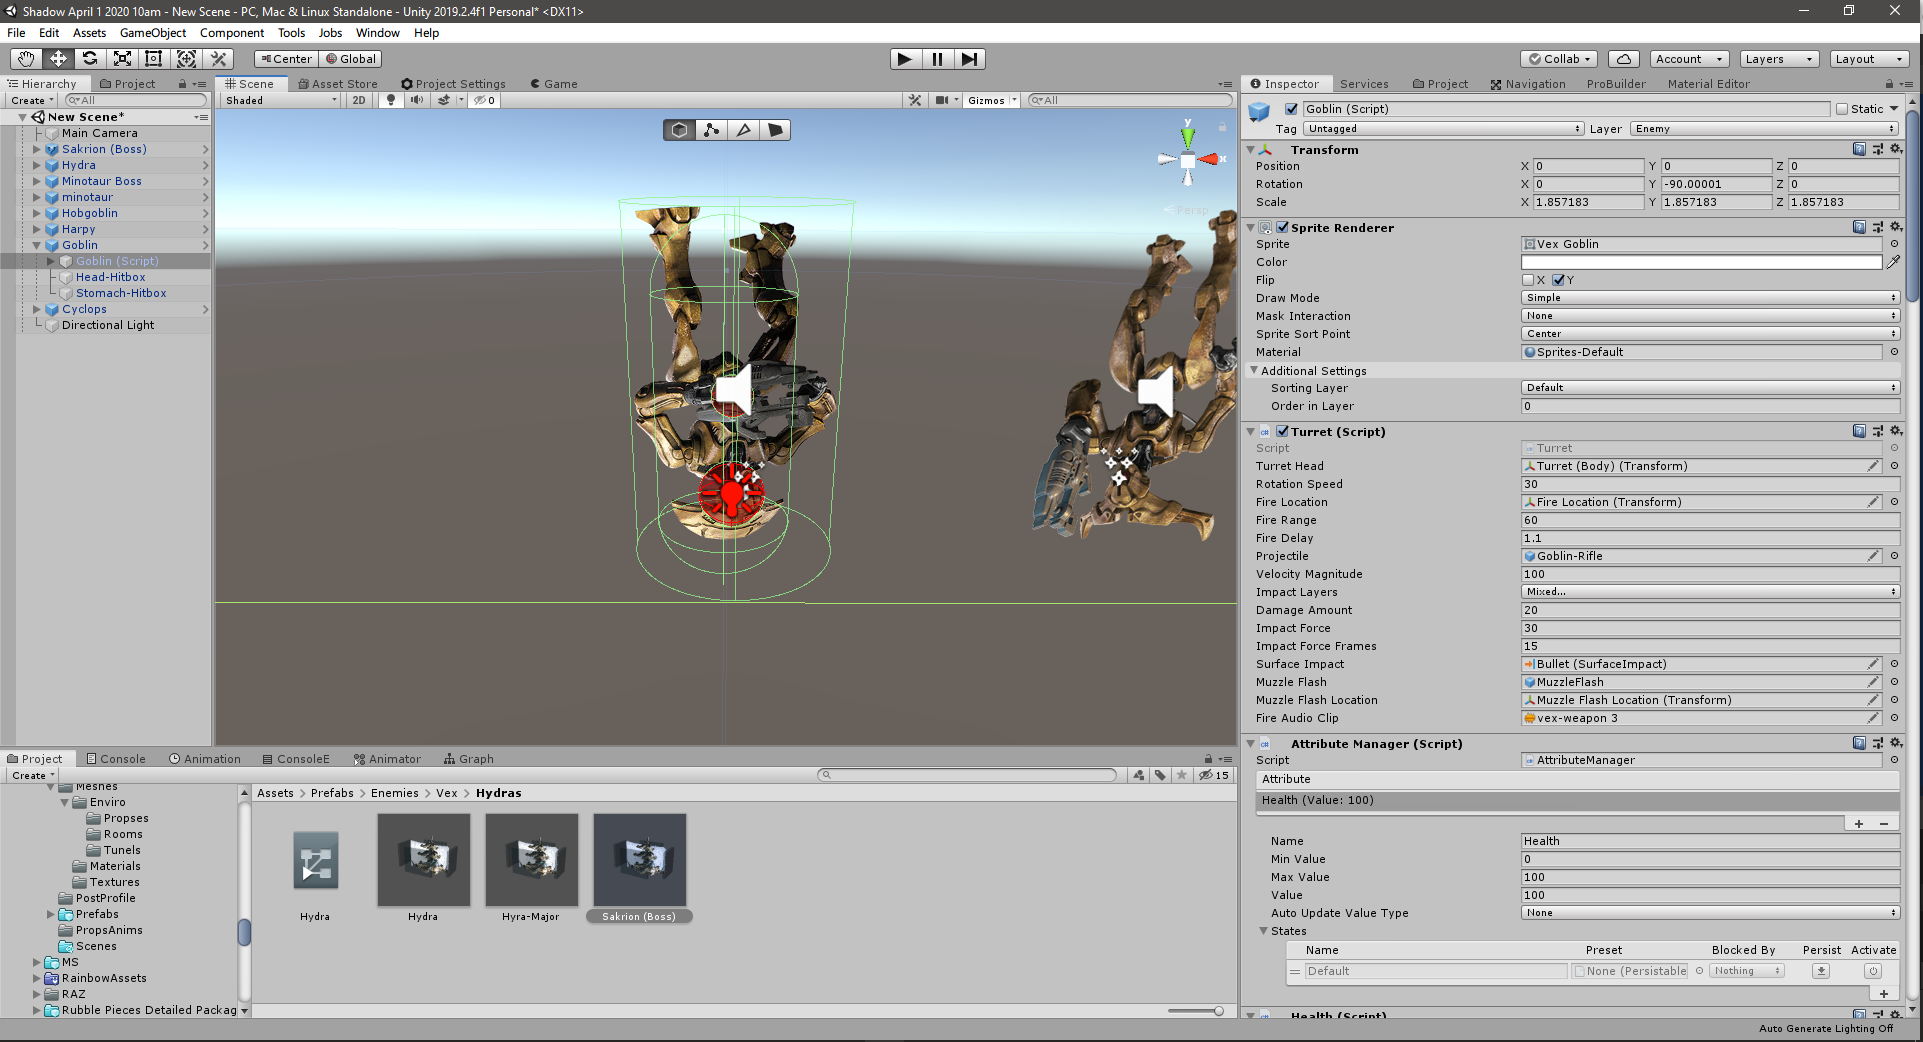
Hitting them plays a random audio sound from a list of around 10-20 game-ripped sounds.
When you kill them, a death explosion plays, and they play a random death sound specific to their enemy type.
Bosses have glowing purple shields, and their eyes have bright glowing orbs on them to show the difference from regular mobs.
All their weapon sounds are also hand-ripped from the game.
At the end of the stairway are some stairs to a raised section.
You can strafe the door, or fall back into a small room to the left.
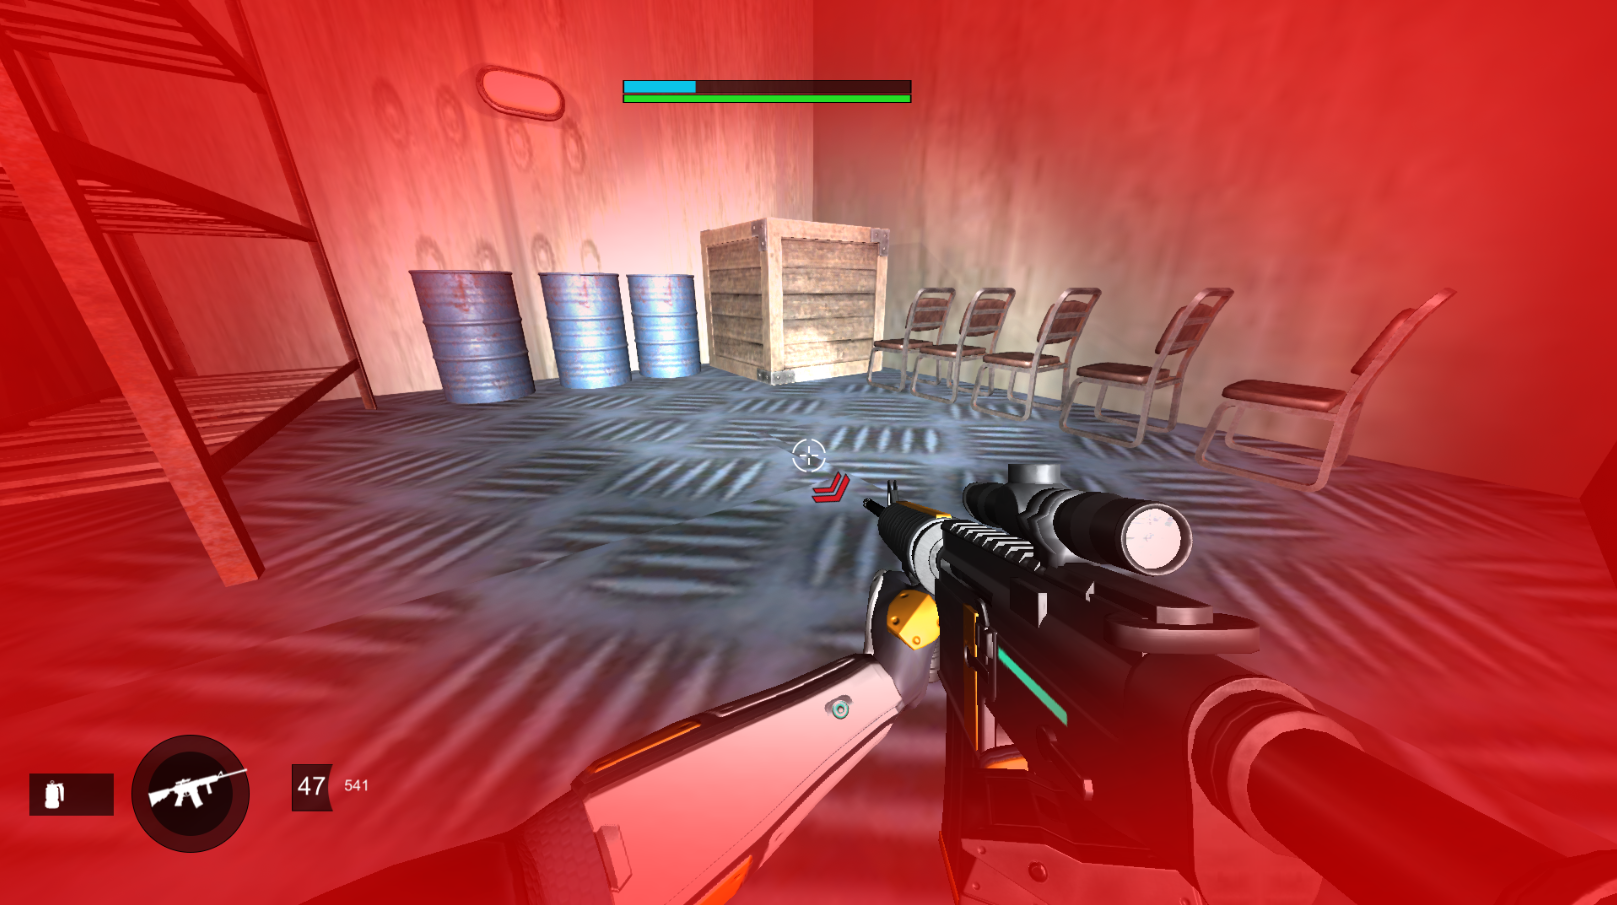
There's a small room you can fall back into to get some better angles if needed.
Barrels, boxes, chairs and shelves all have realistic physics, and some can be used for cover (not here though).
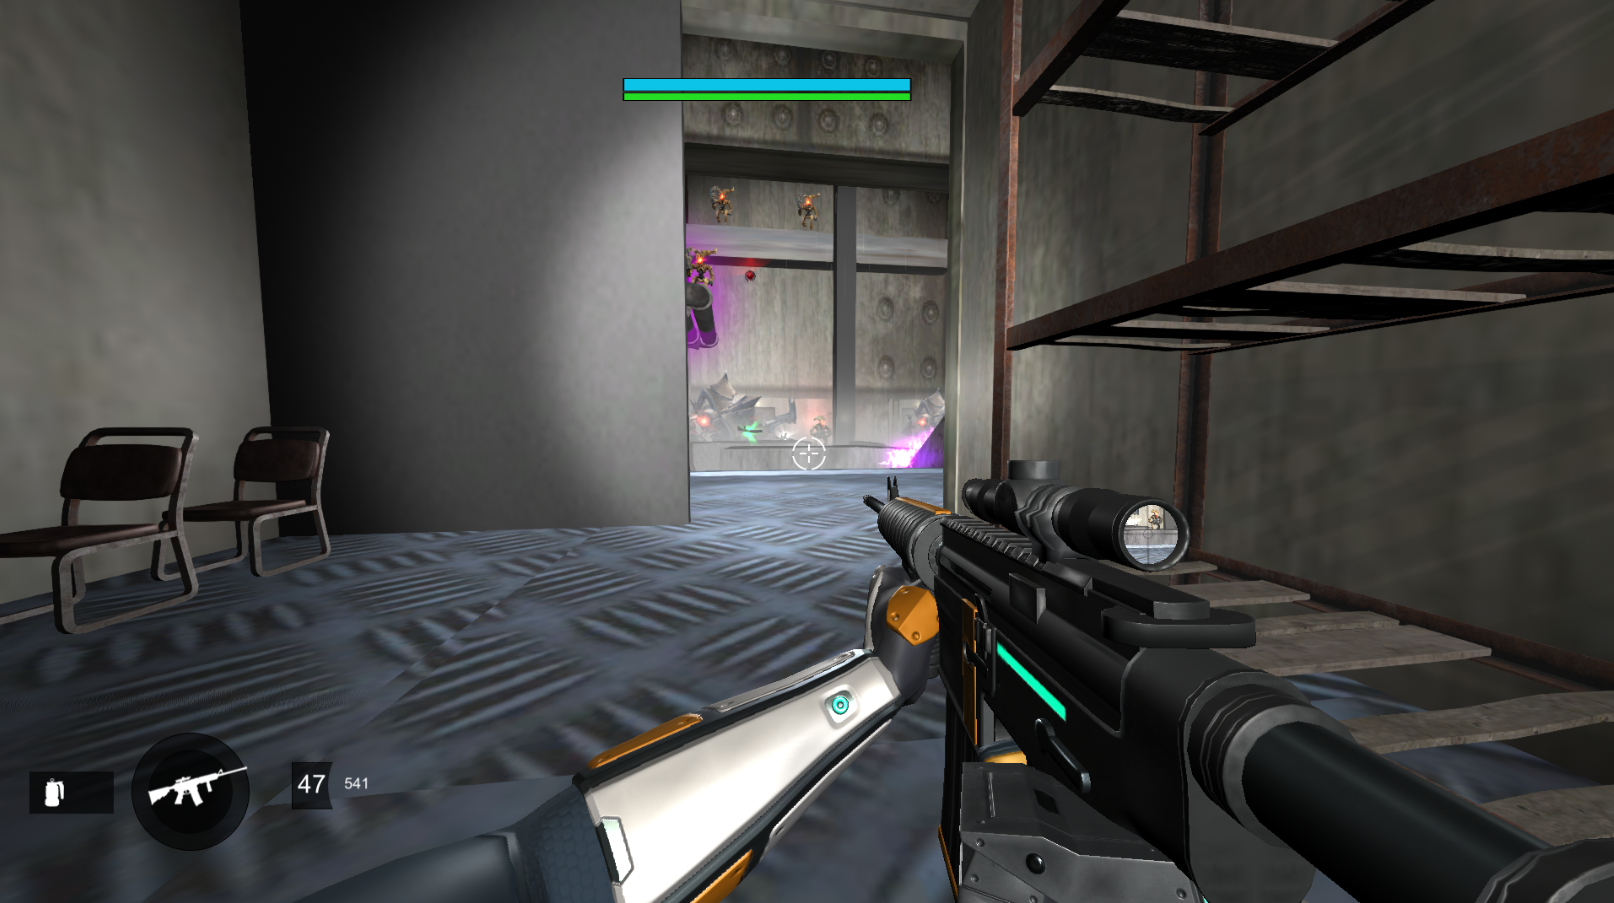
Inside the small room, you can get a good view of the Hobgoblins above.
These stairs are small but provide cover from the left and right sides.
You can move ahead to the concrete block, shoot to the right and peak cover, or clear out the left side and move in.
This hallway provides a good 180 degree angle shot of enemies.
You can duck further back if you get pushed.
This area was added later in development to help the space breathe a little better and make it feel bigger than it is.

Since this was made for my Level Design class, we found it fun to troll our teacher by putting our other teacher Nick into our levels.
This can be replaced as a Dead Ghost or a lore entry in the real game.
I forgot to mention this.
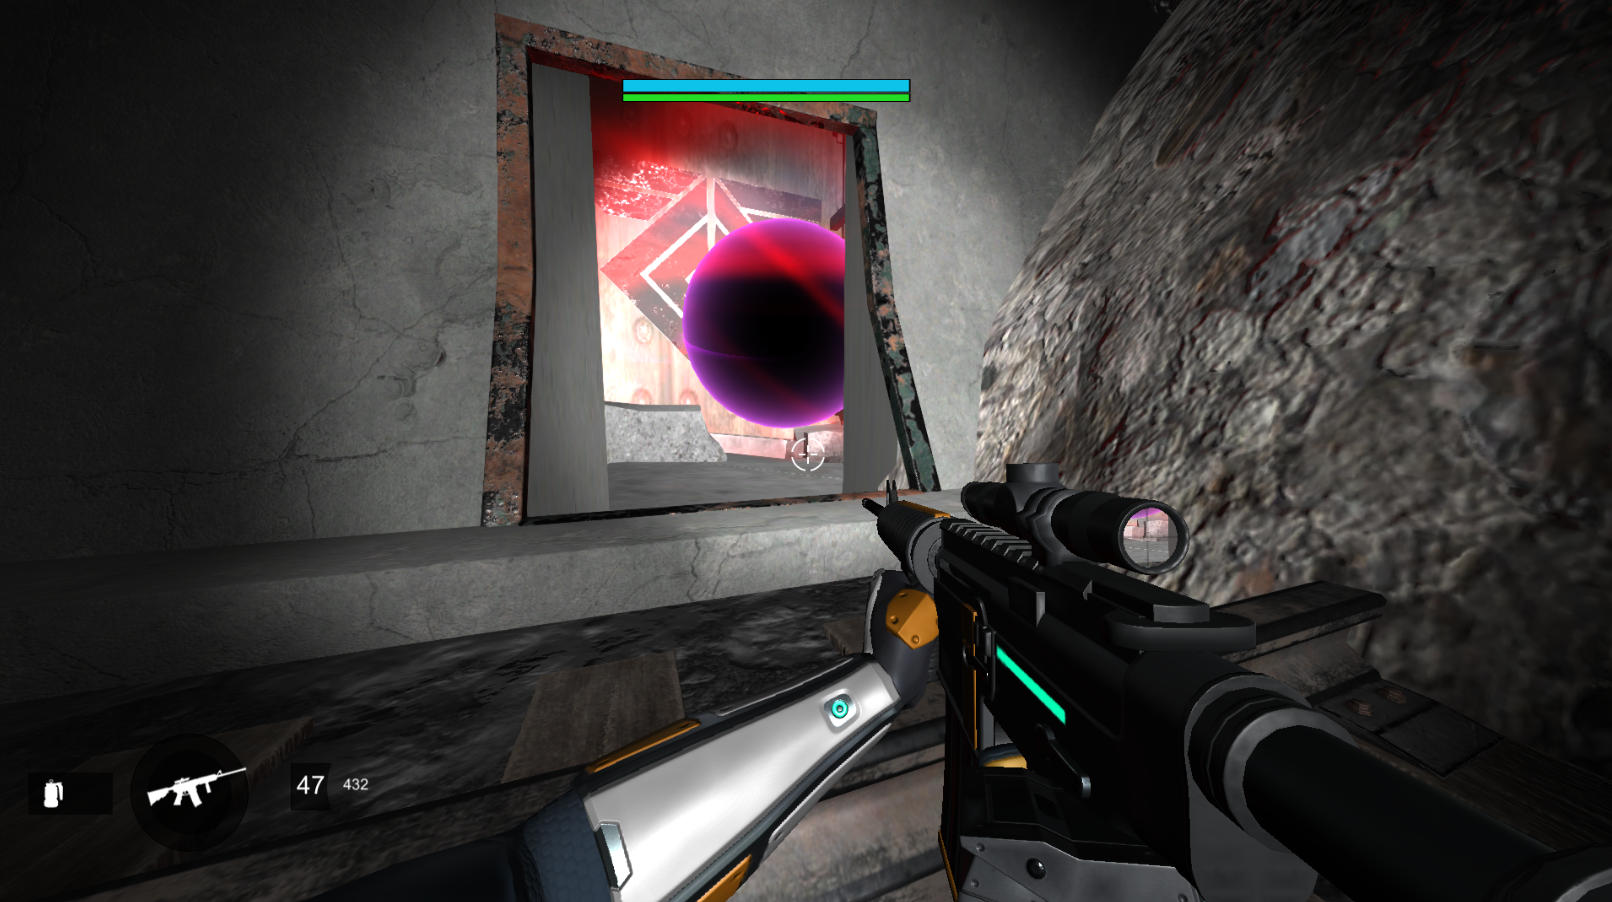
If you look up, the room is very tall, with a long winding path up to the surface where light is shining through and water is raining down.
It makes the room feel bigger than it is, gives a sense of perspective and scale, and establishes the setting.
I took a lot of long walks through Warmind bunkers on Io and the EDZ to look at the architecture and feel of the spaces, to try and best represent them with the assets I had.
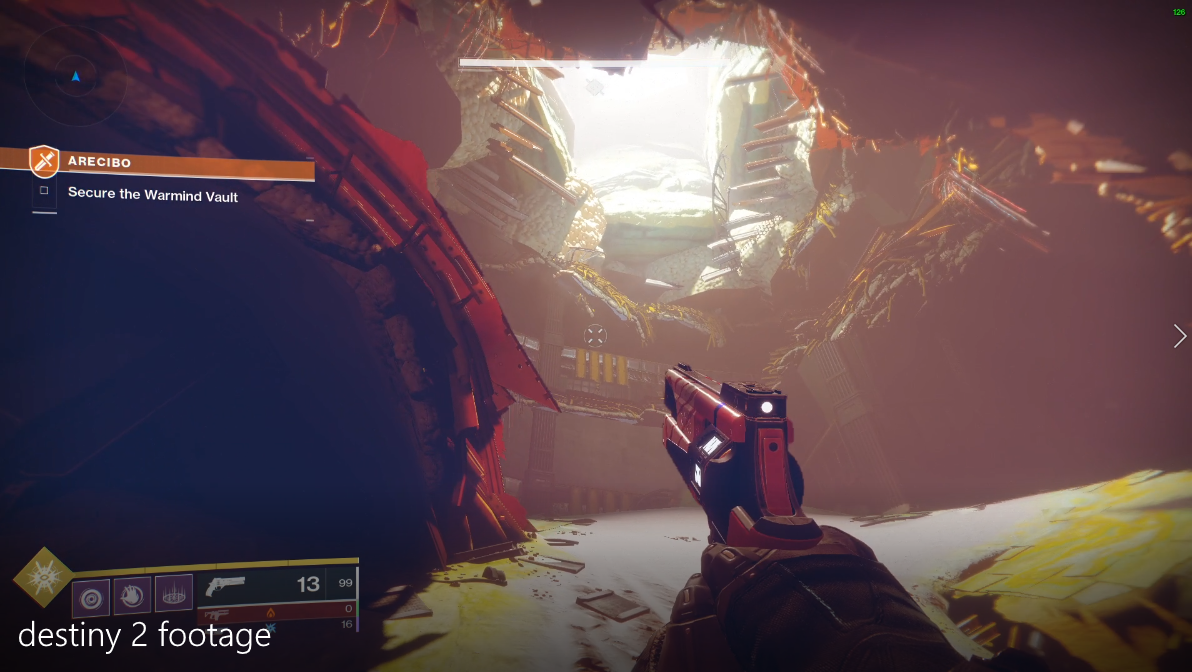
This area in particular I tried to best re-create.
It's from the Arecibo Adventure from the Vanilla Game.
These columns can be climbed, and provide a bit of a 'cheese spot' to fight the encounter.
Can't have a Destiny level without a cheese spot!
I also forgot to mention, falling through these white holes in the floor will kill you.
There's a spot to wipe (kill yourself) in each room, so if something messes up you can reset.
There are checkpoint systems in place so you'll spawn at the beginning of a room if you die.
Back to the mission walkthrough.
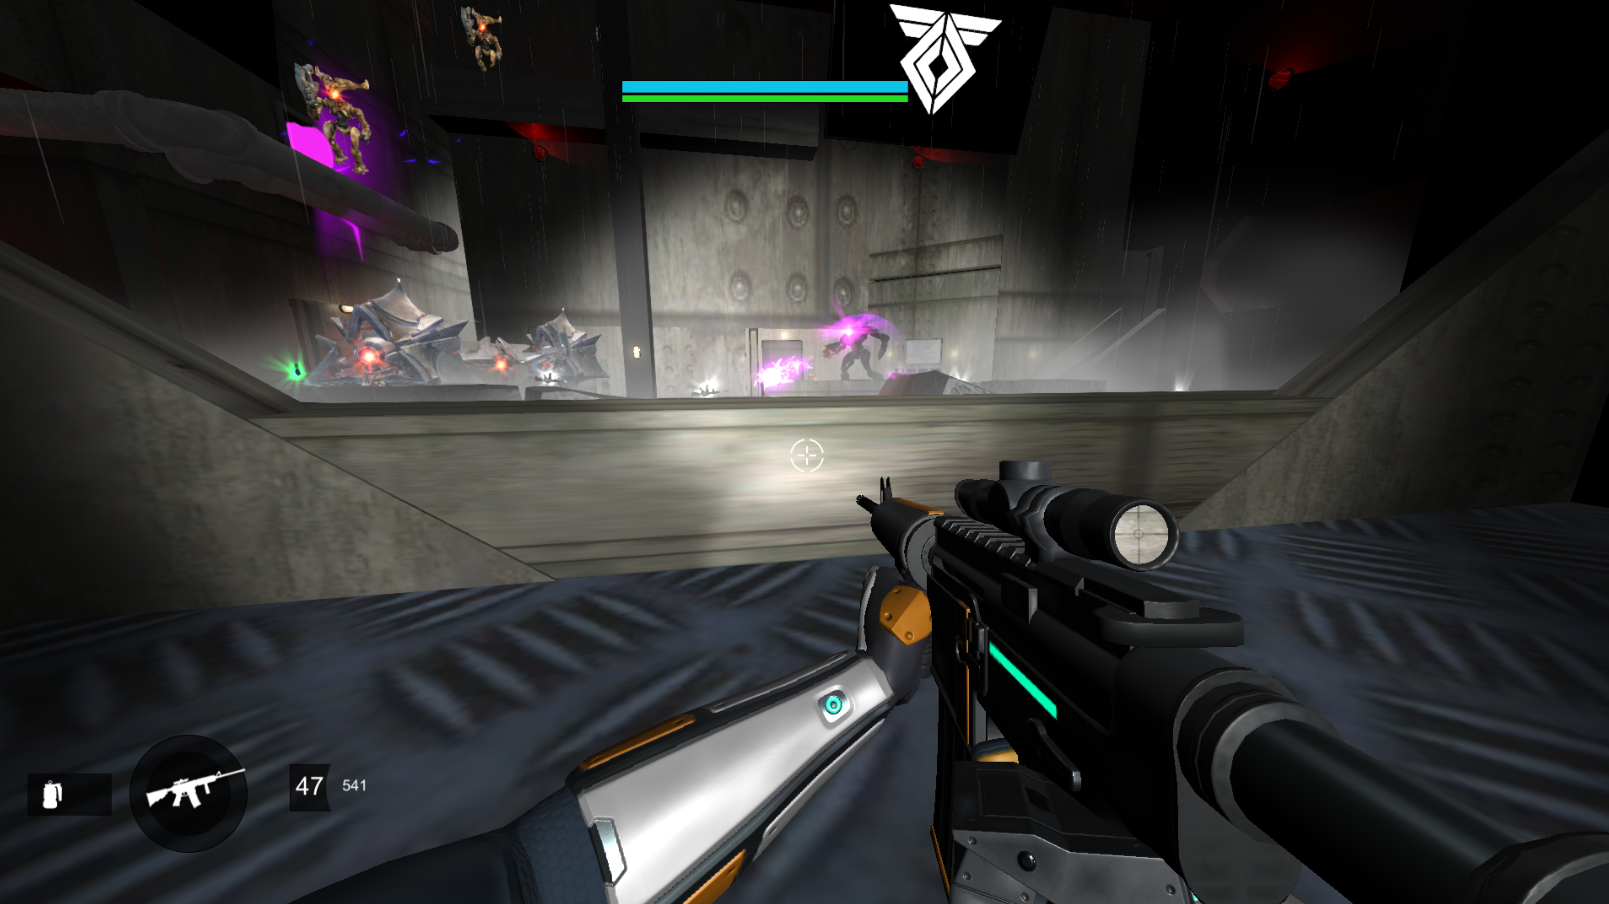
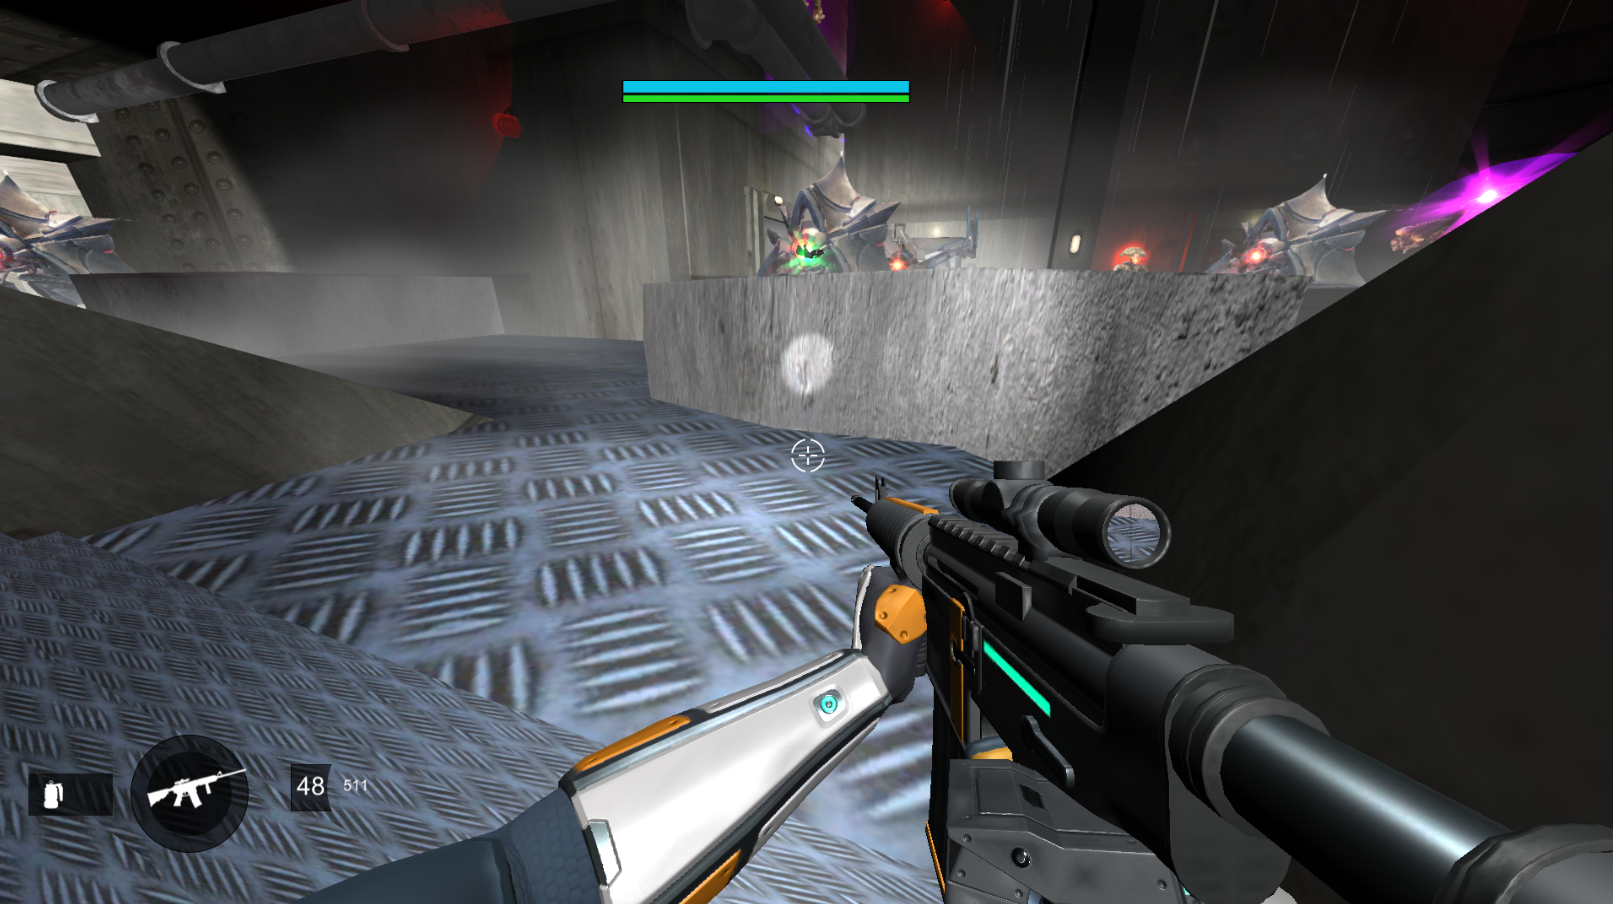
Killing the purple glowing Minotaur will spawn a second wave of ads.
A second wave of enemies spawn in, and killing the Hydra opens the vent.
The enemies are mostly placed in the area where you first entered the room, so the second wave plays differently than the first.
You'll mainly be fighting from the back end of the room back towards the entrance.
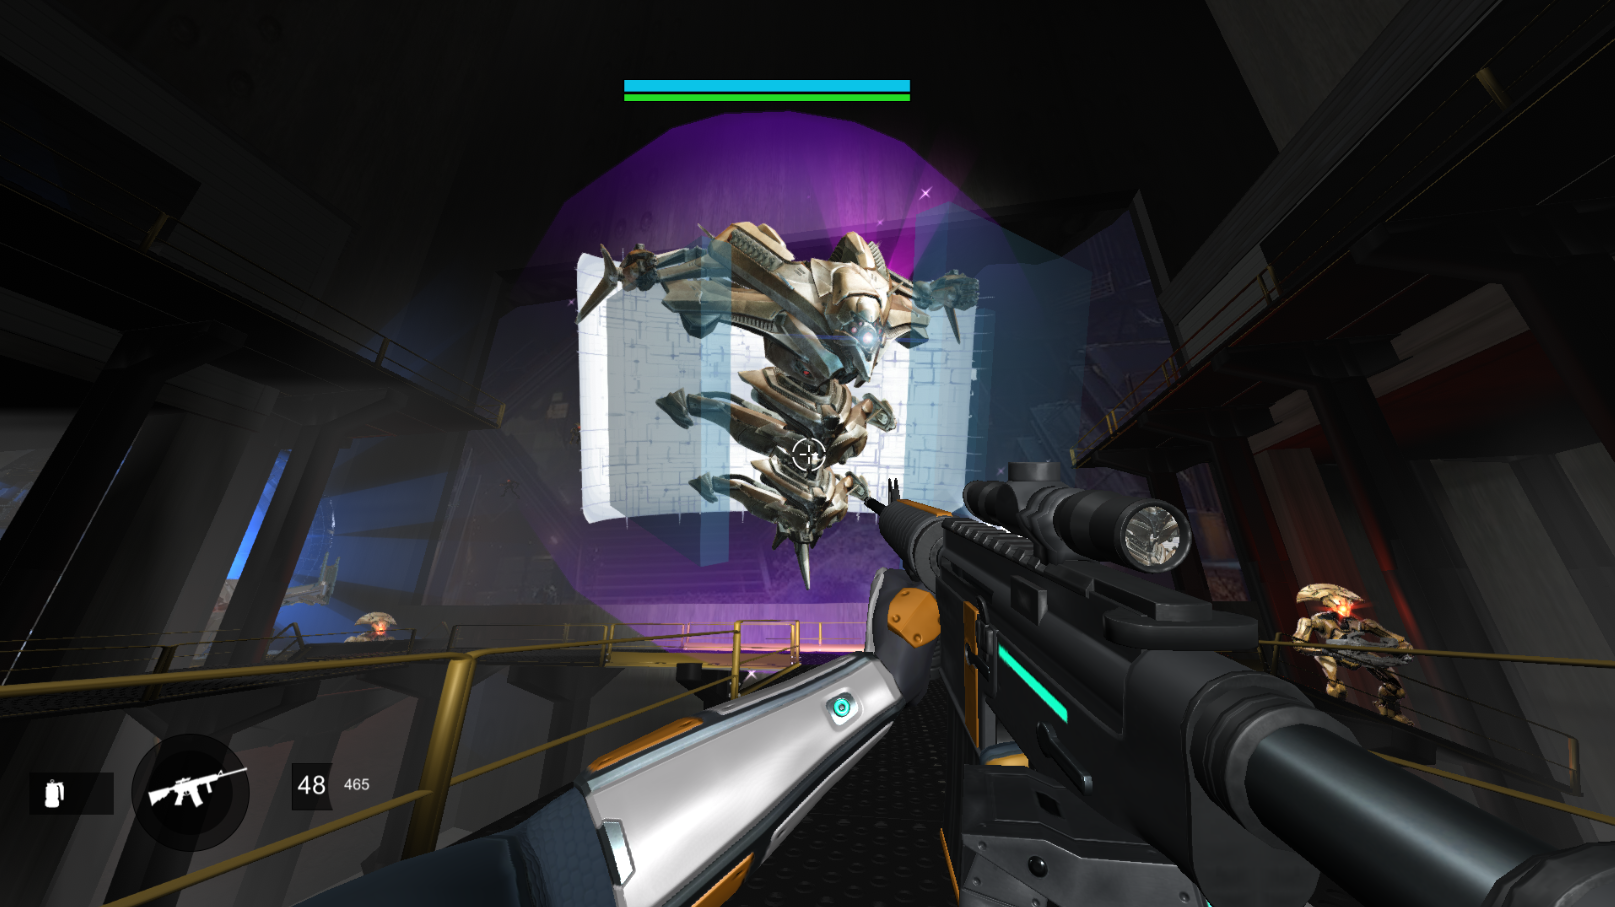
The Hydra has it's signature rotating shield, so you'll have to shoot between the shields to damage him.
Clearing the room plays a positive 'ding' sound, and your HUD updates to tell you to move to the next room.
The vent is now opened, and a light is being shined on it.
It wouldn't be a Destiny level without climbing through conviently human-sized vents.
While the vent has a few small deadends, they aren't long, so the path is straightforward to follow.
Entering the vent triggers a script that unloads the Tunnel and Hole areas, while loading Room #2.
Adding this script allowed me to put more geometry and enemies in each room without tanking the CPU.
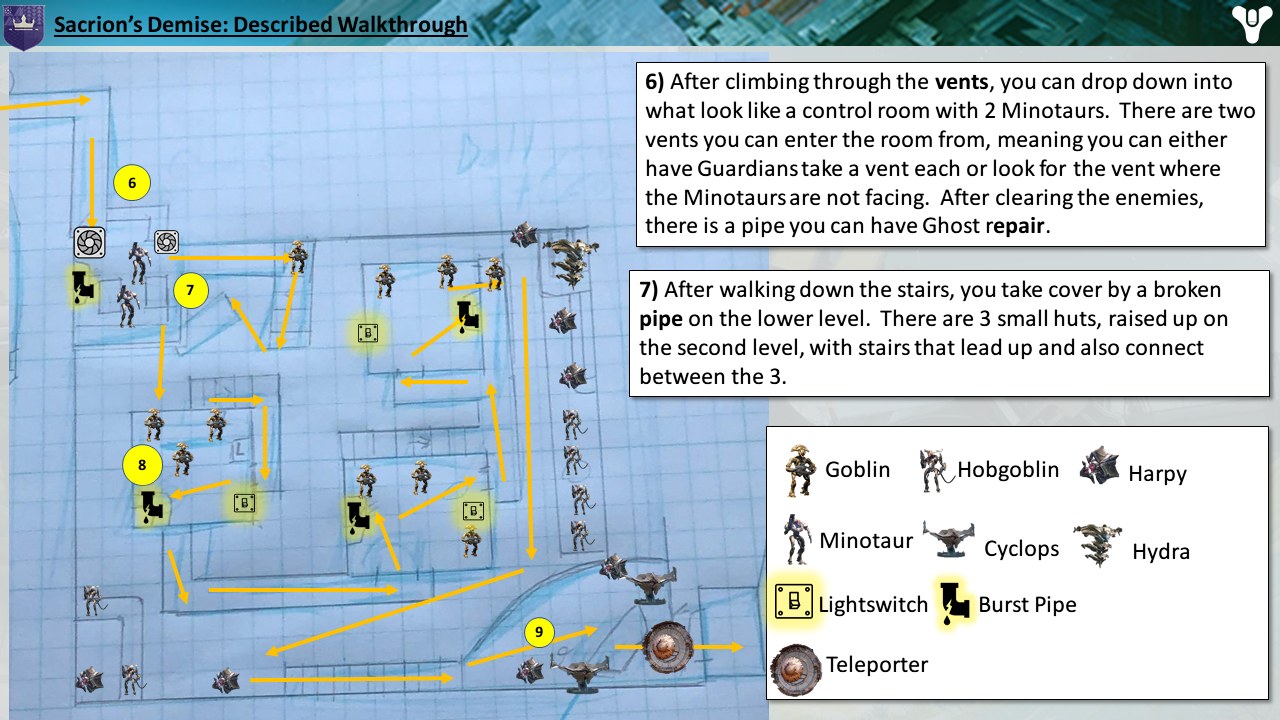
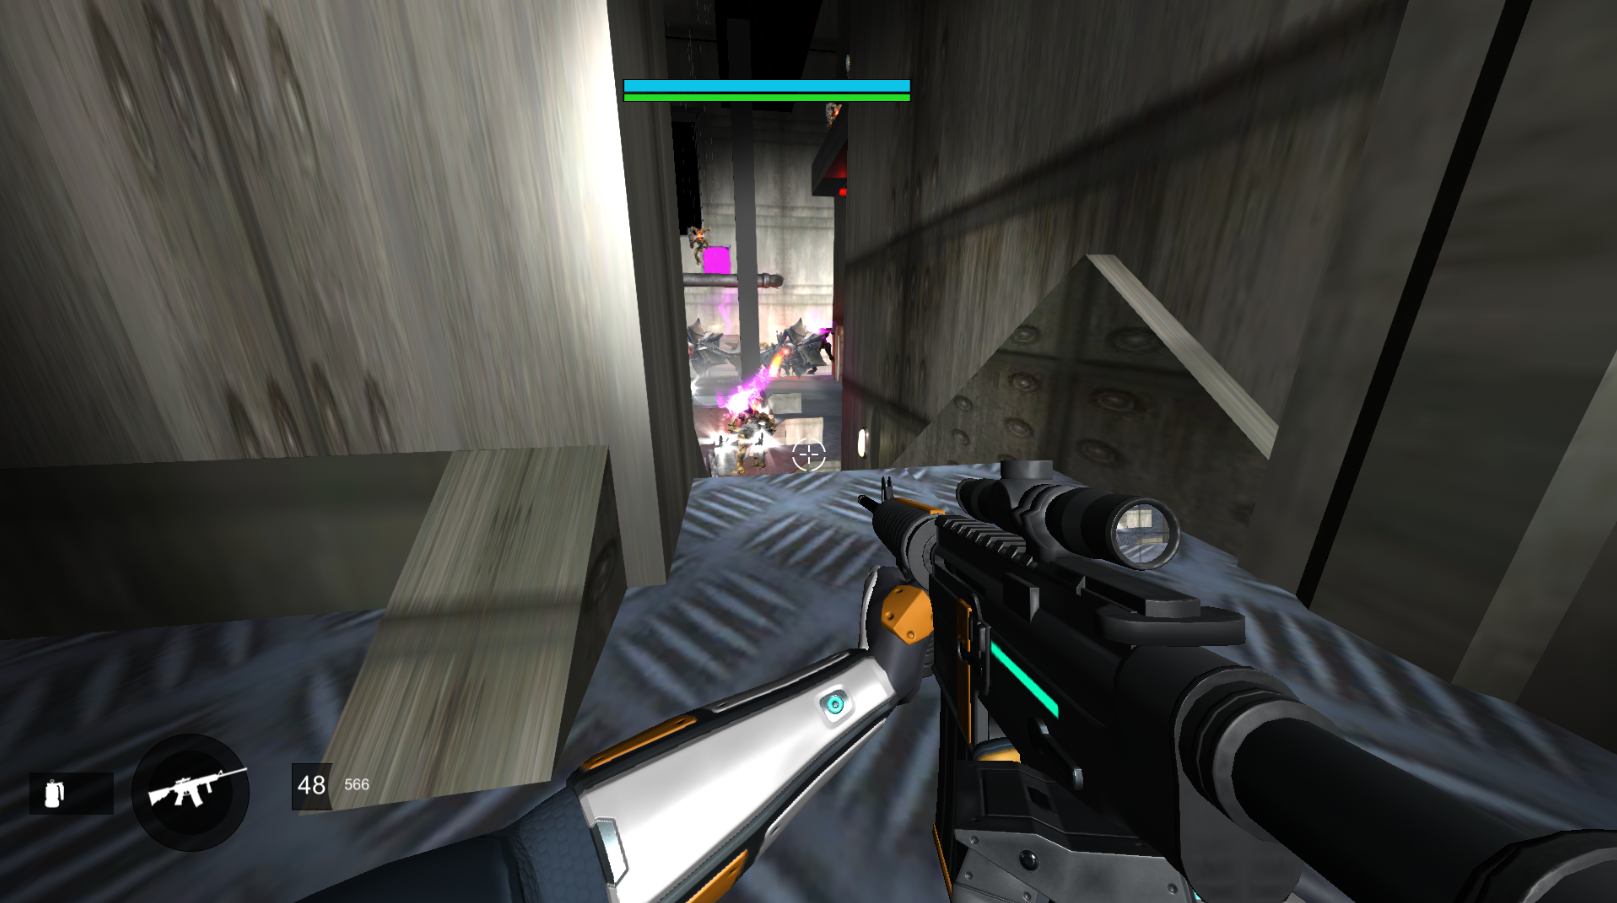
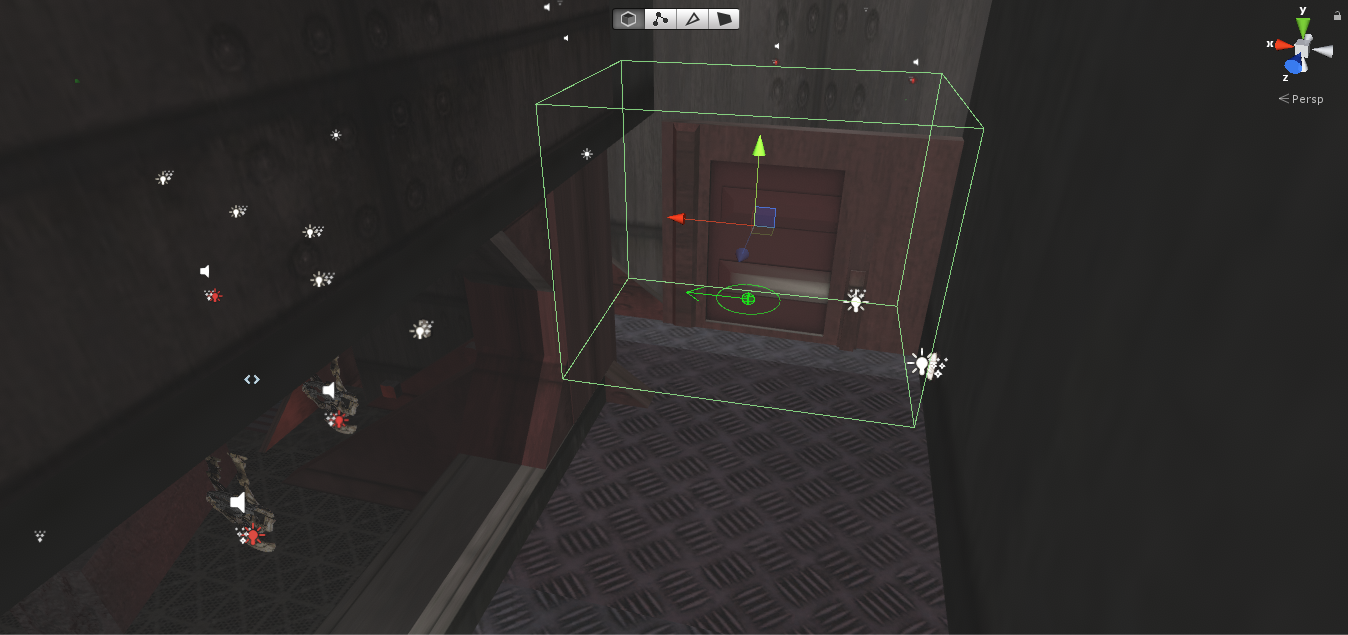
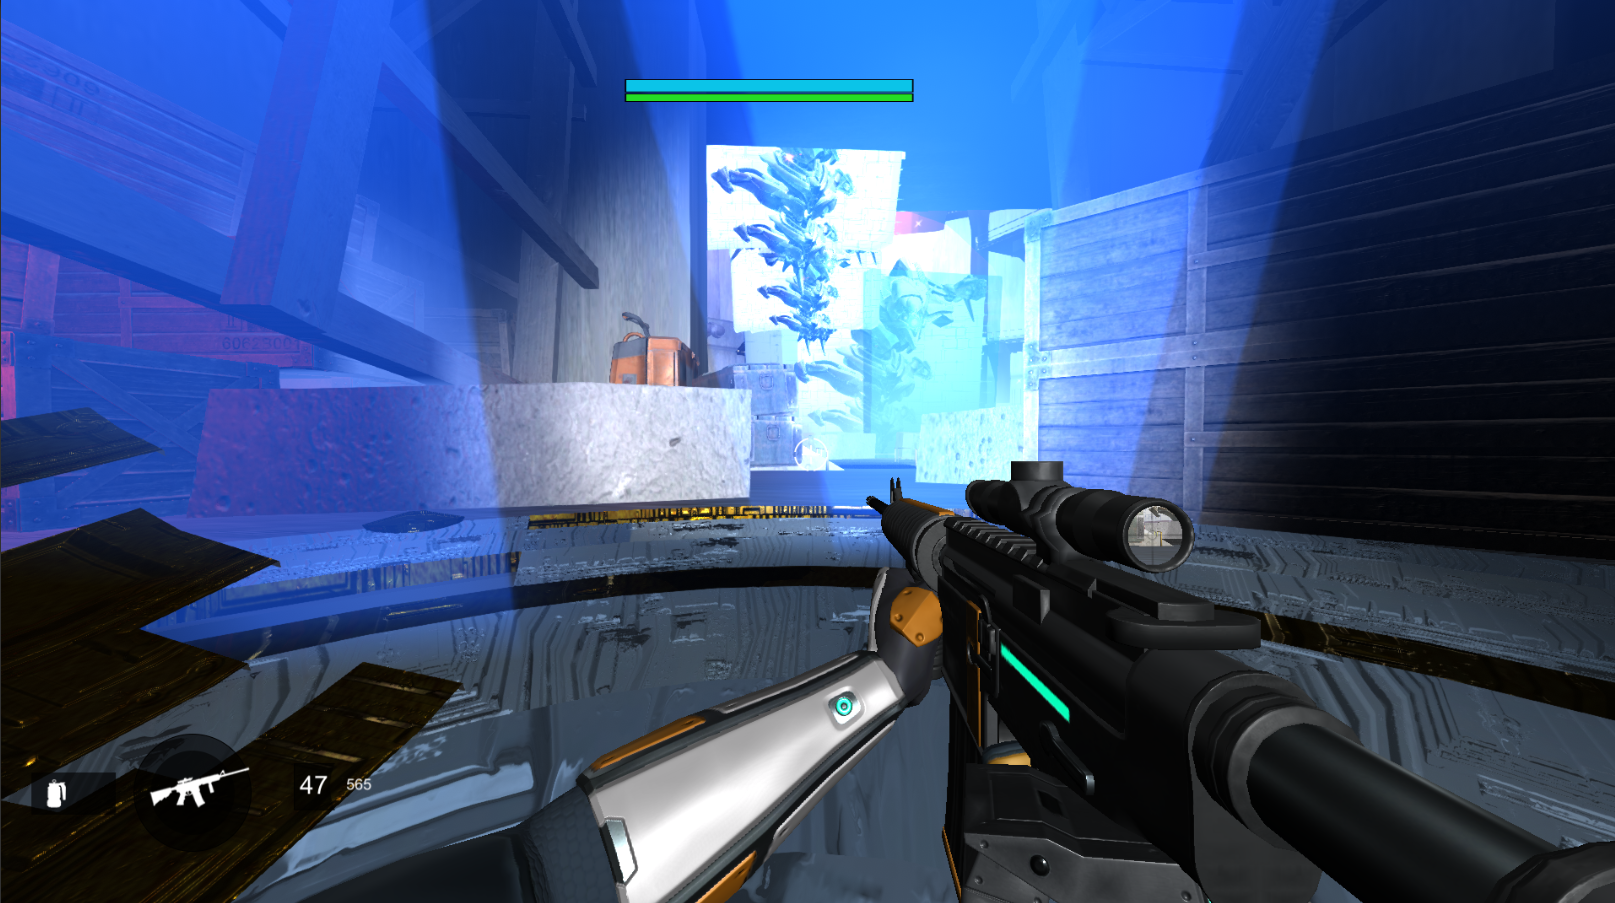
Dropping into the open vent will take you to Room #2.
Dropping down the vent puts you into a safe room with windows so you can scout the area from safety.
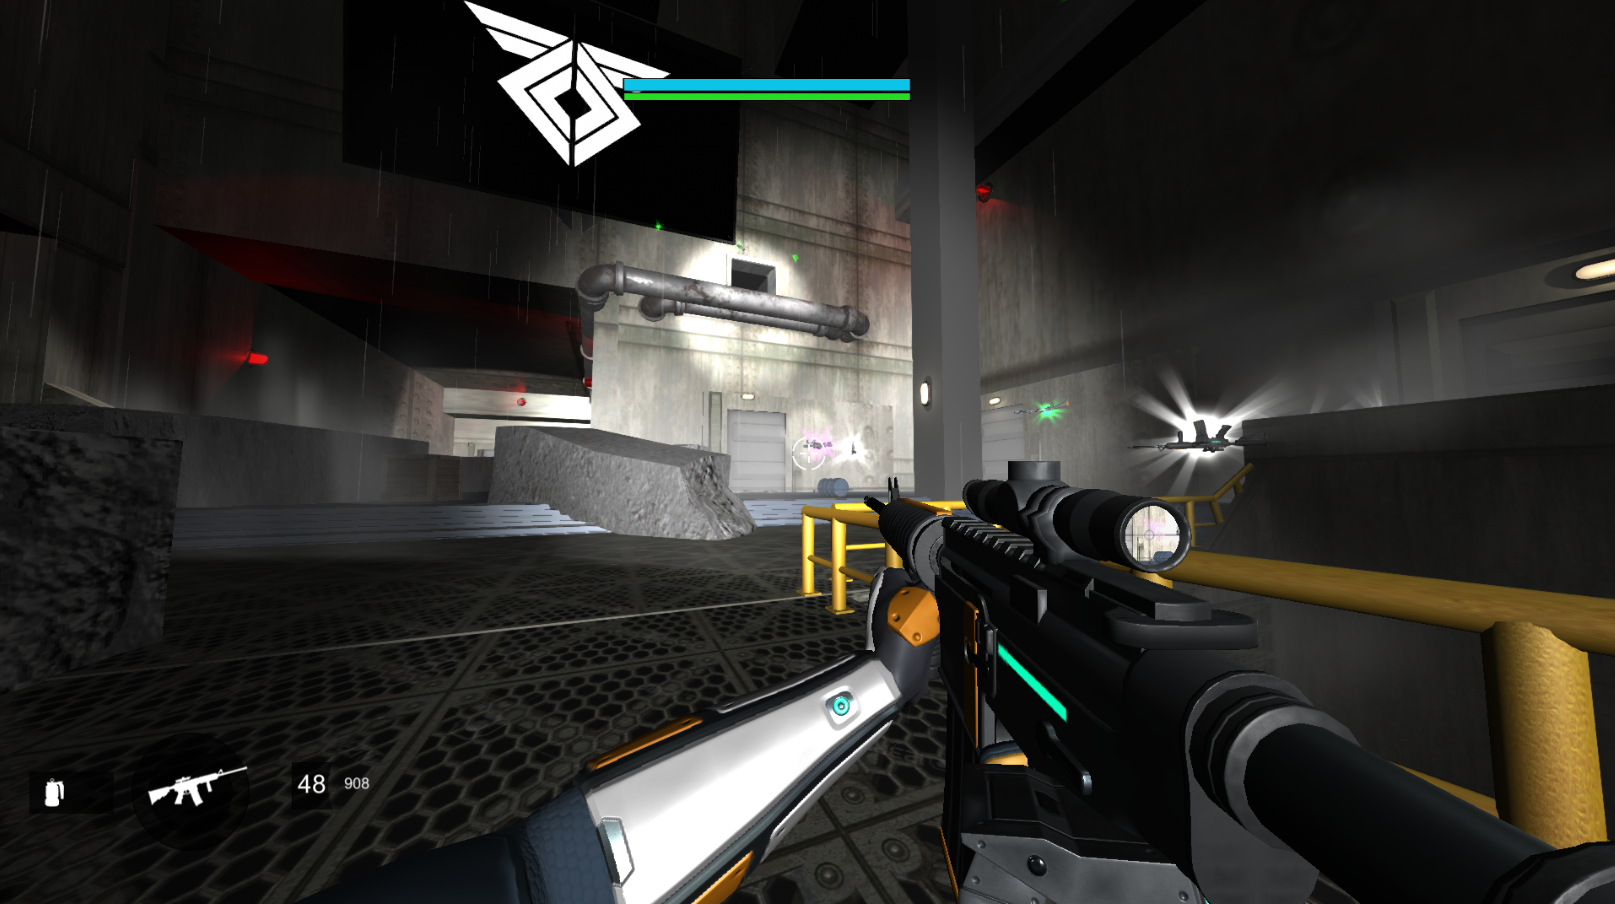
The room is more vertical, and has 3 bunkers connected by catwalks.
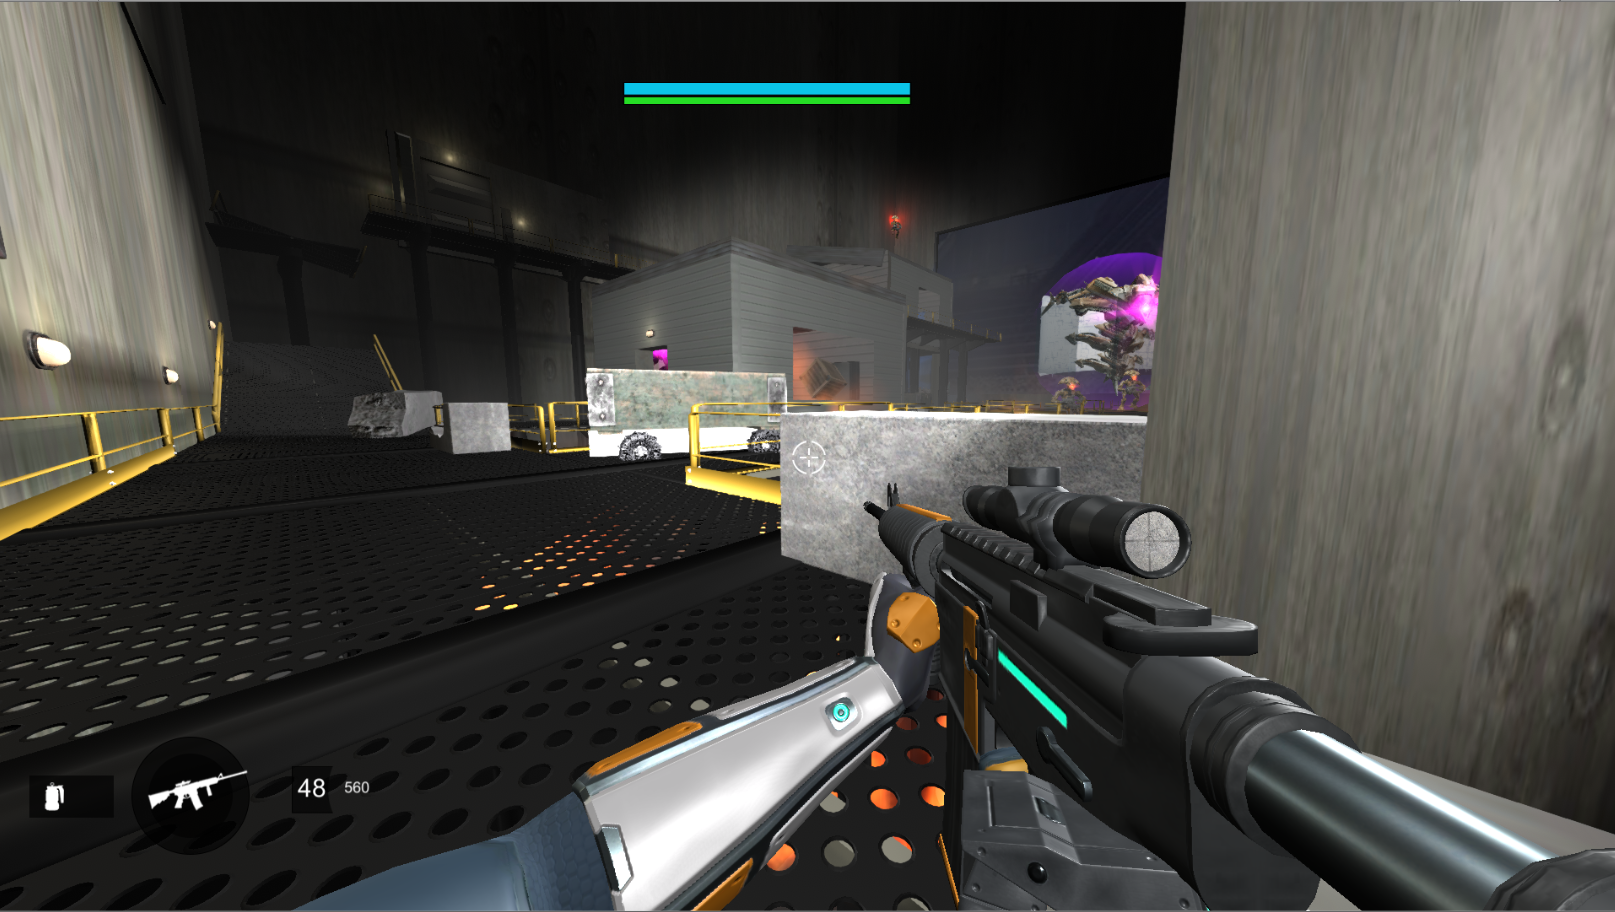
You can move out with some cover, and either take the higher ground above with little cover, or get behind this box with wheels on it.
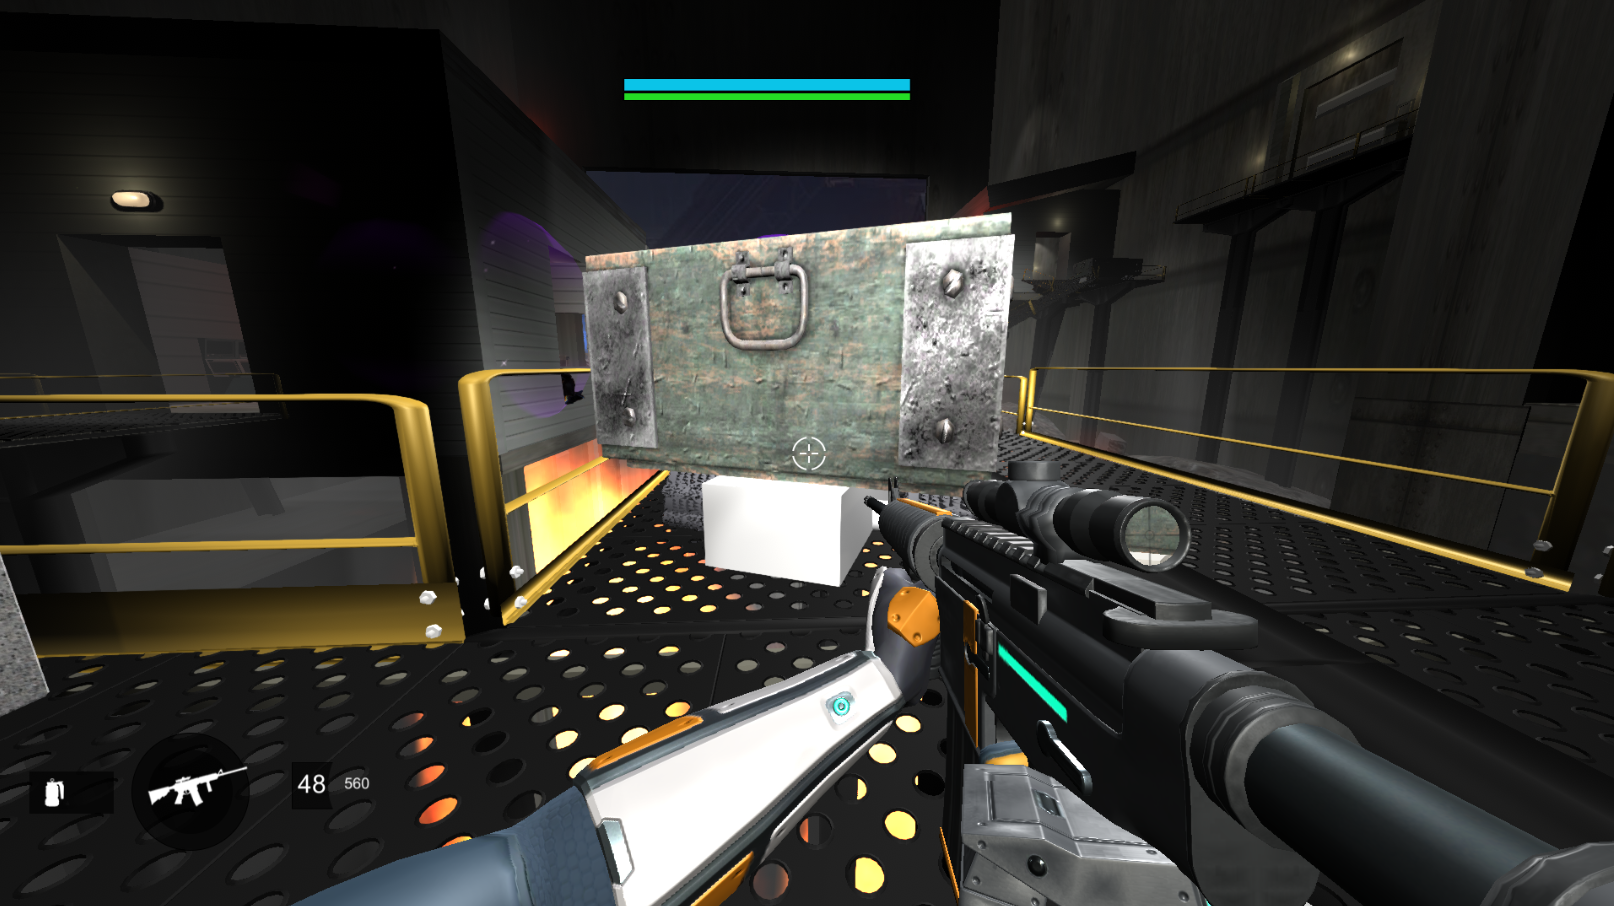
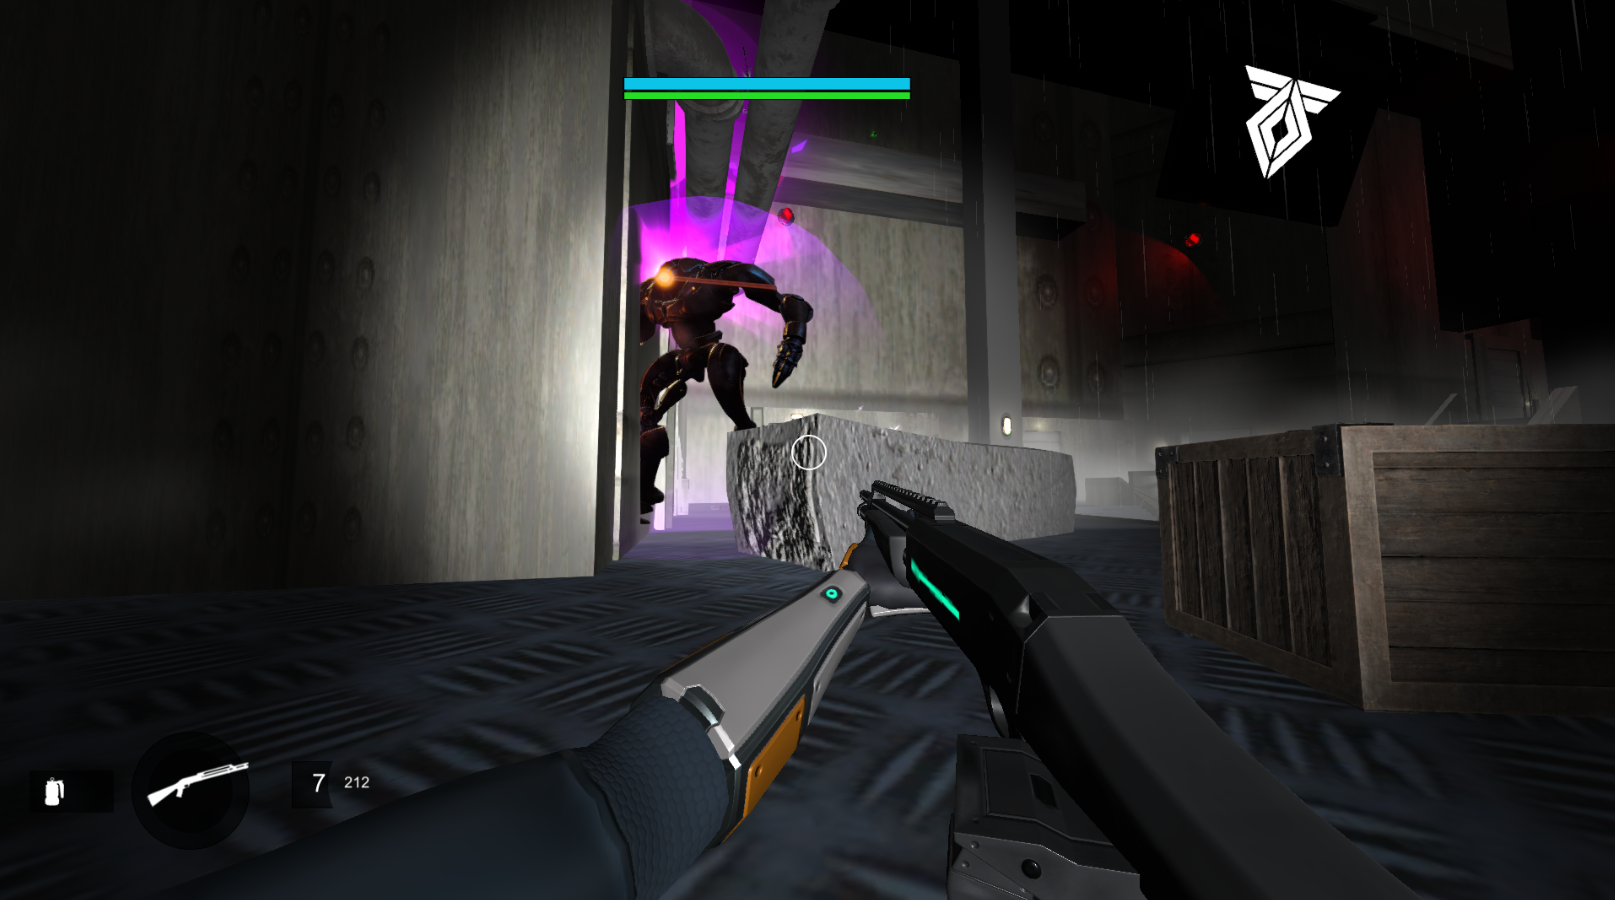
This crate has wheels on it, and can be pushed forward as movable cover.
I took the inspiration from a part in Half Life 2.
I tried to add a few areas with movable cover to create some variation where players could make cover where they wanted it.
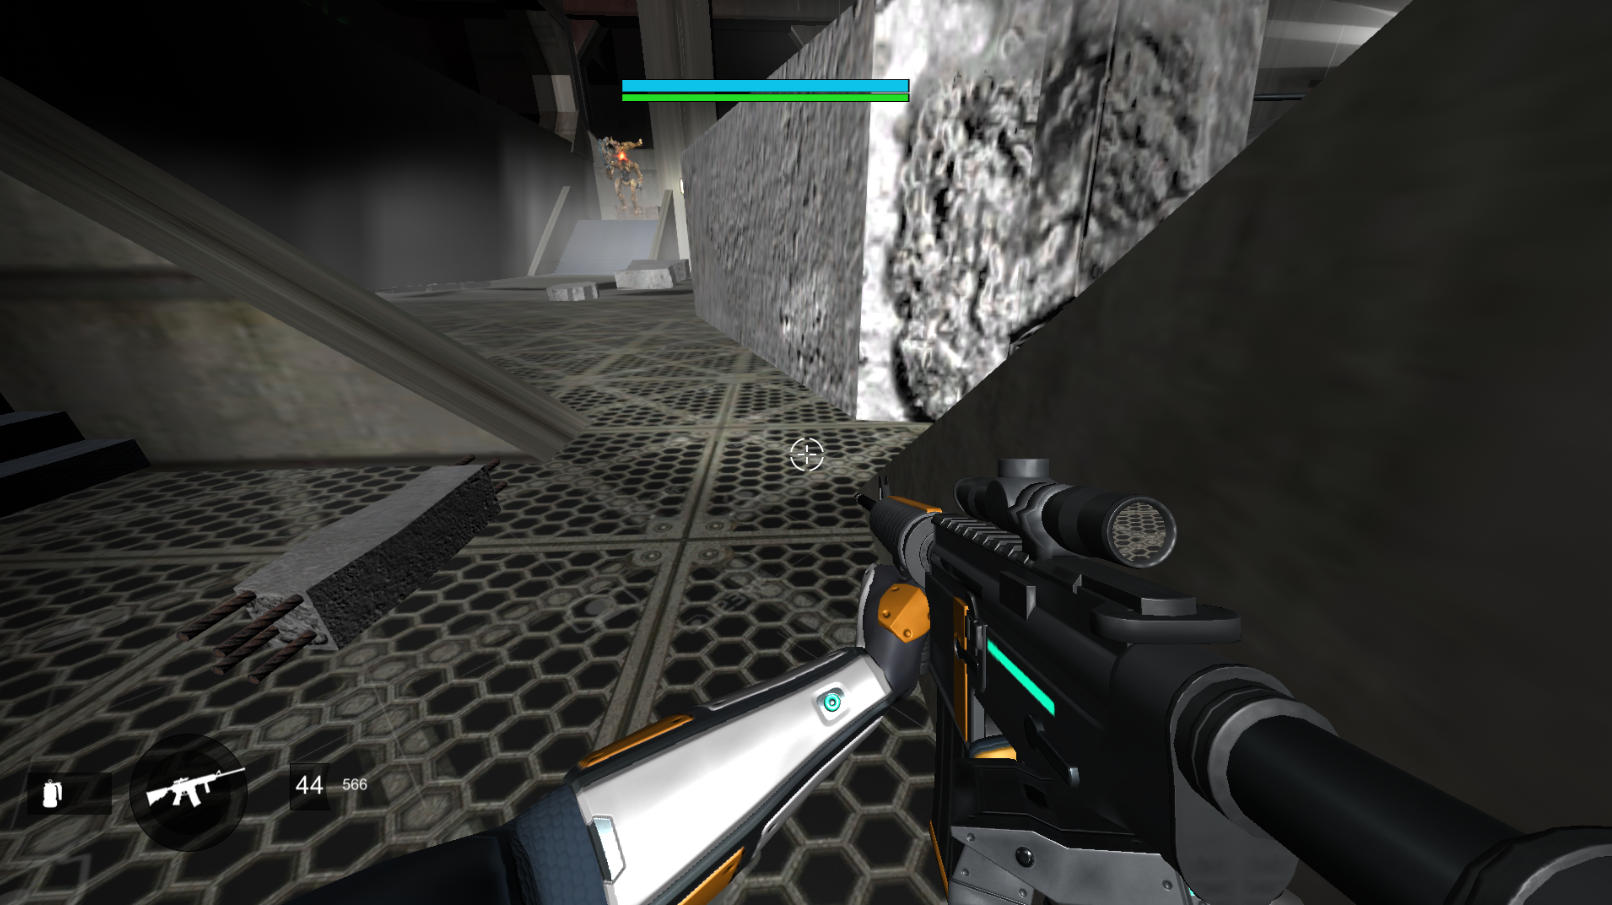
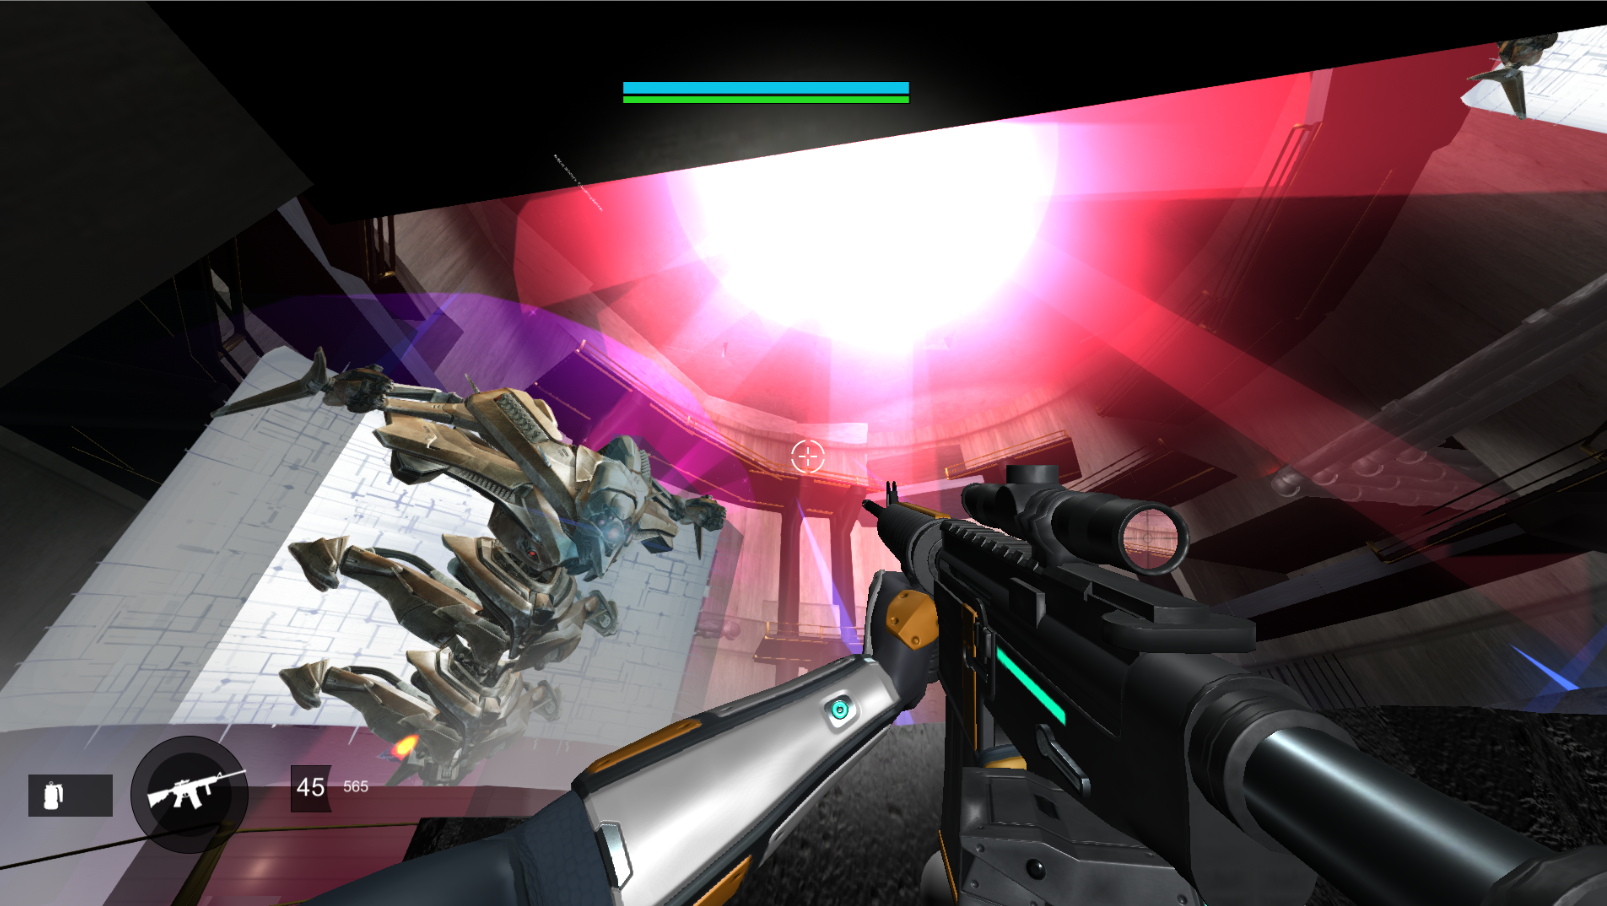
Pushing the crate forward gives a nice angle into the first bunker, where a purple Minotaur is hiding.
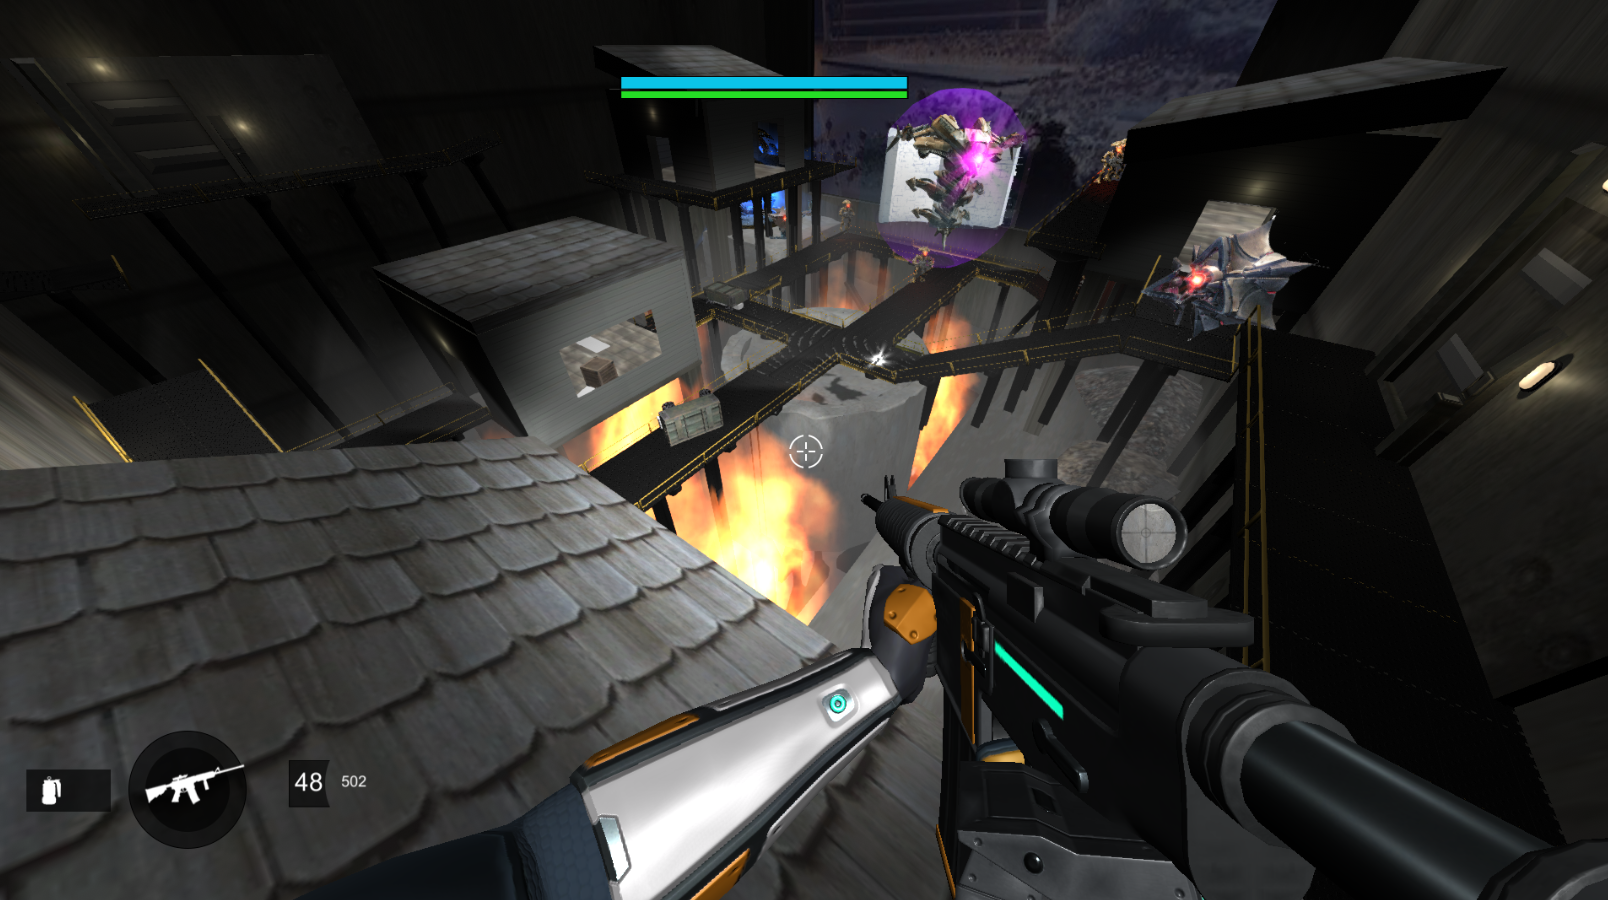
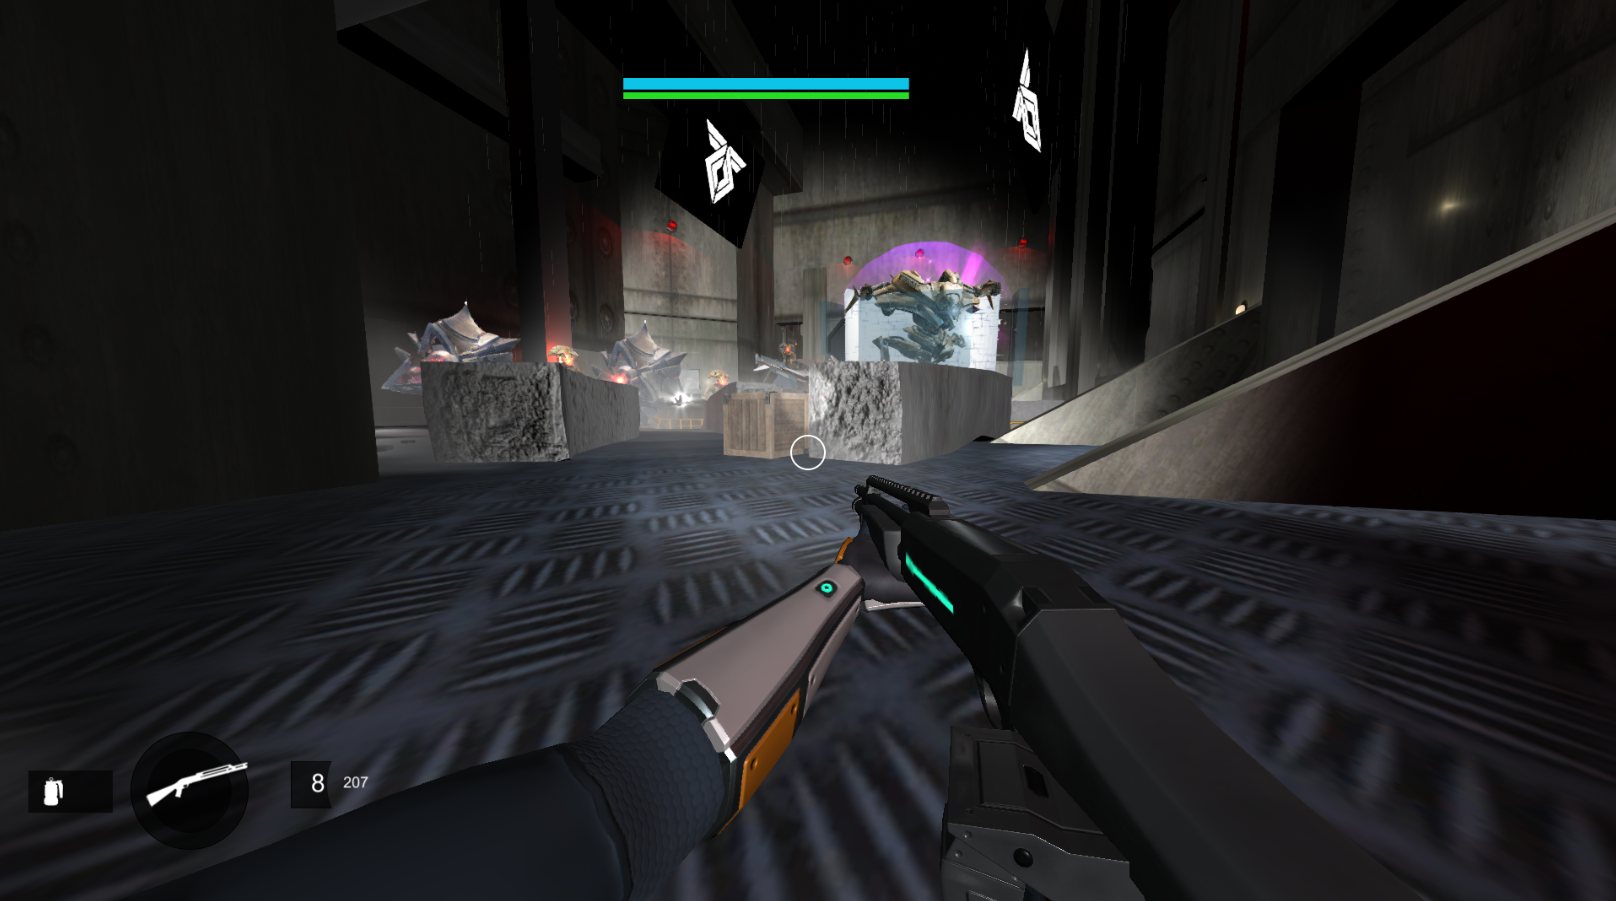
This room has a larger kill box under the level, marked by the flames shooting out.
There's enough lower sections that you can recover from falling and climb back up.
The Room has a big window with a screenshot of a Warmind vault in the distance.
Another way to establish setting and make the room feel bigger than it is.
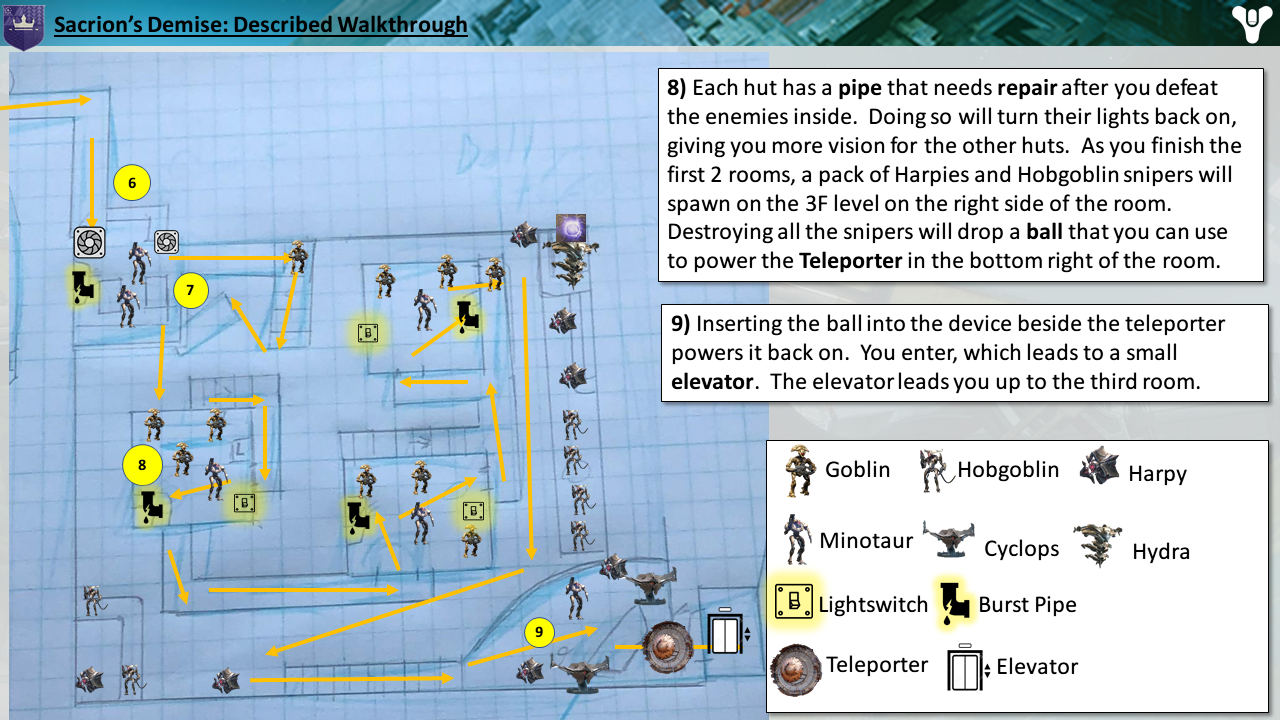
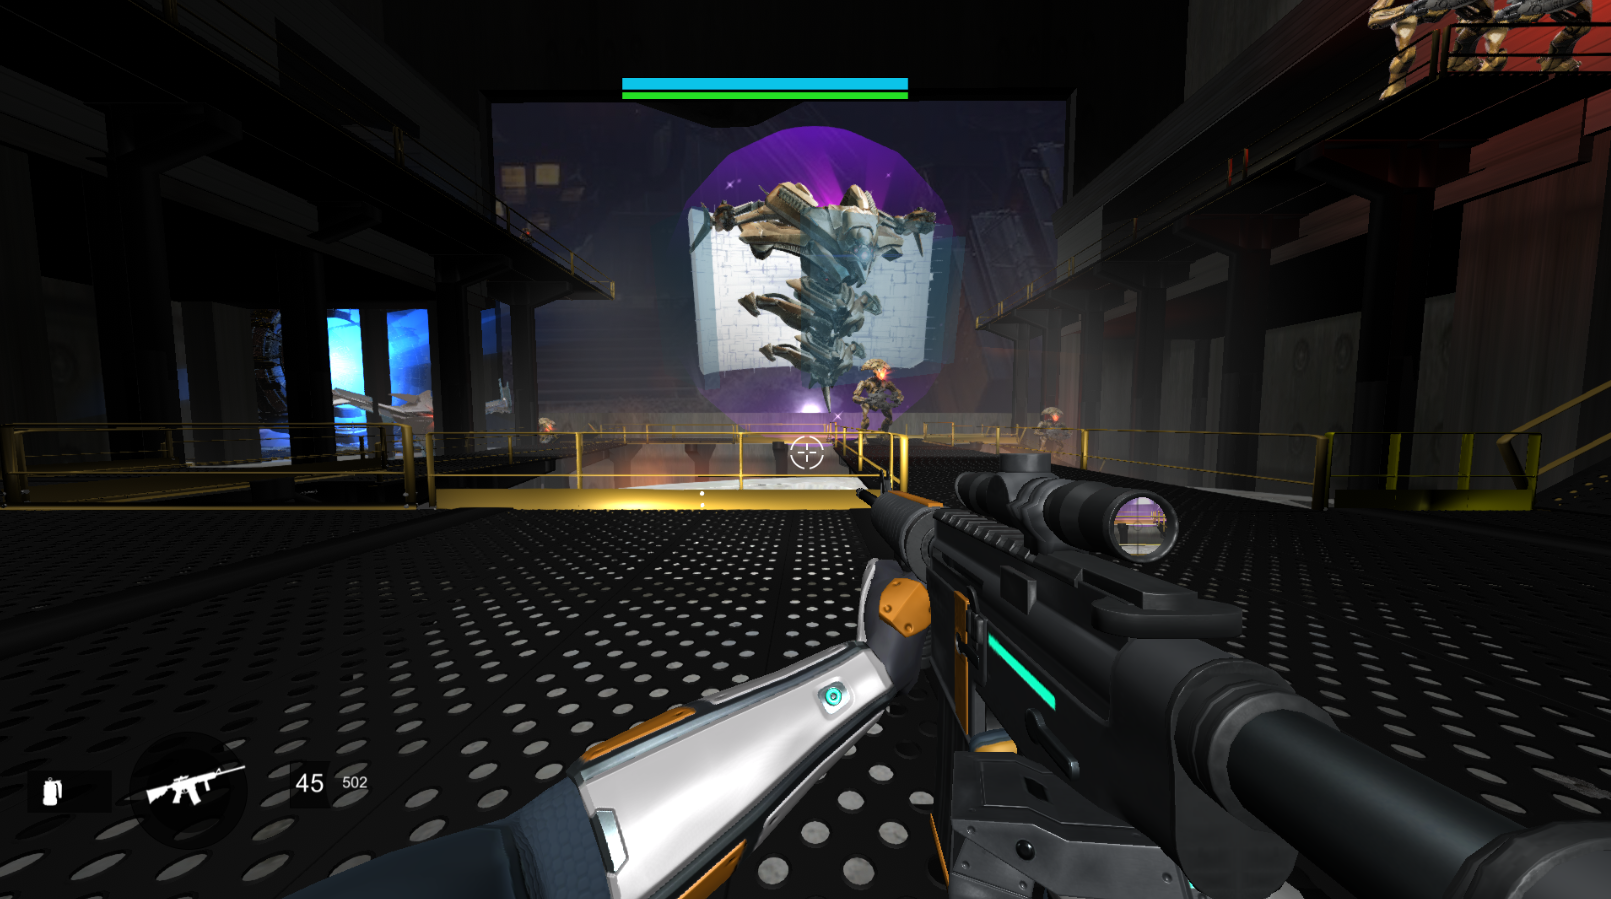
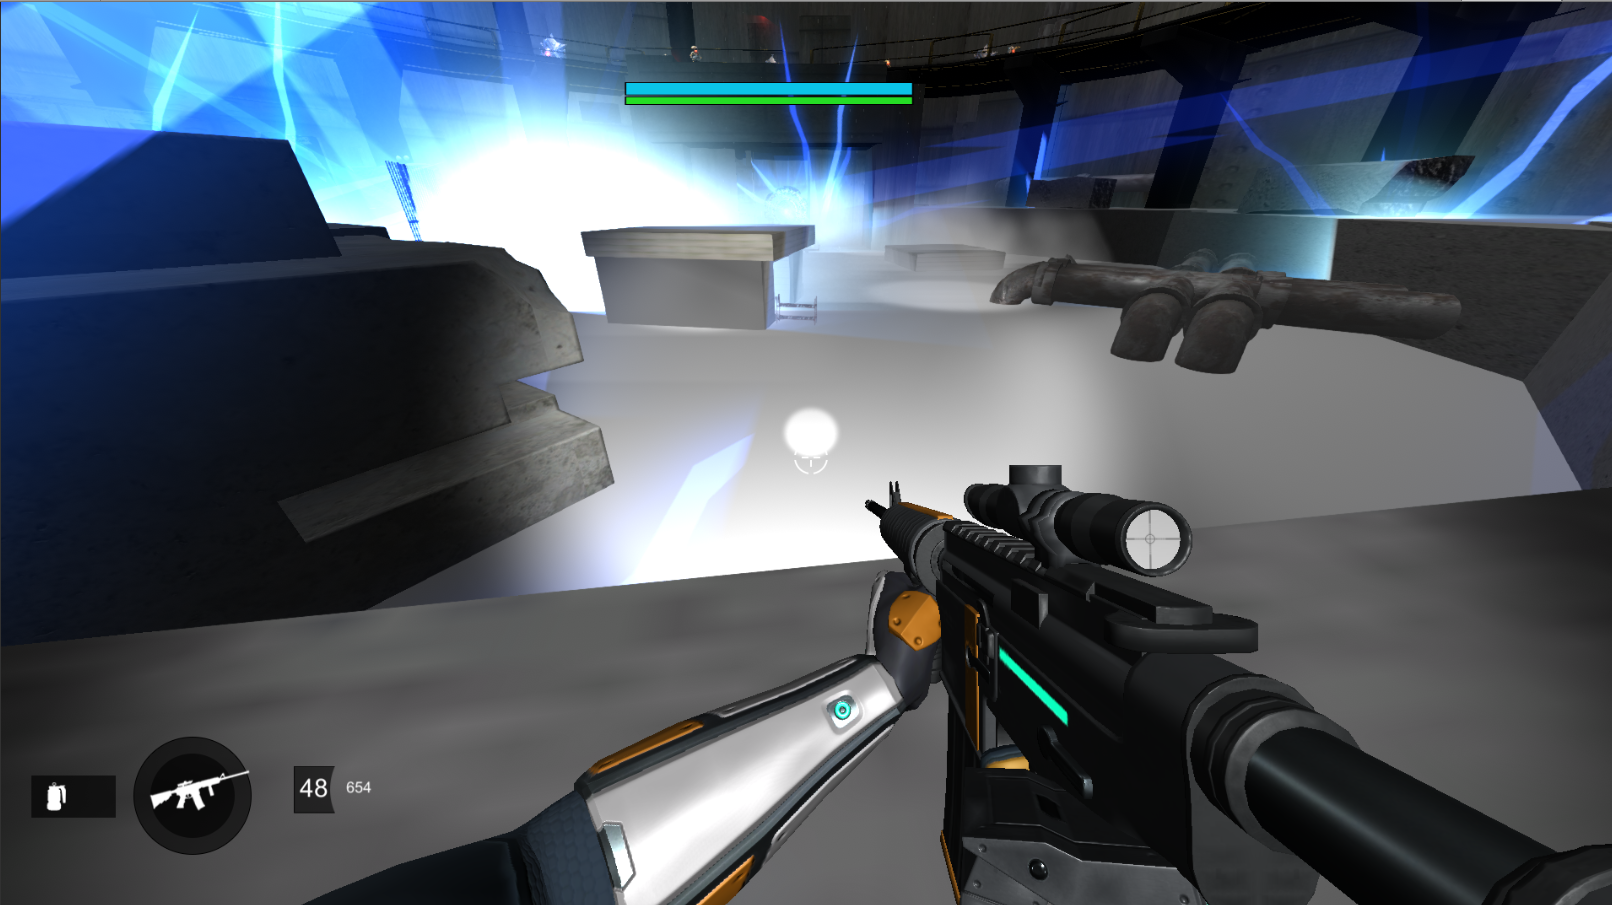
Killing the Hydra Boss turns on the Portal in the far corner of the room.
This room will eventually have more waves of enemies and HUD callouts.
Overall I want to give this room a little more love to the angles and sightlines.
The Portal is activated and you can move to the next room.
This is an actual model of a Vex Portal, ripped from game, that I found in a Vex Assets pack online.
Ideally, I want there to be a room between Room 2 and Room 3, for spacing.
I didn't initially have the Tunnel and Hole sections of the level, but felt they added to the feel of the level and paced the encounters out a little bit.
Plus, you can have audio clips play and Zavala, Ana and Ghost talking in these sections to flesh out the story of the mission.
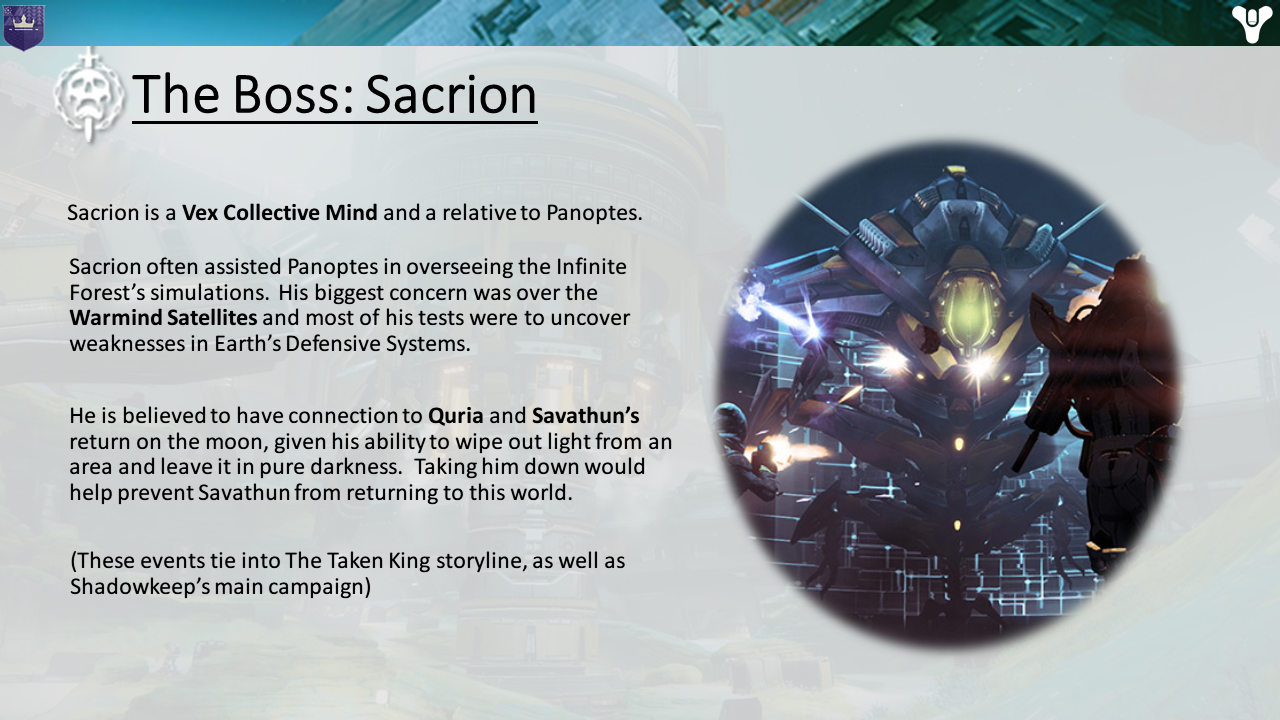
Sacrion is a Genesis Mind and believed to have ties with Savathun.
There will be blights placed throughout the level and Taken "goo" spilled across the rooms.
Ghost will mention something about Taken and Vex working together to steal an ancient Warmind tech.

I want Sacrion to look like a more evolved form of Hydra with Taken 'goo' incorporated into his look.
In the current build, Sacrion has his own AI system (thanks to Jack for programming it)
He can fly around the level, and doesn't follow a navmesh.
He shoots balls that land on surfaces and create a large explosion in it's radius.
He also creates three copies of himself, that fly around and shoot at you.
The copies are invincible, and it will be shown in some kind of clear way.
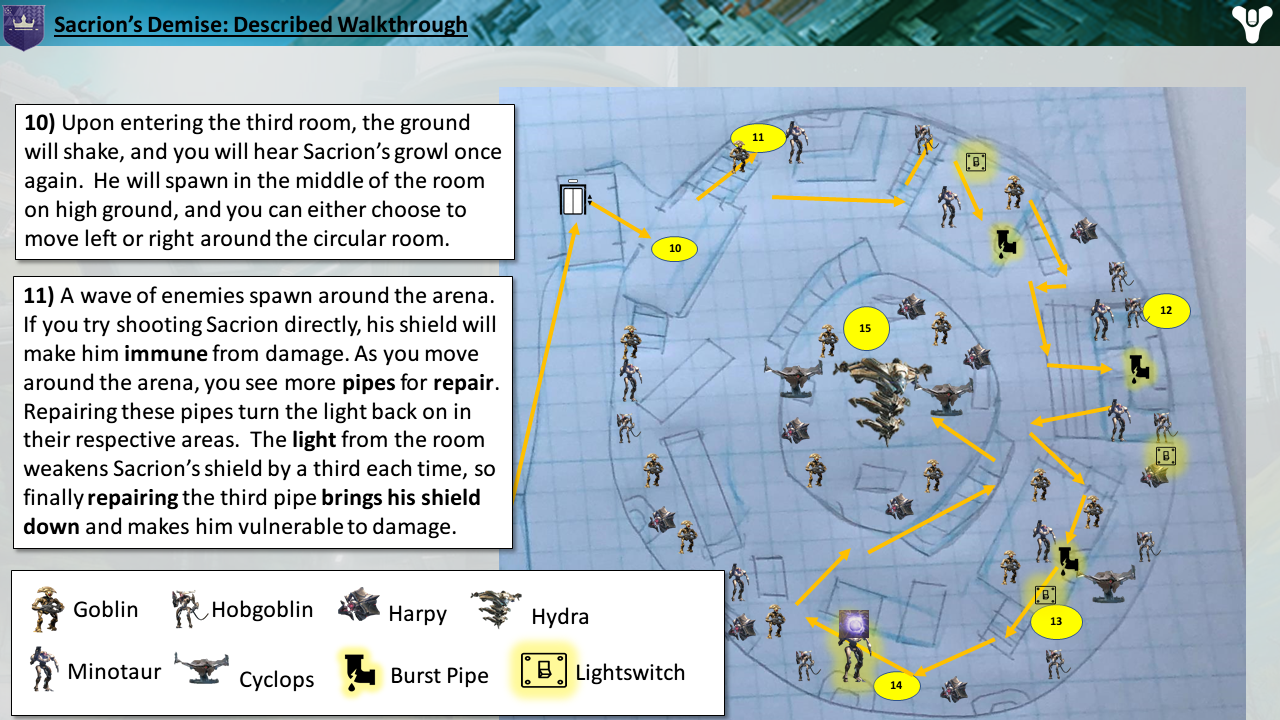
In the final version of the build, Sacrion's 4 shields will spin much faster.
It will be nearly impossible to damage him through his shields, and his crit spot (his eye) will be covered.
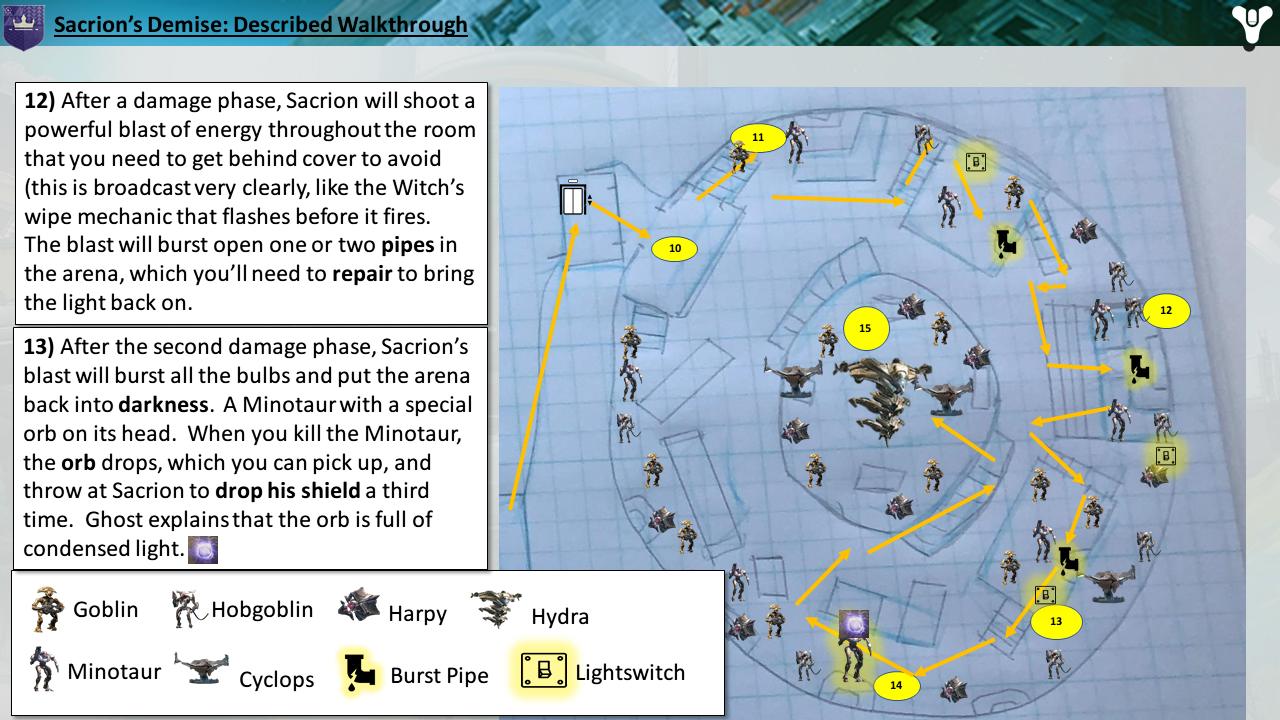
Just like the earlier rooms, Glowing Minotaurs will drop balls that contain 'condensed light'.
Throwing the condensed light at Sacrion will take down one of his 4 shields.
You only need 3 shields down to damage him reliably.
Taking down 3 will start a Damage Phase.
After about 10 seconds of damage, Sacrion will summon a blight that will knock you back, regen his shields and cut the power to most of the lighting in the room.
Minotaurs will respawn, and you'll need to kill Minotaurs again.
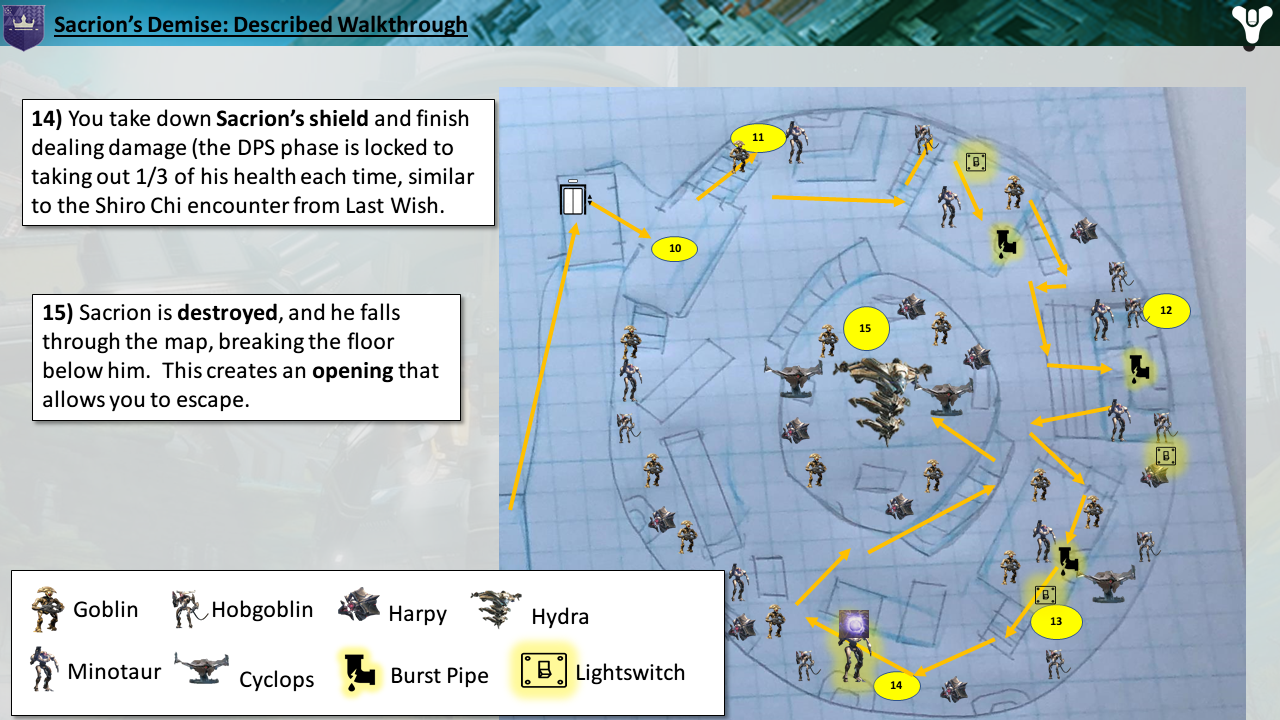
After a second damage phase, Sacrion won't be able to regen his shield, and the fight will go normally.
Defeating Sacrion will cause a large explosion, and pipes in the room will burst with white Vex milk, and begin filling the room.
You'll need to climb up the room to the top before the Vex Milk fills the room and kills you.
Enemies will spawn in your way.
Climbing up three levels, you'll see an opening in the roof.
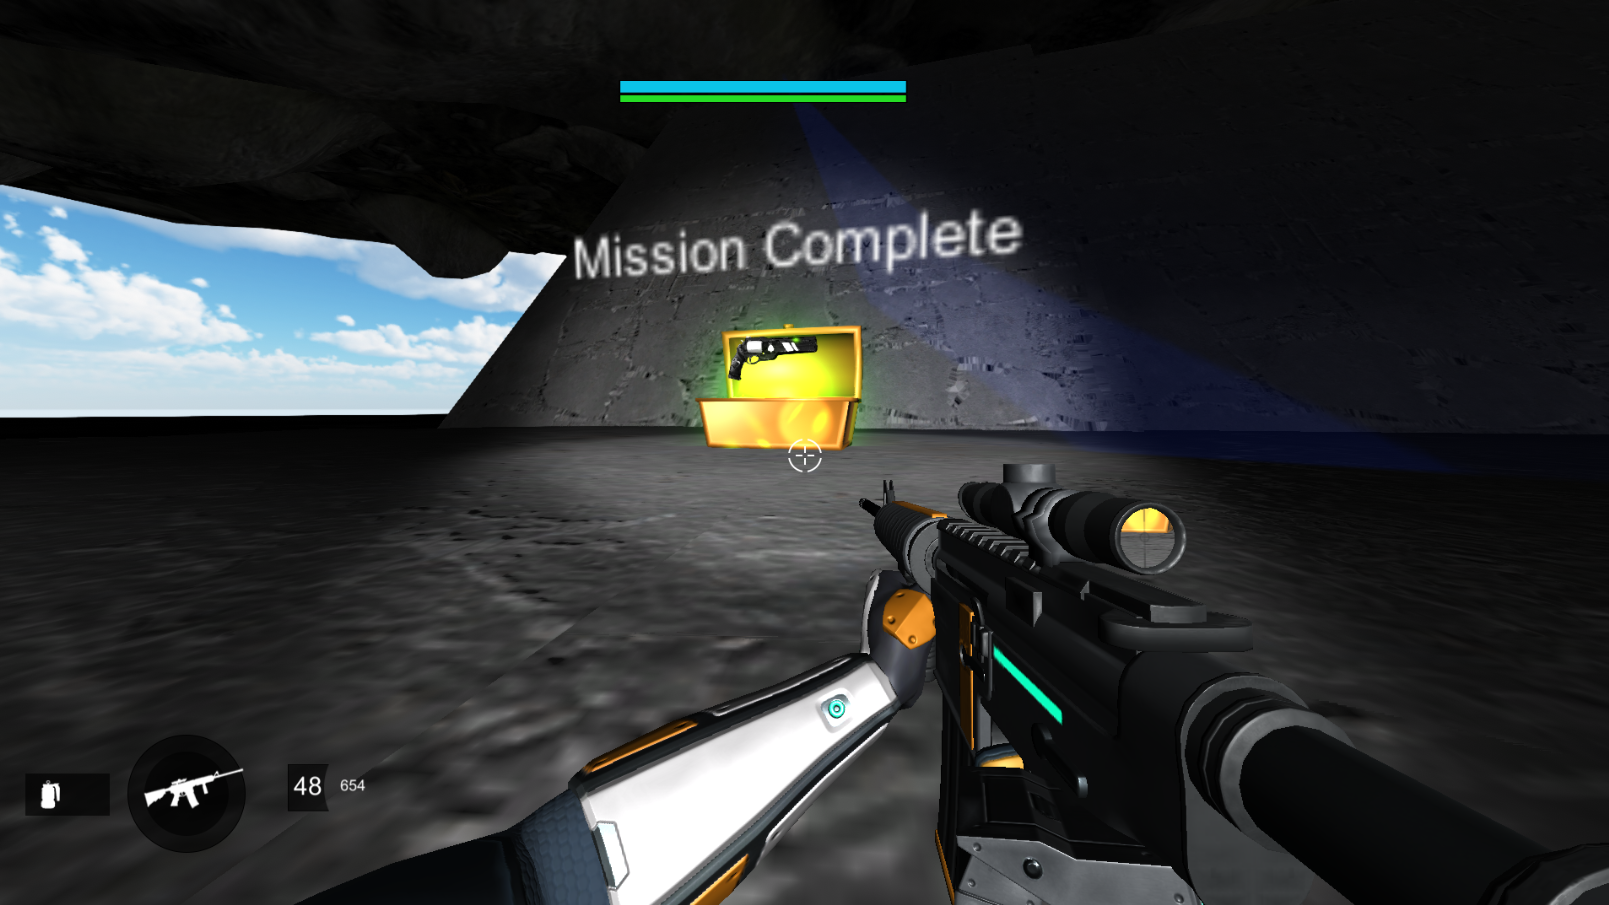
Climbing out plays a 'ding' sound and your Mission HUD is updated.
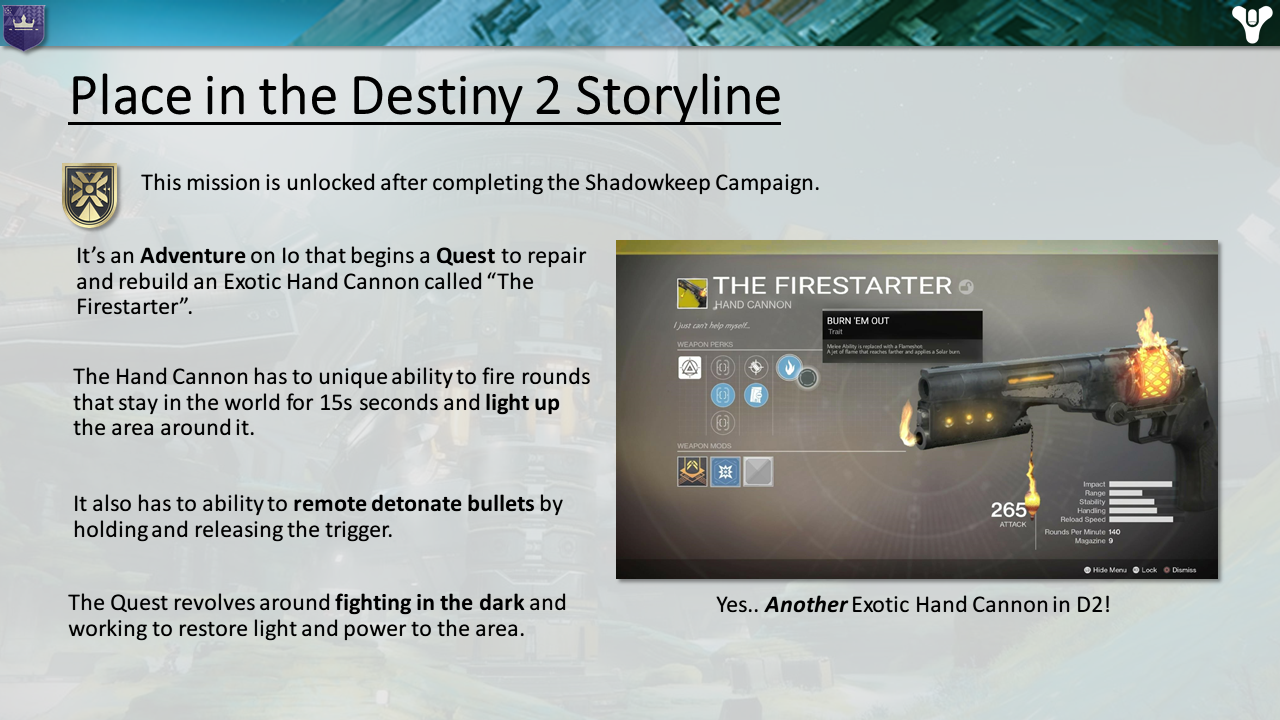
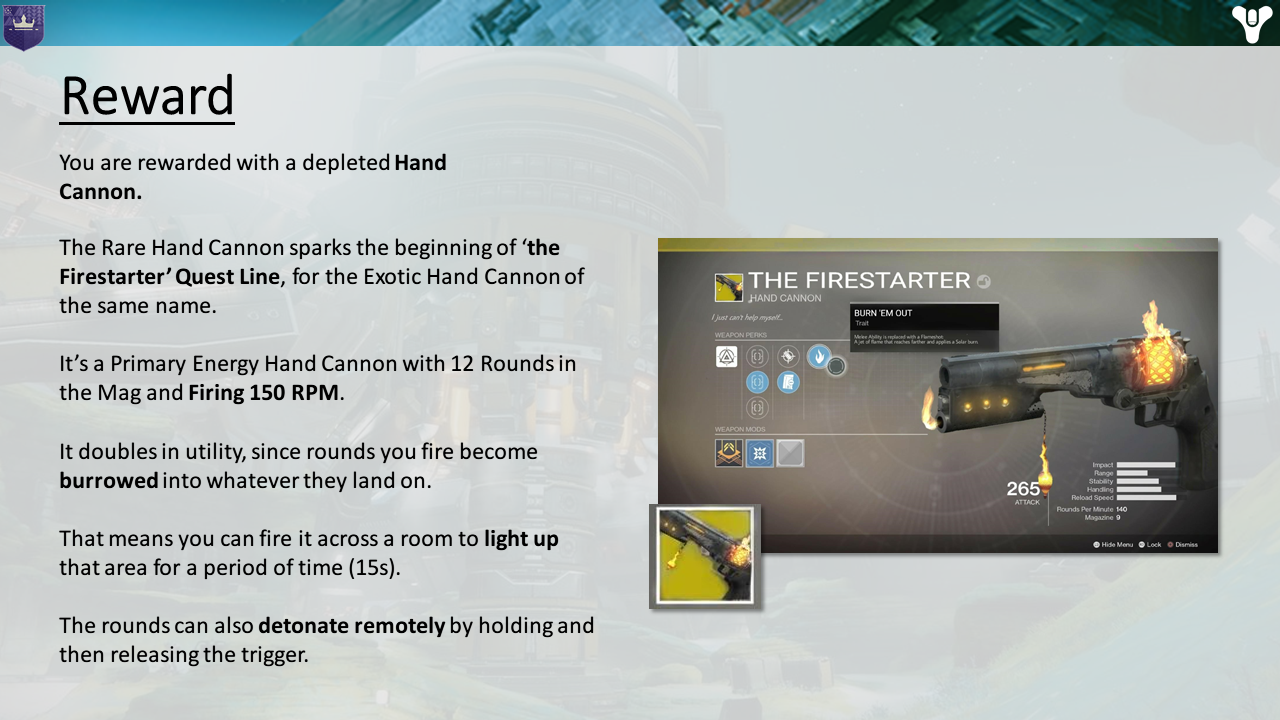
In a chest you find a depleted Hand Cannon.
This begins the start of the 'Firestarter' Exotic Hand Cannon Quest.
The Firestarter Model was a screenshot I found online, which worked with the light/dark mechanics I was already working on.
It would be part of introducing the new mechanic to the game that can change encounters in a way that the game doesn't currently have.
It's also a callback to a mission from Destiny 1 Vanilla's campaign where you fought Vex and darkness through a subway system.
Now light can be more closely tied with vision and sight.
Nightfalls can have the modifier to change a strike to fight in the dark, adding another layer of challenge to a mission, and have it play in a new way.